Turn any photo into a dot grid artwork with these Photoshop actions. You'll get great results with dots that change size. They get larger in brighter areas and smaller in darker areas. Free download available.
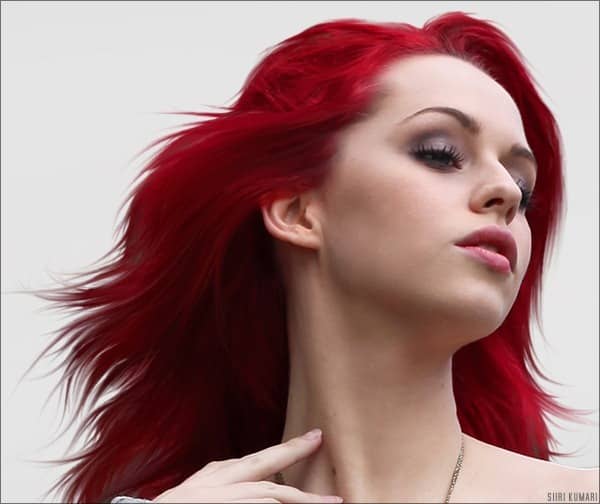
Step 19
Using a hard round eraser on low opacity, softly blend in the edges of the model.
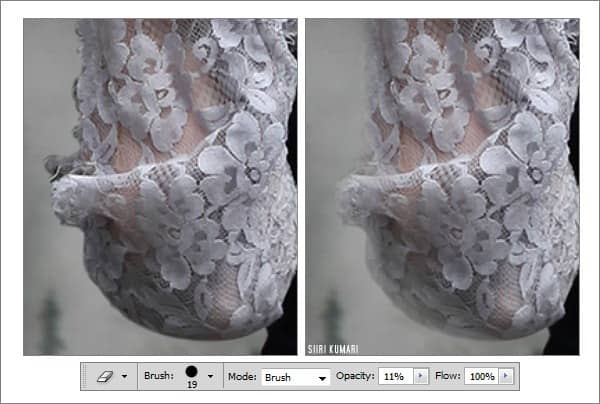
Step 20
Draw an circle around the model's upper body with the elliptical marquee tool (the elliptical marquee appears if you click and hold on the usual marquee in the toolbar) and select inverse. Right-click and set Feather to 150. Slightly darken it in Image > Adjustments > Hue/Saturation. Do some additional darkening with the Burn Tool if needed.
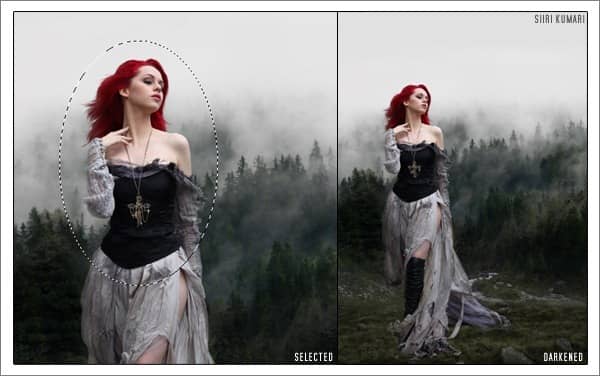
Step 21
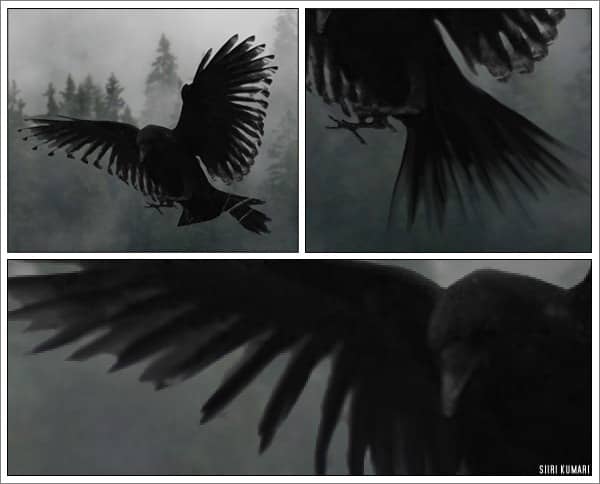
Basically, you can call the photomanipulation complete, but I'd like to add some more details. Paste the raven near the model to create a nice composition. Then set the layer mode to Darken - it will blend it pretty well.
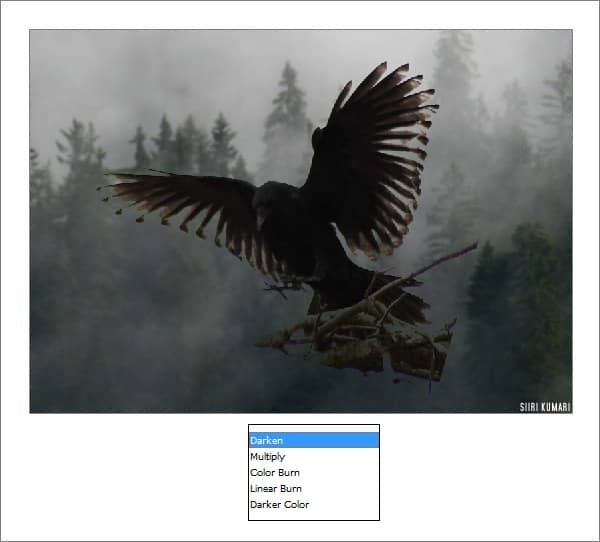
Step 22
Use a hard round eraser on maximum opacity to remove the branches. Also desaturate the raven (Shift + Ctrl + U) to get rid of ugly green undertones. As you can see, half of its tail is gone, so use the Smudge tool on high strength to retrieve it. Smudge the wings as well. Sometimes a little Blur can do wonders!
Step 23
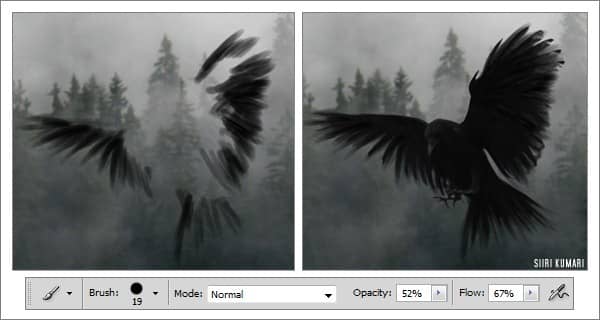
Create a new layer underneath the raven, take the brush tool and set both the opacity and flow between 40-60% and paint some more feathers to add volume to the crow. It's not easy to explain, but I have included a separate screenshot of the shape I painted. This can be also done with a mouse, as long as you keep erasing and smudging the ends.
Step 24
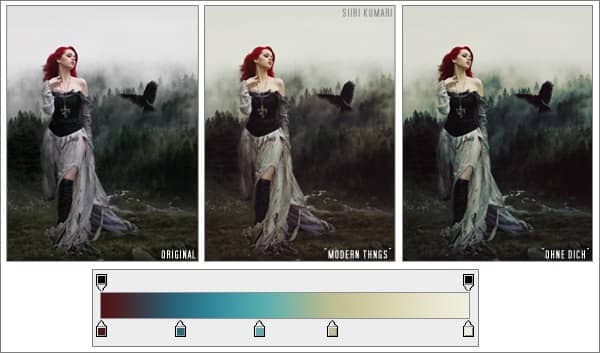
Colours... I usually flatten everything together and then I use a slightly modified version of Julia Trotti's „modern things" curve on a new layer and set the layer's opacity to 75%. To get a colder version, merge everything down again and duplicate the background layer, set it to Soft Light 45% opacity, then go to Gradient Maps and using something like my gradient „ohne dich" create some new colours. (I cannot share just one gradient, the whole lot comes with it, so save this image to your computer, open it in Photoshop and use the Color Picker tool to "take" the colours from these boxes)
Final Result
I decided to go with the "modern things" version.
![Into the Wild_600px[1] Into the Wild_600px[1]](https://cdn.photoshoptutorials.ws/images/stories/f8f43a6b020b_FB21/Into-the-Wild_600px1.jpg?strip=all&lossy=1&quality=70&webp=70&avif=70&w=1920&ssl=1)
Download the PSD
Into the Wild.zip | 4.4 MB
Download from Website

9 comments on “How to Create this "Into the Wild" Photo Manipulation in Photoshop”
I take my hat off , for this tutorial and fantastic work.
Great !!!👍👍👍👍👍👍❤
Super tuto✌
Fantastic work . all are great combining .
Sorry but where is the psd file?
These look fantastic! Thanks for bringing them together – what a great collection
it's so nice and useful lesson
The raven image is currently unavailable, by the way.
Great tut! Inspired by it I've created this: http://imageshack.us/f/338/dreamer01.jpg/
Nice. I love PSD! very inspirational work.