Step 8
You should see a similar result. I allow myself to have some slight colouring mistakes since in the end I’m going to apply an additional colour which will make everything better :)

Step 9
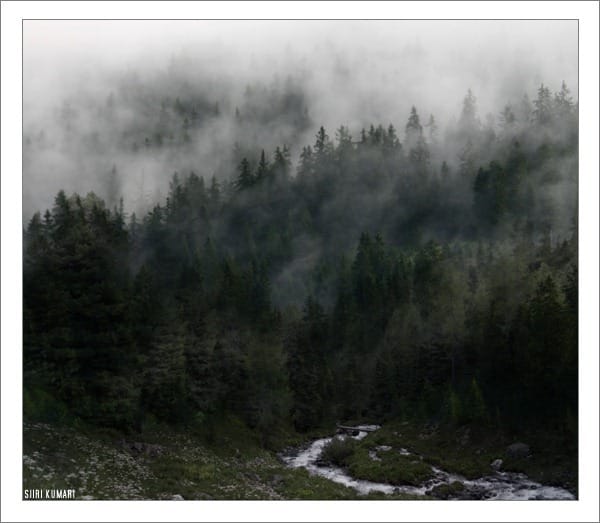
Copy and paste the bottom ground photo. Select the upper part with the Marquee Tool, set Feather to 150 and hit Delete twice.

Step 10
Lower Vibrance and add some Cyan midtones in Color Balance to achieve a similar result. I don’t usually write down the exact settings I use for getting nicely blended colours, but keeping in mind some colour theory is always the best. If you want something to be less yellow/orange, turn it more blue/green.

Step 11
Blend both layers with a soft round eraser as always.

Step 12
Copy and paste the model (ash 33 by faestock). I usually erase the background quite loosely so that I can see better where to fit her (optional step).

Step 13
Cut out the model with the Pen Tool, using the settings shown. Sometimes you need to click and drag, and sometimes you have to do lots of little dots that are very close to each other.

This is an example of the „little dots” technique.

Sometimes I don’t cut out unimportant and blurry parts.

Step 14
Cut the hair like this. Loose strands are not imporant right now.

Step 15
Unite the last two dots to finish the path.

Step 16
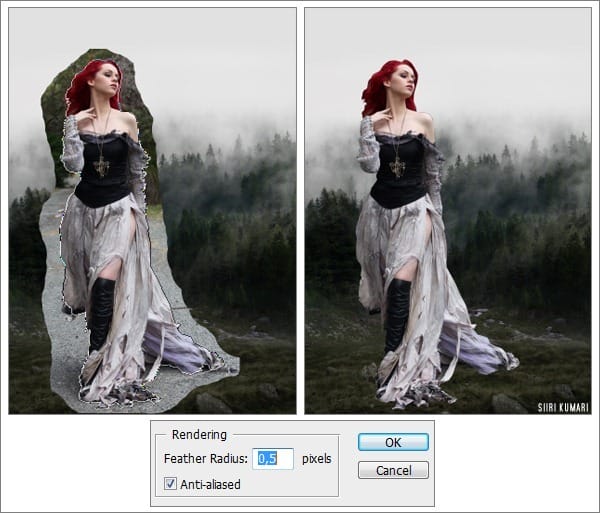
This is what it looks like before it’s about to be cut out. Right-click and make a selection, then set the Feather to 0,5px. Hit Ctrl + Shift + I to invert the selection and then Delete to get a clear background.

Step 17
Hair can be a bit tricky. Use the Smudge tool, strength 80-90% and create loose hair strands by moving outwards and inwards in the hair area. You will probably need a graphics tablet for this, although some people can paint similar results with a mouse (I never had a tablet until September 2011). Smudge, smudge, smudge.

Step 18
Enchance Reds in Replace colour (Image > Adjustments > Replace Color) by clicking on the hair area once and moving the saturation bar to right. I tend to keep my Fuzziness around 100 or so to get a nice, clean saturation. This is also the final hair result.
9 responses to “How to Create this “Into the Wild” Photo Manipulation in Photoshop”
-
I take my hat off , for this tutorial and fantastic work.
Great !!!👍👍👍👍👍👍❤ -
Super tuto✌
-
Fantastic work . all are great combining .
-
Sorry but where is the psd file?
-
These look fantastic! Thanks for bringing them together – what a great collection
-
it’s so nice and useful lesson
-
The raven image is currently unavailable, by the way.
-
Great tut! Inspired by it I’ve created this: http://imageshack.us/f/338/dreamer01.jpg/
-
Nice. I love PSD! very inspirational work.


Leave a Reply