Make skin look perfect in one-click with these AI-powered Photoshop actions.
Next, let’s add another Solid Color. Input this value:
- #: 4f2c12
Then after you do that, change its Blending mode to Soft Light and its Opacity to 40%. Note: The Opacity is just located to the right of the Blending mode drop down menu on the Layer window.
Next, let’s create a Gradient Map adjustment layer, still from the Create New Fill layer/ Adjustment layer button. When its box opens, click on the Black & White gradient and press OK. (Given your Gradient Maps are set to default)
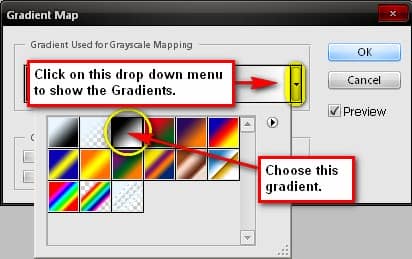
When the box closes and the Gradient map is shown on the layer, let’s change its Blending mode to Luminosity and its Opacity to 70%. After that, right click on any layer and click on Flatten Image. Now we can move the Landscape layer to our A4 canvas. Press V and drag our image to the canvas. Activate your Transform tool and resize the landscape stock.
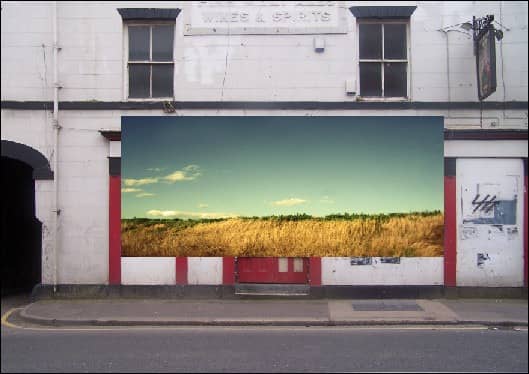
After resizing it, let’s change its Blending mode to Overlay and its Opacity to 70%.
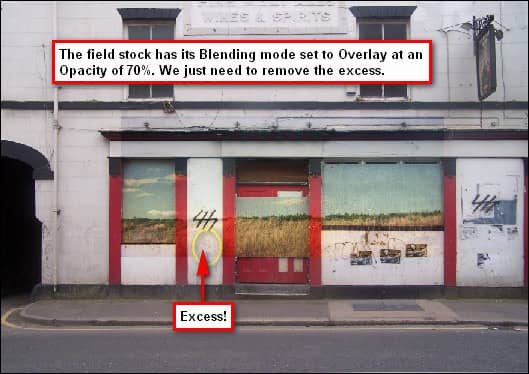
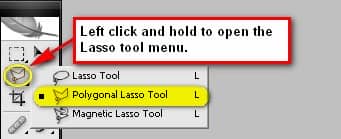
Notice that the field image has blended well with the gray walls, but the excess still remains, so we’d have to remove that. Activate your Polygonal Lasso Tool (L) and click on a point where you want to start selecting an area to be removed.
After deleting all the excess areas of the field stock image, our image should now be similar to this:
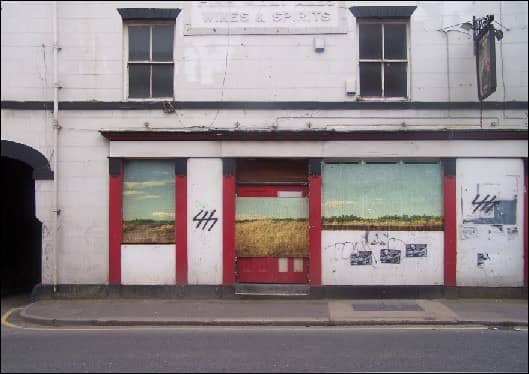
Step 4 - Add the scissor and its shadow
In this step we would be putting the large scissor in place. Open “Scissor_cut 009” then activate the Polygonal Lasso Tool (L) and use it to remove the scissor from its background. Once you’ve done that, move the scissor to our canvas using the Move tool (V).
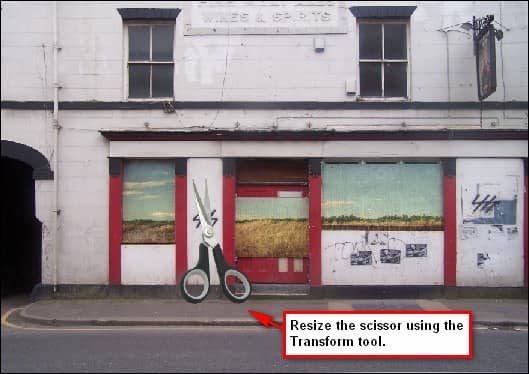
Now let’s create its shadow; create a new layer by pressing Ctrl/Cmd + Shift + N or pressing the Create New Layer button which is represented by a sheet of paper and is located on the Layer window just to the left of the Delete Layer button (trash can). Once the new layer has been created, rename it to “scissors’s shadow” and move that layer down just under the “scissors” layer so the shadow would appear under the scissor. Activate the Brush tool (B) and input the following values:

