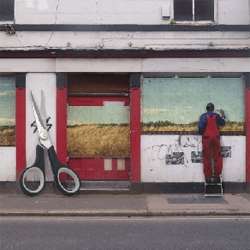
Turn any photo into a dot grid artwork with these Photoshop actions. You'll get great results with dots that change size. They get larger in brighter areas and smaller in darker areas. Free download available.
- Brush size: 60px
- Hardness: 0%
- Mode: normal
- Opacity: 10%
- Flow: 100%
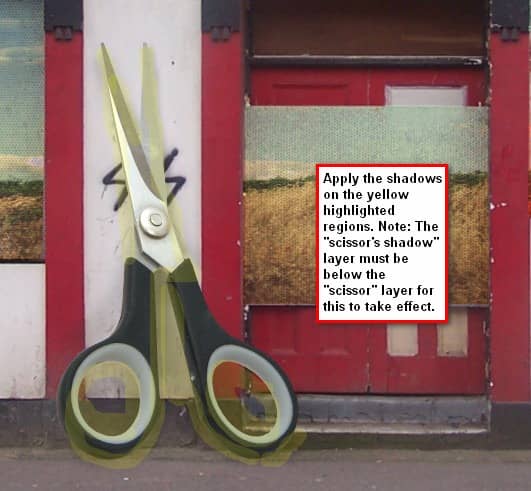
Use the brush as seen on the image below:
Step 5 - Add the painter and his shadow
What we are going to do here is we would be adding the painter who at the moment is painting. We would make him look like he is the one responsible for painting or creating the field images on the walls. Open the “painter” stock image, and then activate the Polygonal Lasso tool (L) and use that to select the painter against its background. When you’ve successfully selected the painter, move him by using the Move tool (V) to our canvas. Resize the painter stock image appropriately when it is in our canvas.
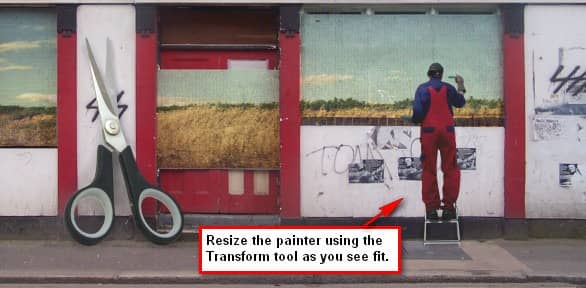
Let’s retouch the light hitting the painter and his overall shadow. First, let’s edit the Brightness/Contrast of the painter stock image to make it blend with our picture. From the Menu bar, click on Image > Adjustments > Brightness/Contrast and input the following values:
- Brightness: 21
- Contrast: -32
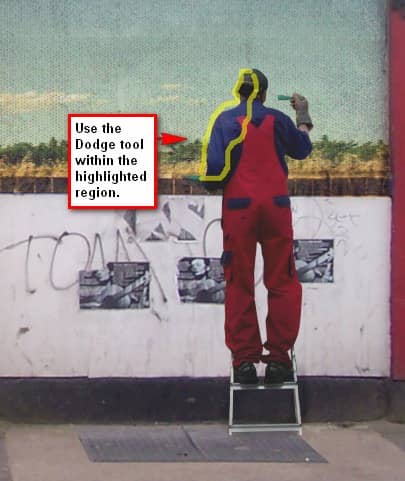
Since our image has a low contrast, reducing the contrast and increasing the brightness of the painter stock image would make it blend in with the whole image. Activate the Dodge tool (O). We will be using this to brush light on specific areas.
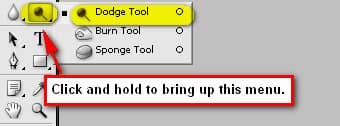
Once it has been activated, let’s use it on the area shown on the image below:
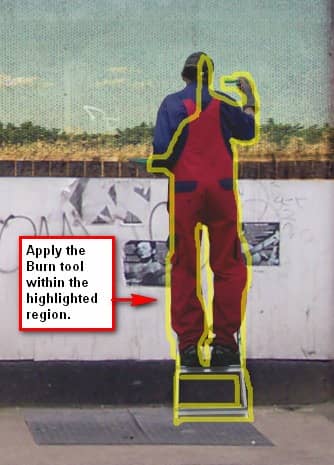
Now activate the Burn tool (O) from the Dodge and Burn tool contextual menu. It’s time we added some dark areas to the painter stock image.
After that, let’s now create a layer for the shadow of the painter. Create a new layer (Ctrl/Cmd + Shift + N) and rename that layer to “painter’s shadow”. Remember to put this new layer under the “painter” layer. Then activate the Brush tool (B) and input the following values:
- Brush size: 60px
- Hardness: 0%
- Mode: normal
- Opacity: 15%
- Flow: 100%
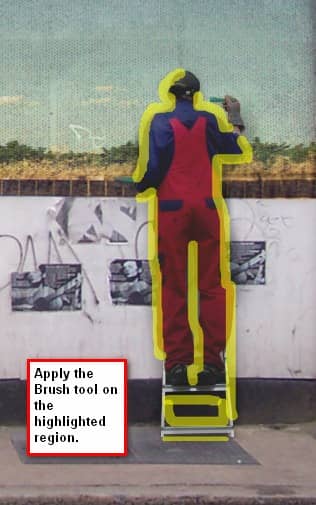
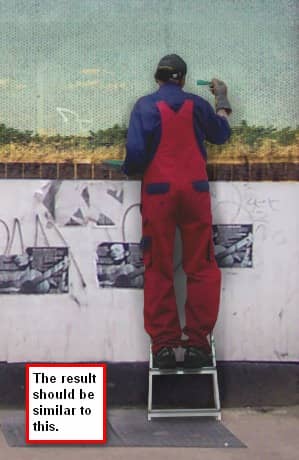
Our image should now be similar to this:
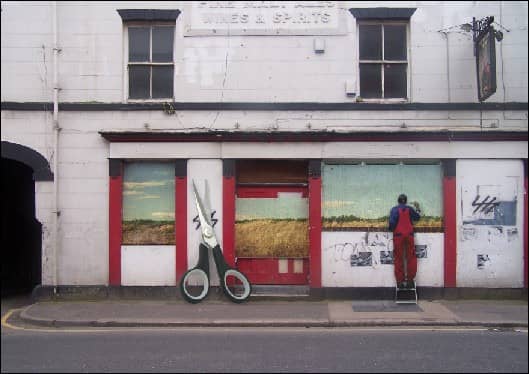
Step 6 -Retouch the image
In this step, we would be editing the overall light, contrast and image tone of our photo. To get started let’s retouch the image’s brightness and contrast. Create a Brightness/Contrast adjustment layer from the Create New Fill layer/ Adjustment layer button. When the box opens, input the following values, respectively:
- Brightness: 5
- Contrast: 15
Next, let’s add a Solid Color adjustment layer; input the following value on the “#” box.
