In this tutorial, I’ll show you how to create a surreal, conceptual piece featuring a woman’s head with broken lamps. First, we’ll build the base scene using two sky and desert images. After that, we’ll add the model’s head and create a head’s hole. Later, we’ll draw several lines and add light bulbs and create some broken holes. We’ll use several adjustment layers and create a bulb’s light to complete the final effect.
Preview of The Final Result:

Tutorial Resources
Step 1
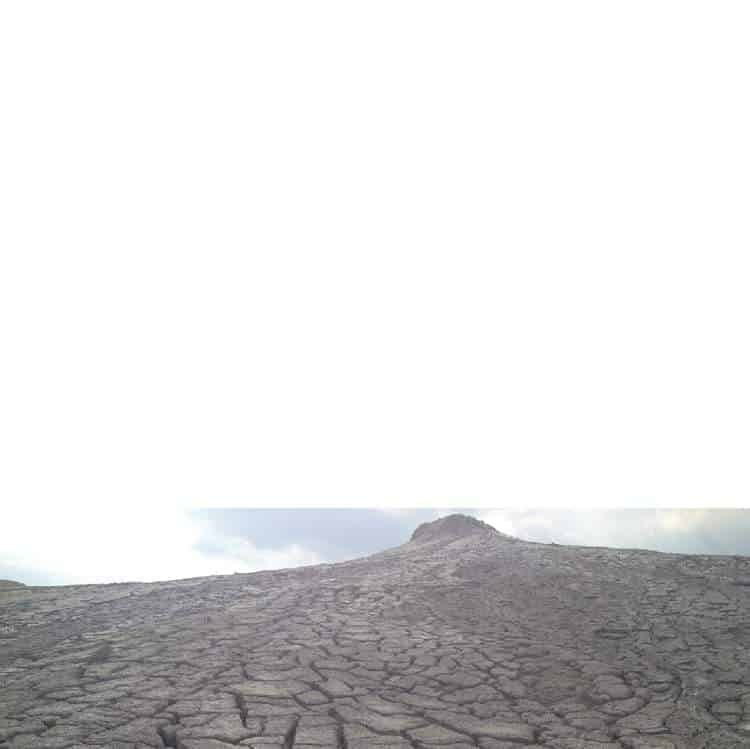
Create a new 2300×2300 px document in Photoshop and fill it with white. Open the desert image and drag it into the white canvas using the Move Tool (V). Use the Free Transform Tool (Ctrl+T) to resize it to fit the size of the document. Place it in the bottom of the canvas.
Step 2
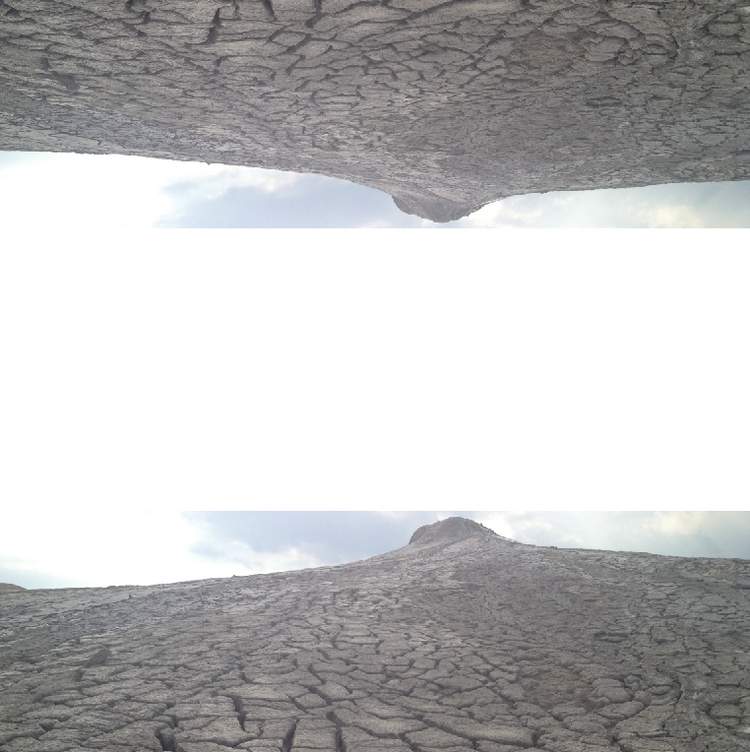
Duplicate this layer and flip it vertically (Edit > Transform > Flip Vertical). Move it up to the top of the scene.
Step 3
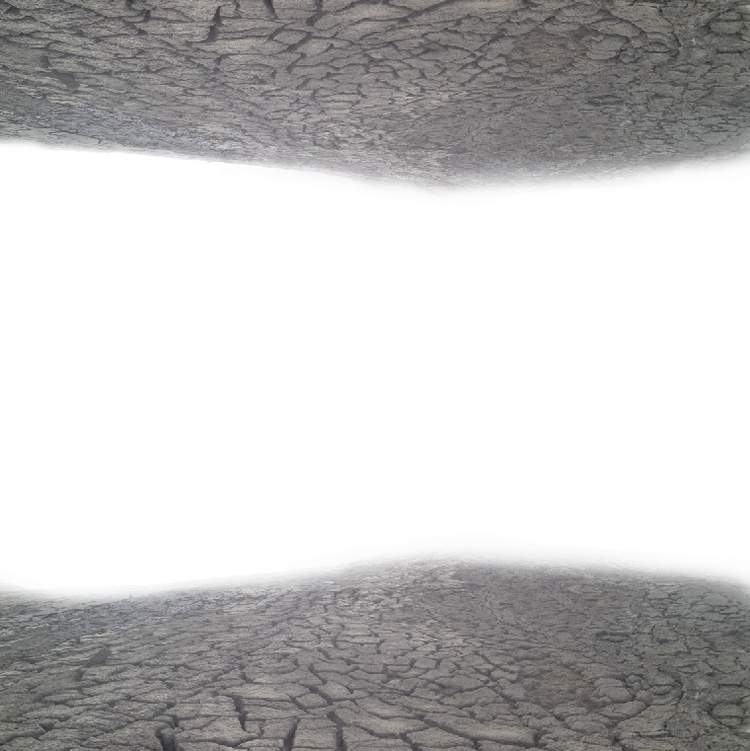
Click the second icon at the bottom of the Layers panel to add a mask to each of the desert layers. Activate the Brush Tool (B) and select a soft round one with black color. Use this brush to remove the sky and hard edges, making them soft and smooth.
Step 4
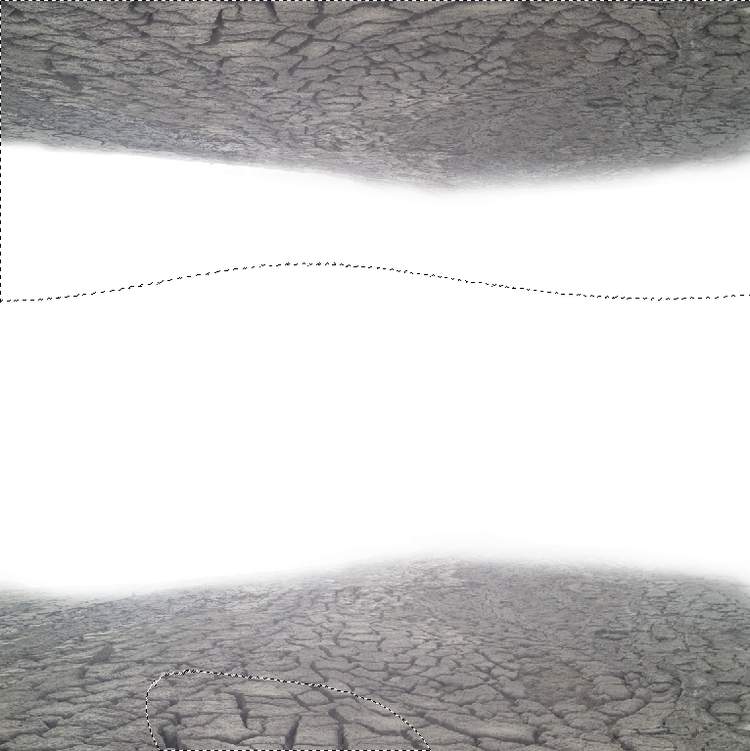
Select two desert layers and hit Ctrl+G to make a group for them. Change the group’s mode to Normal 100%. On top of the desert layers , go to Layer > New Adjustment layer > Curves and increase the lightness. On this layer mask, use a soft black brush to reduce the lightness on the top desert and the foreground of the bottom part .

Step 5
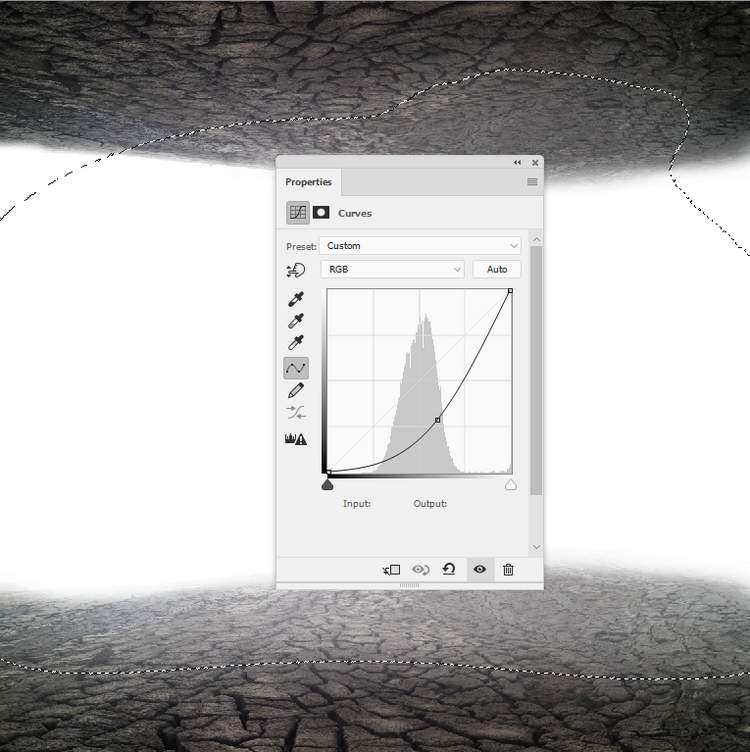
Make another Curves adjustment layer and decrease the lightness on the foreground of the top and bottom. On the layer mask, paint on the middle background as we aim to add the main light source to this place .
Step 6
Add a Brightness/Contrast adjustment layer to increase the contrast of the foreground on the top and bottom of the scene. Paint on the rest to keep its lightness.

Step 7
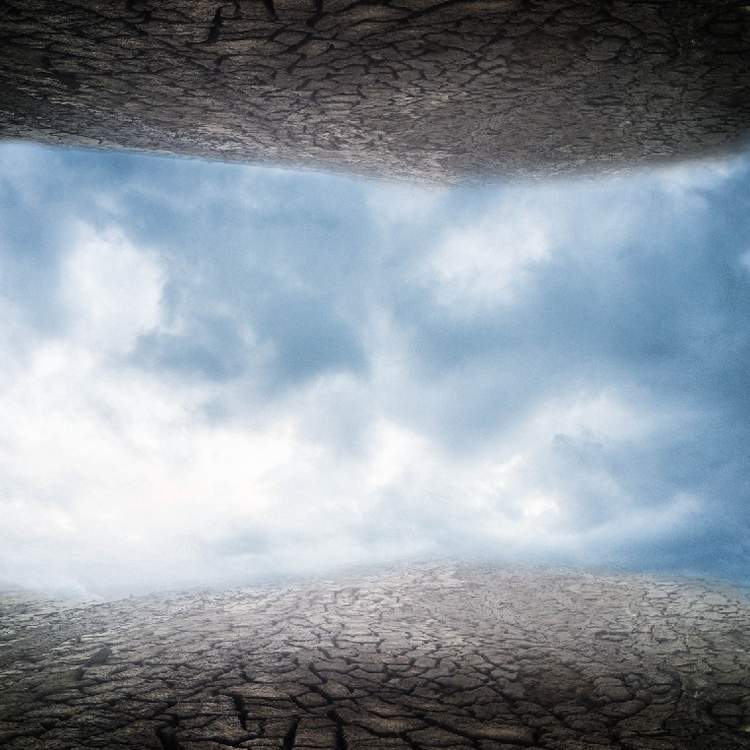
Open the sky image and use the Rectangular Marquee Tool (M) to select the sky only and place it in the space between the up and down desert parts. Set this layer below the desert groups.
Step 8
Make a Hue/Saturation adjustment layer to desaturate the sky. Bring the Saturation values down to -84:
5 responses to “How to Create a Surreal, Conceptual Head Photo Manipulation with Photoshop”
-
would be happy to see the psd file which is not listed on the tut. thanks
-
This is cool! Thank you!
By the way, I found a broken light bulb on DeviantArt.
https://www.deviantart.com/absurdwordpreferred/art/Broken-Light-Bulb-PNG-160293712-
Thank you! I added it as a free alternative in the tutorial.
-
-
I just want to thank you so much for allowing this tuts to be available. I have been trying to get better at photo manipulation for so long but I just don’t do well with video tuts, my brain just does not learn well that way. I need to be able to read the steps and then implement.
Thank you so much!-
These are how I learned Photoshop. They’re awsome!
Su
-

Leave a Reply