In this tutorial, we will learn how to create one big construction from many architectural parts. In the steps below I will show you how to combine the traditional photo manipulation with matte painting resulting in a renaissance piece. A PSD is included with this Photoshop tutorial.
Preview of Final Results

The Babel Tower Photo Manipulation Photoshop Tutorial
Resources
- Tower – SXC
- Colosseum1 – astock-stock
- Colosseum2 – araken-starway
- Colosseum3 – neverfading-stock
- Sky Pack – resurgere
- Cliff – ladydetemps
- Hills – mizarek-stock
- Hills2 – SXC
- Sand – SXC
- Sand2 – Della-Stock
Step 1
Create a new file. Open the sky photography and place it as I did in the image.
![step-001[4]](https://cdn.photoshoptutorials.ws/wp-content/uploads/migrated-images/ad2143290bbc_133F2/step-0014.png?strip=all&webp=82&avif=82&w=1920 "step-001[4]")
Step 2
Cut out the tower and drag it on top of the sky photo.
![step-002[4]](https://cdn.photoshoptutorials.ws/wp-content/uploads/migrated-images/ad2143290bbc_133F2/step-0024.png?strip=all&webp=82&avif=82&w=1920 "step-002[4]")
Cut out half of the tower and place it a bit to the right as you see in the image below.
![step-002a[4]](https://cdn.photoshoptutorials.ws/wp-content/uploads/migrated-images/ad2143290bbc_133F2/step-002a4.png?strip=all&webp=82&avif=82&w=1920 "step-002a[4]")
Go back to the first tower layer and transform it using the warp tool so all the pieces of the tower will look like one object. You can cut out more pieces of the first tower until it looks right.
![step-002b[4]](https://cdn.photoshoptutorials.ws/wp-content/uploads/migrated-images/ad2143290bbc_133F2/step-002b4.png?strip=all&webp=82&avif=82&w=1920 "step-002b[4]")
![step-002c[4]](https://cdn.photoshoptutorials.ws/wp-content/uploads/migrated-images/ad2143290bbc_133F2/step-002c4.png?strip=all&webp=82&avif=82&w=1920 "step-002c[4]")
If there still are some parts that don’t fit right you can erase them.
![step-002d[4]](https://cdn.photoshoptutorials.ws/wp-content/uploads/migrated-images/ad2143290bbc_133F2/step-002d4.png?strip=all&webp=82&avif=82&w=1920 "step-002d[4]")
Step 3
Now that we have the most important part of the babel tower let’s create the rest of it. Cut out the next photograph and place it as you see below.
![step-003[4]](https://cdn.photoshoptutorials.ws/wp-content/uploads/migrated-images/ad2143290bbc_133F2/step-0034.png?strip=all&webp=82&avif=82&w=1920 "step-003[4]")
Create a clipping mask to this layer. Go to adjustment layers- hue/saturation and make the presets as you see below.
![step-003a[4]](https://cdn.photoshoptutorials.ws/wp-content/uploads/migrated-images/ad2143290bbc_133F2/step-003a4.png?strip=all&webp=82&avif=82&w=1920 "step-003a[4]")
Open the next photo and cut out the part that we need. Place it left to the tower. Do the same for the next photo.
![step-003b[4]](https://cdn.photoshoptutorials.ws/wp-content/uploads/migrated-images/ad2143290bbc_133F2/step-003b4.png?strip=all&webp=82&avif=82&w=1920 "step-003b[4]")
![step-003c[4]](https://cdn.photoshoptutorials.ws/wp-content/uploads/migrated-images/ad2143290bbc_133F2/step-003c4.png?strip=all&webp=82&avif=82&w=1920 "step-003c[4]")
CTRL+J the part of the tower that we used at step 3 and place it as I did. Erase the parts that don’t fit.
![step-003d[4]](https://cdn.photoshoptutorials.ws/wp-content/uploads/migrated-images/ad2143290bbc_133F2/step-003d4.png?strip=all&webp=82&avif=82&w=1920 "step-003d[4]")
![step-003e[4]](https://cdn.photoshoptutorials.ws/wp-content/uploads/migrated-images/ad2143290bbc_133F2/step-003e4.png?strip=all&webp=82&avif=82&w=1920 "step-003e[4]")
Go back to the first piece of the tower and cut out a level. I used the pen tool but since this is a small part any other method is accepted.
![step-003f[4]](https://cdn.photoshoptutorials.ws/wp-content/uploads/migrated-images/ad2143290bbc_133F2/step-003f4.png?strip=all&webp=82&avif=82&w=1920 "step-003f[4]")
Duplicate the first piece of the tower and place it above all the other pieces.
![step-003g[4]](https://cdn.photoshoptutorials.ws/wp-content/uploads/migrated-images/ad2143290bbc_133F2/step-003g4.png?strip=all&webp=82&avif=82&w=1920 "step-003g[4]")
Step 4
Now let’s blend all of them. Go to Adjustment Layers – Color Balance.
![step-004[4]](https://cdn.photoshoptutorials.ws/wp-content/uploads/migrated-images/ad2143290bbc_133F2/step-0044.png?strip=all&webp=82&avif=82&w=1920 "step-004[4]")
Adjustment Layers- Levels.
![step-004a[4]](https://cdn.photoshoptutorials.ws/wp-content/uploads/migrated-images/ad2143290bbc_133F2/step-004a4.png?strip=all&webp=82&avif=82&w=1920 "step-004a[4]")
Adjustment Layers – Color Balance.
![step-004b[3]](https://cdn.photoshoptutorials.ws/wp-content/uploads/migrated-images/ad2143290bbc_133F2/step-004b3.png?strip=all&webp=82&avif=82&w=1920 "step-004b[3]")
Step 5
Now let’s create the background. Open the lake stock photo and place it under the tower.
![step-005[3]](https://cdn.photoshoptutorials.ws/wp-content/uploads/migrated-images/ad2143290bbc_133F2/step-0053.png?strip=all&webp=82&avif=82&w=1920 "step-005[3]")
Place the next 2 photos as I did in the image below, resize them so they will look natural.
![step-005a[3]](https://cdn.photoshoptutorials.ws/wp-content/uploads/migrated-images/ad2143290bbc_133F2/step-005a3.png?strip=all&webp=82&avif=82&w=1920 "step-005a[3]")
![step-005b[3]](https://cdn.photoshoptutorials.ws/wp-content/uploads/migrated-images/ad2143290bbc_133F2/step-005b3.png?strip=all&webp=82&avif=82&w=1920 "step-005b[3]")
Apply some levels.
![step-005c[3]](https://cdn.photoshoptutorials.ws/wp-content/uploads/migrated-images/ad2143290bbc_133F2/step-005c3.png?strip=all&webp=82&avif=82&w=1920 "step-005c[3]")
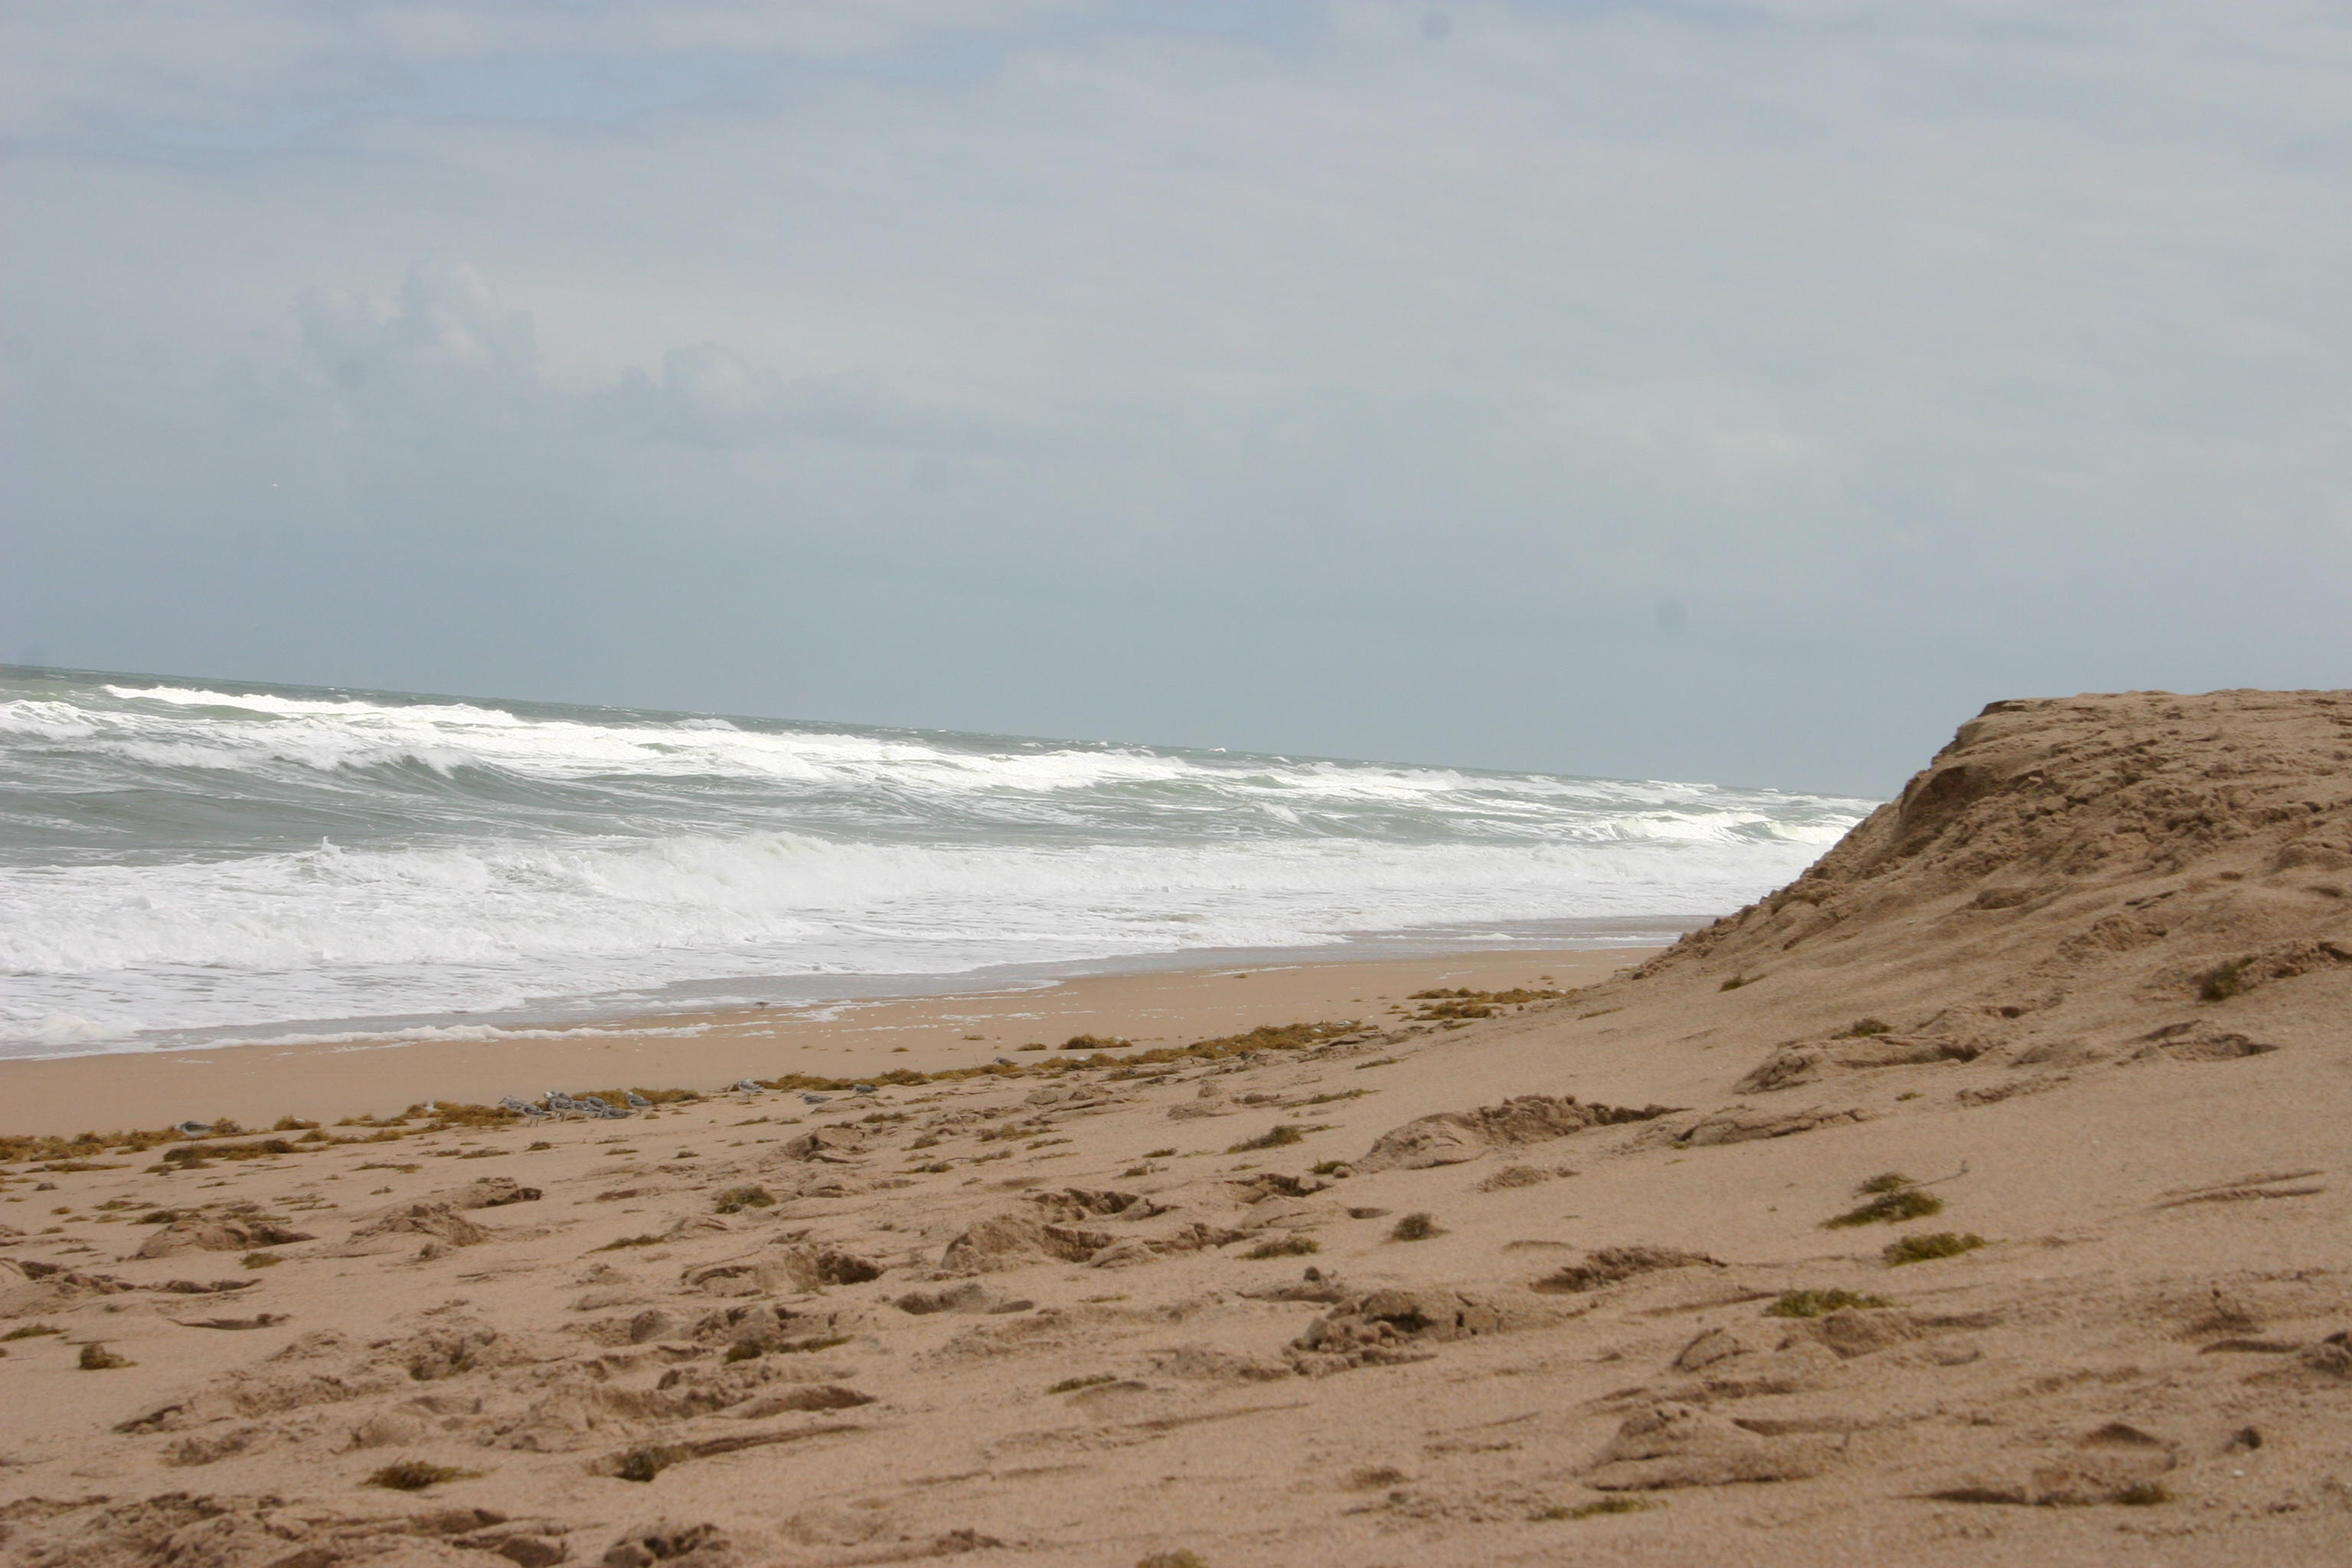
Step 6
Open the desert photo. Duplicate the layer and flip it horizontally. We only need the desert parts.
![step-006[3]](https://cdn.photoshoptutorials.ws/wp-content/uploads/migrated-images/ad2143290bbc_133F2/step-0063.png?strip=all&webp=82&avif=82&w=1920 "step-006[3]")
Create a mask and erase the unwanted parts.
![step-006a[3]](https://cdn.photoshoptutorials.ws/wp-content/uploads/migrated-images/ad2143290bbc_133F2/step-006a3.png?strip=all&webp=82&avif=82&w=1920 "step-006a[3]")
Use some color balance and some levels as a clipping mask for the sand layer.
2 responses to “The Babel Tower Photo Manipulation”
-

This is an incredible piece I am so stoked to try it out. Thanks!
-
how to cut and paste a head of a person
Leave a Reply