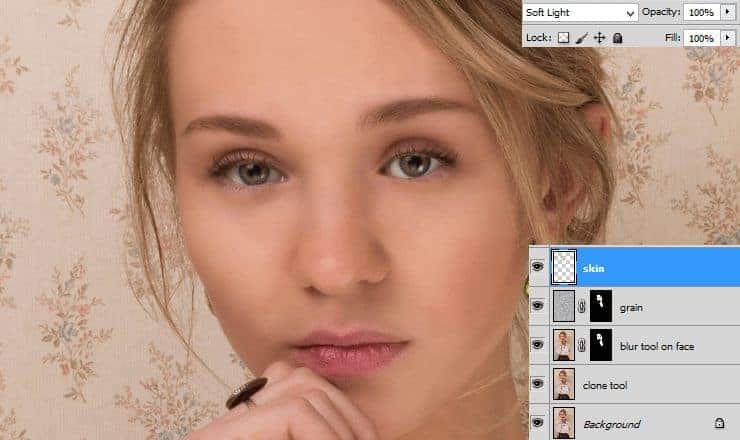
Step 15
Back to grain layer Duplicate it.
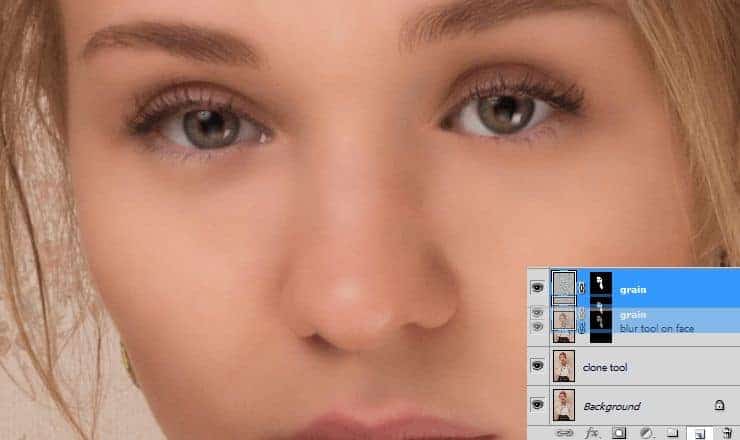
Step 16
Place layer on the top. Change blending mode to Divide, change opacity to 8%.
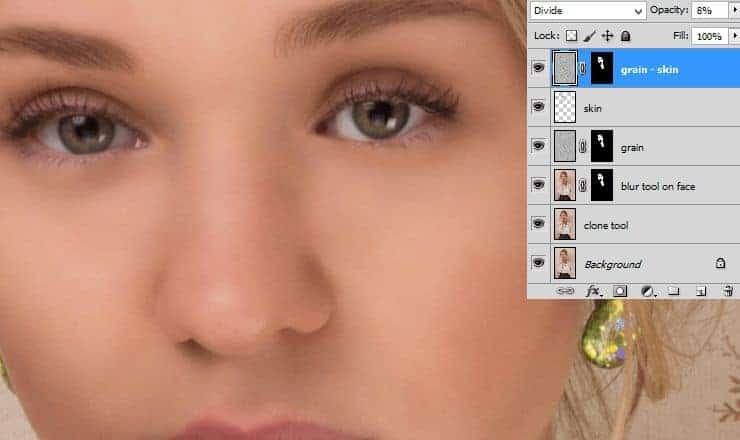
Step 17
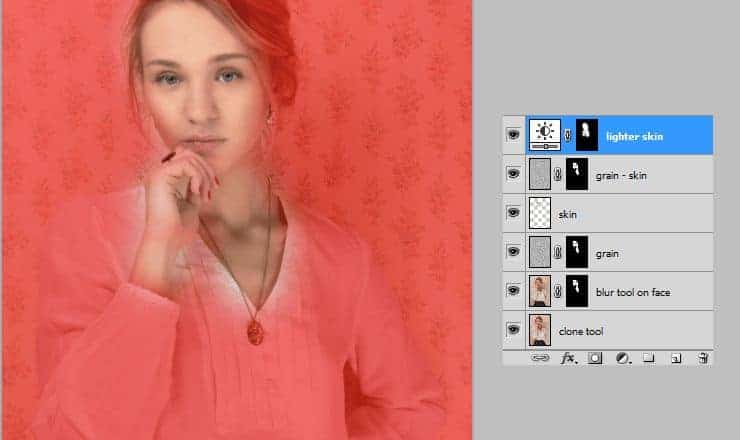
Add adjustment layer – Brightness/Contrast. Set it as shown.
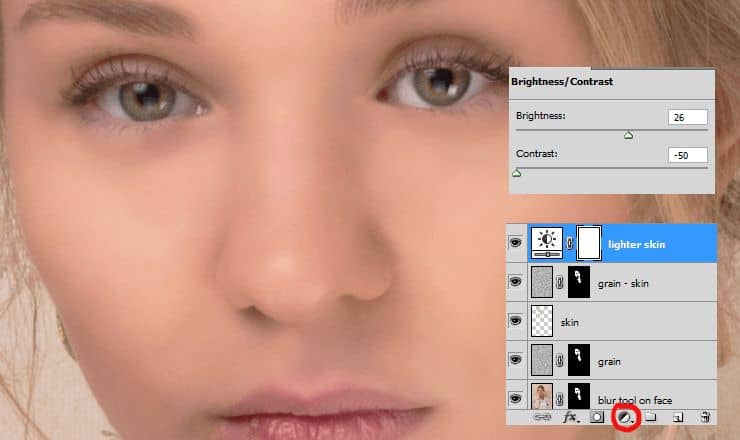
Step 18
Cool! Now fill mask with black. Then, with soft, big brush draw some strokes on her skin.
Step 19
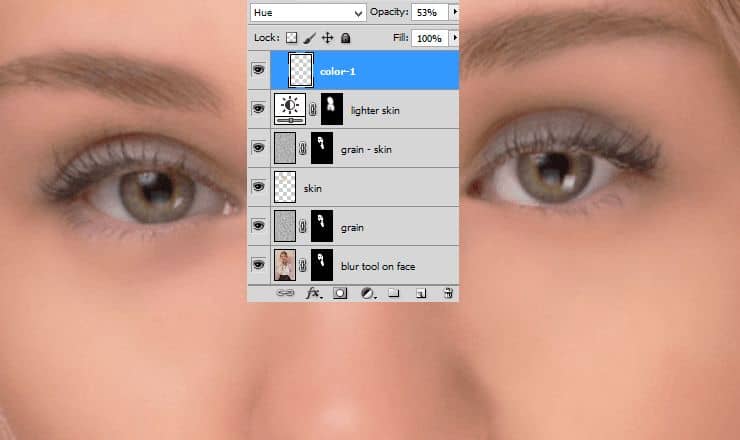
It’s time to add make-up. I think her blonde hair would be suit to blue eyeshadow. Add new layer. Pick soft brush and decrease opacity of it to 50%. Draw gently eyeshadows.

Step 20
Change blending mode of this layer to Hue. Decrease opacity to 53%. It will be base for eyeshadows.
Step 21
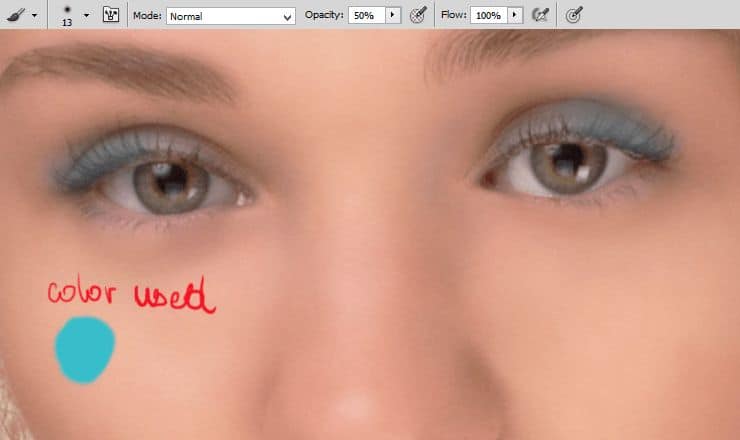
Create new layer. With the same brush settings and color, draw on the edges of an eye.
Step 22
Now change blending mode of this layer to Hue. Again. :).
Step 23
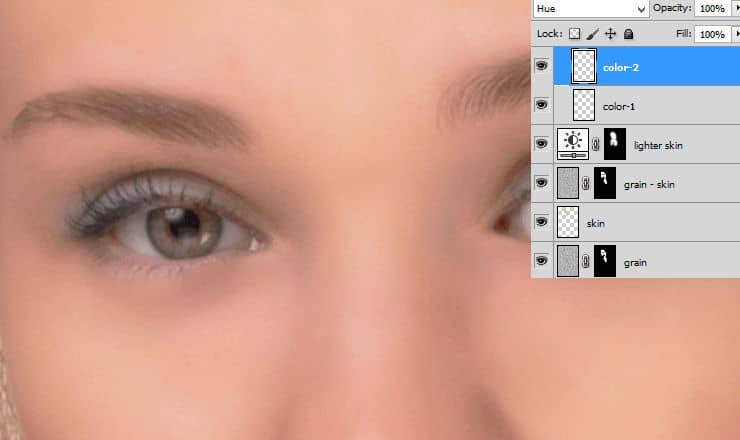
For the smoky eyes effect, draw some shadows on the top of an eye. Use the same brush settings as in step 19.
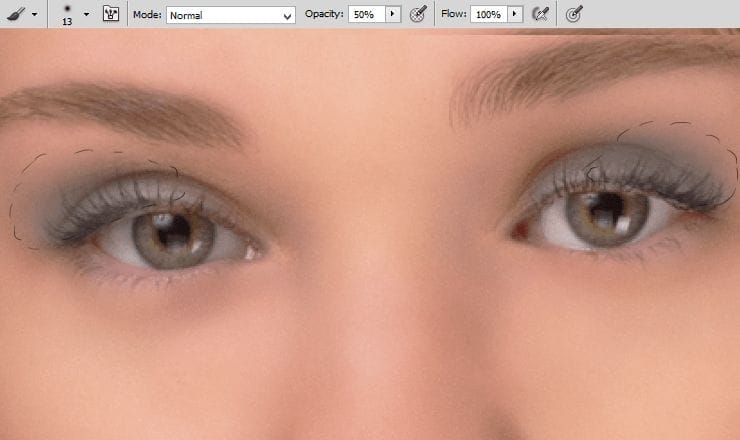
Change this layer blending mode to Multiply.
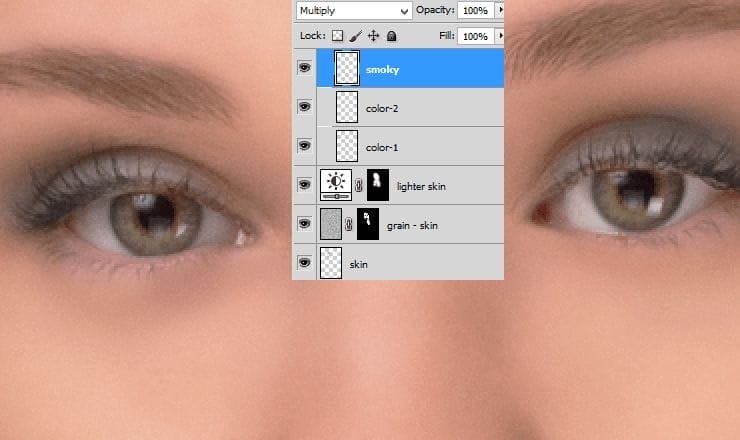
Step 24
Add new layer. Change its blending mode to Multiply. Set smaller brush and draw edge of the eyelid (the same settings as in step 19, but size is 1-2px).
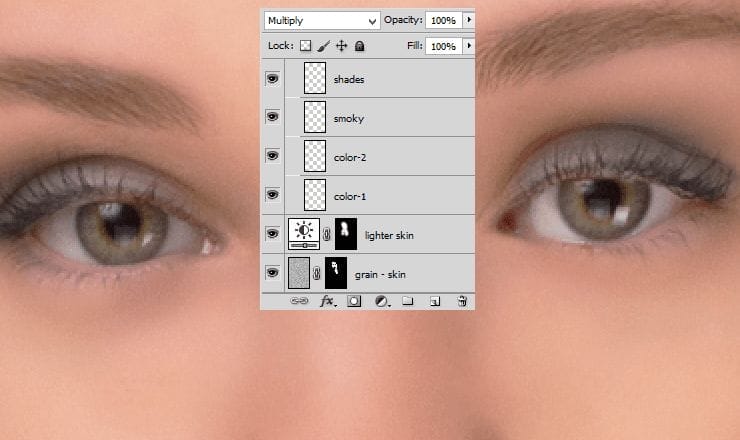
Step 25
If is needed, you can decrease opacity of created layer to 59%.
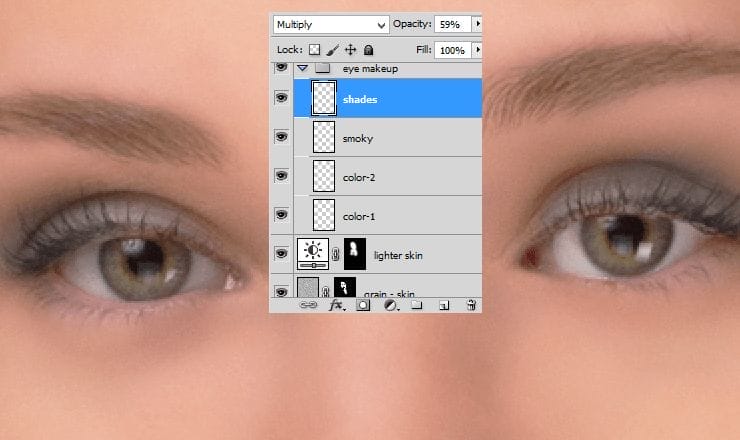
Step 26
Now you’ll make eye iris. Add new layer. With soft, big, blue (#115279) brush, fill eye iris.
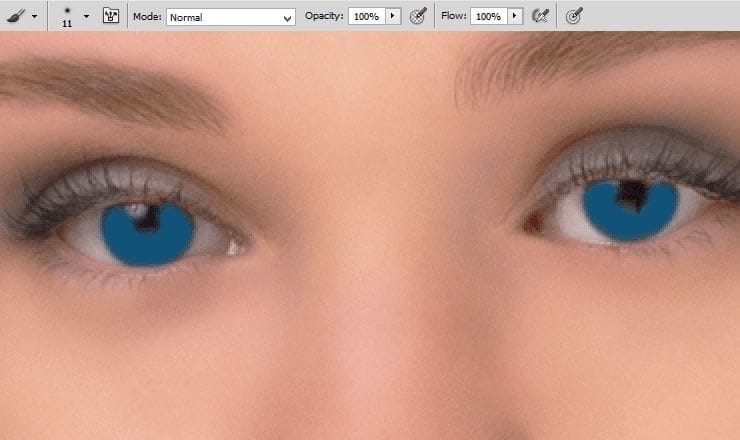
Step 27
Change blending mode to Color Dodge – iris will be brighter and more saturated.
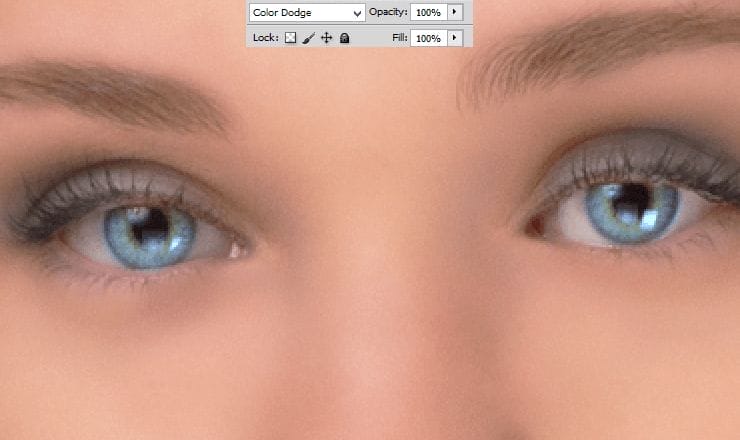
Step 28
To avoid flatty color of an eye, add new layer. use small, soft brush and dark-brown color. Draw edges of an iris.
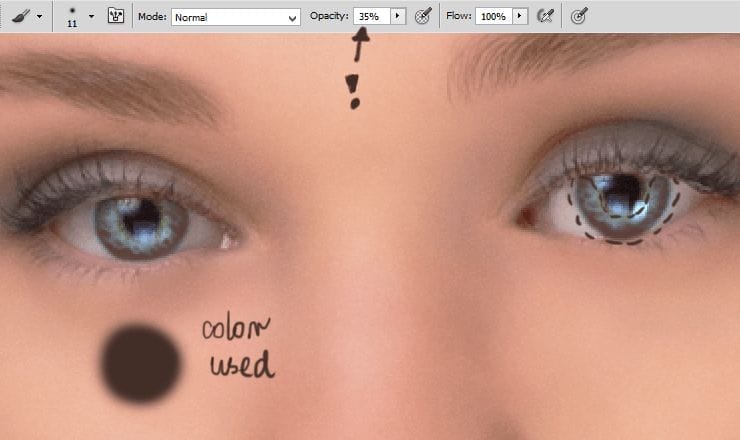
Now you can change its blendnig mode to Overlay.
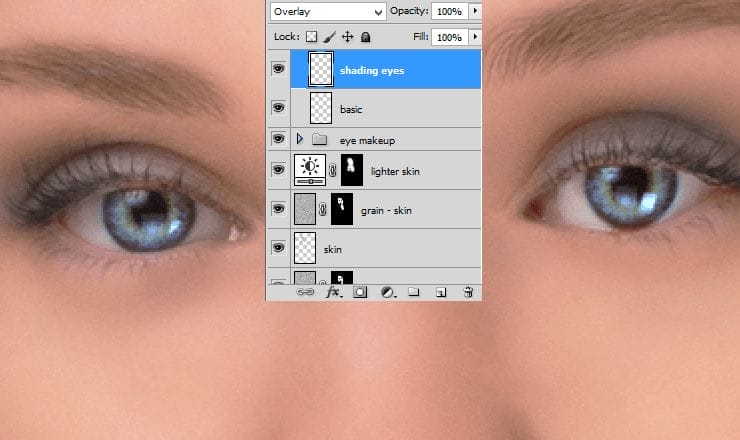
Step 29
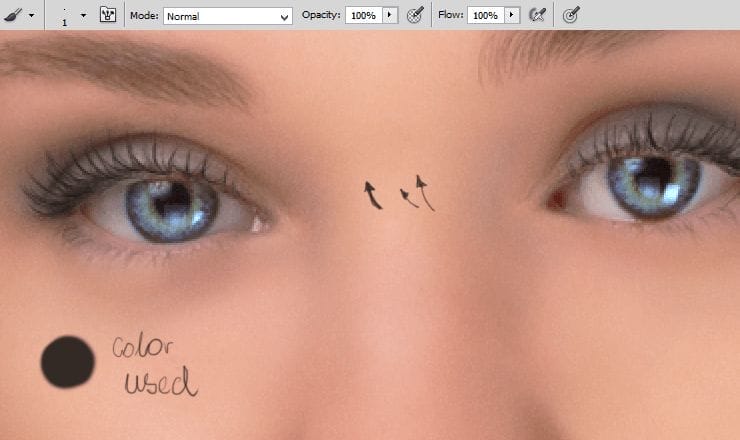
Add new layer. With small, brown brush make lashes longer. Use pressure opacity of brush to more real look. Arrows will guide you, how to draw lashes strokes.
Step 30
Time to make a lips! Add new layer. Create rough fill of lips. Use soft, pink brush – I used cold tone of pink, because I think it suit best for her.
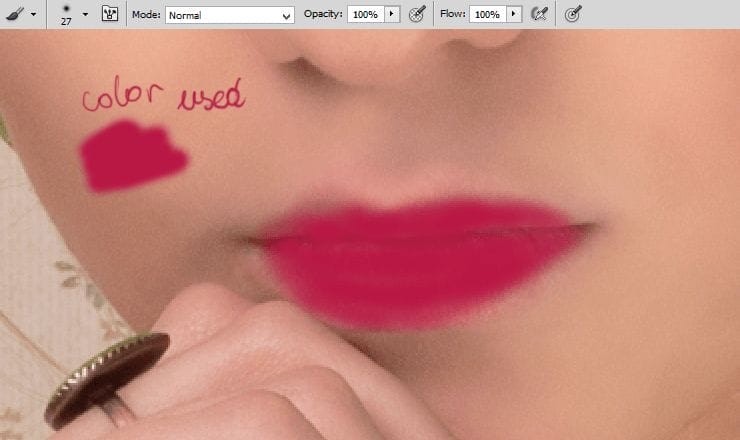
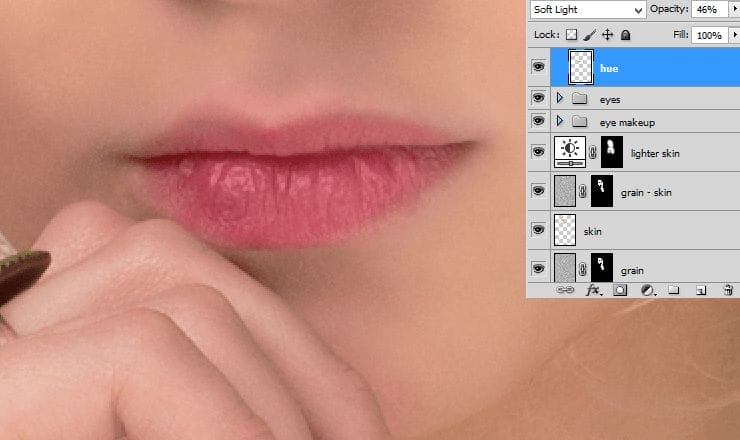
Change blending mode of this layer to Soft Light.
Step 31
To give full lightning of her lips, add new layer and with soft, white brush draw strokes of light.
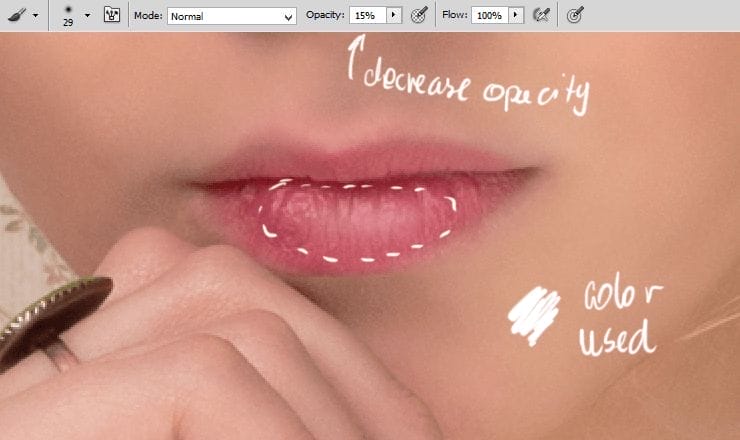
If you like this effect, you can leave, but I changed blending mode of this layer to Hard Light.
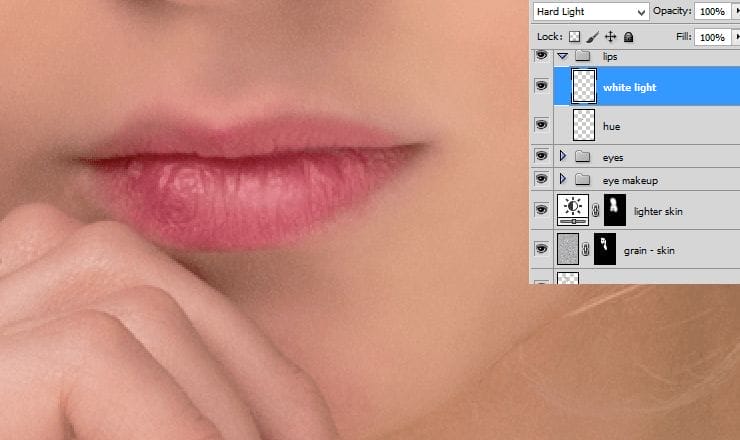
Step 32
Now you should make facial features harder. Add new layer. Pick soft, big brush, with dark-beige (#ac7d79) color. Fill edges of her face, add some strokes on eyelid.
17 responses to “Retouch Basics for Graphic Designers and Photographers”
-
Wonderful your photography
-
It was a Great Tutorial.
-
Ich hatte der Zeit nur mitbekommen, er sollte sein amateur dreier Studium Amerika gemacht und Japan für einen Elektronikkonzern gearbeitet haben.
-
please i need a private tutor who can put me through. to be a Photoshop guru….
-
i try another way
-
Directions are very unclear. Fragmented sentence and simple directions does not provide the correct way to navigate through photoshop at all. I was very hard to follow these directions without knowing every single little tool in photoshop. Photoshop fucks you up if you don’t have everything exactly correct.
-
Looks just like an advertisement! Very well done. This has certainly given me some good clues into photo retouching.
-
Really nice one…Exact explanation.
-
the better way is to use frequency separation :)
-
Excellent tutorial. I like the part of making Noise and masking to the bottom layer. New trick for me. Thanks
-
Absolutely beautiful works.. This is what called “Creativity”.
-
Příšerná postprodukce
-
Most destructing thing in this photo is background with lots of flowers etc. Removing it first would be nice.
-
This is really very informative post
-
Some times I wonder would be there anything like hot model if there are no photoshop experts
-
To much for me and use methode frequency seperation, IHP, D&B
-
ganda ng model nyo..


Leave a Reply