Luminar AI lets you turn your ideas into reality with powerful, intelligent AI. Download the photo editor and see how you can completely transform your photos in a few clicks.
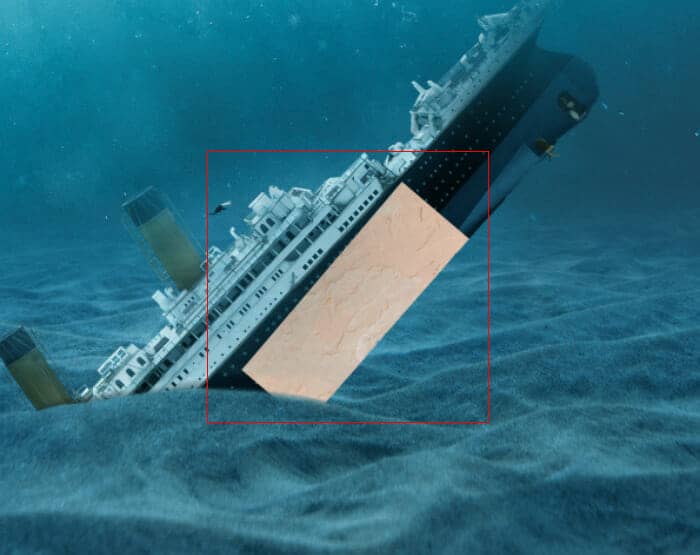
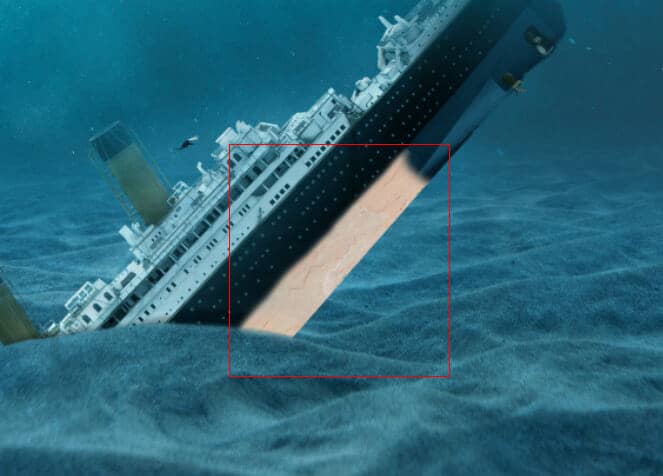

Press Ctrl/Cmd + J to duplicate the texture layer, and place it here.
Step 24
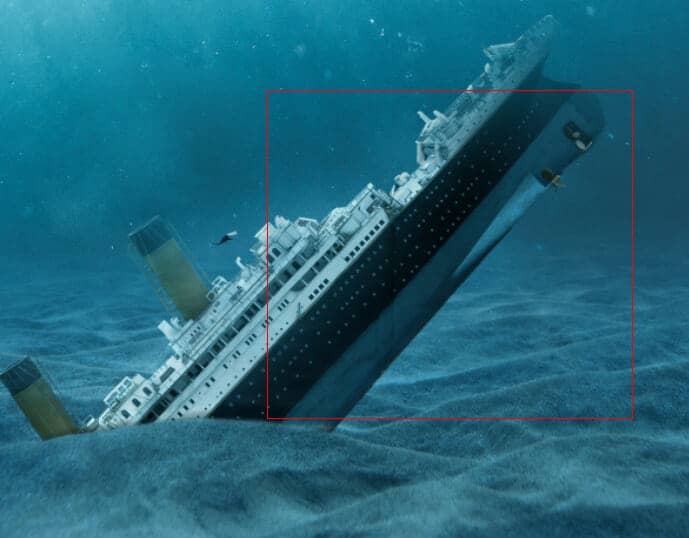
Now, create a new layer and change the blend mode to Color Dodge. Then use the Soft Round brush tool with foreground color gray #808080 and paint highlight parts on titanic top.

Step 25
Create another layer and use Soft round brush tool with foreground color white and paint lights on Titanic windows.

Step 26
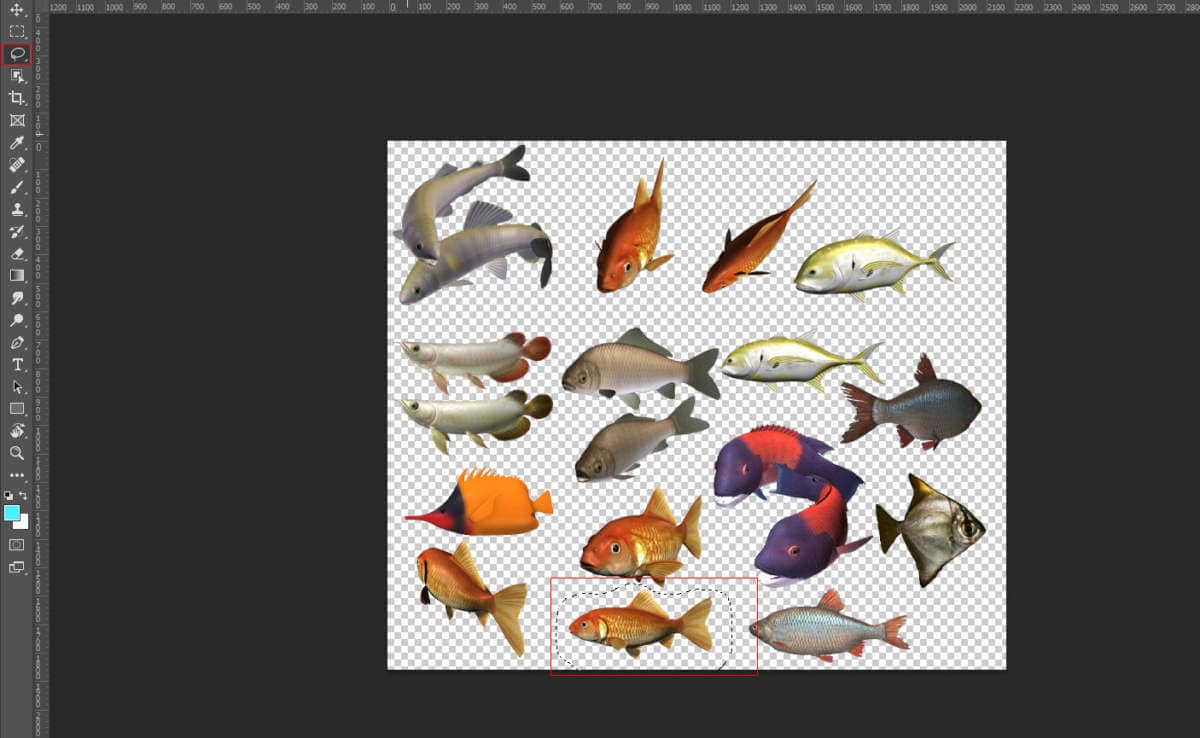
Next, go to open fishes. File > Open and select Fishes. After you open the image, use Lasso Tool(L) and start selecting fish. After the selection area has been created, simply copy (Ctrl / Cmd + C) and Paste (Ctrl / Cmd + V) it to our work canvas. Then position the image with the transform tool (Ctrl / Cmd + T). Hold Alt + Shift and resterize like image below. In Photoshop CC only hold Alt to resterize al sides together.

Step 27
Add Adjustment Layer "Color Balance"
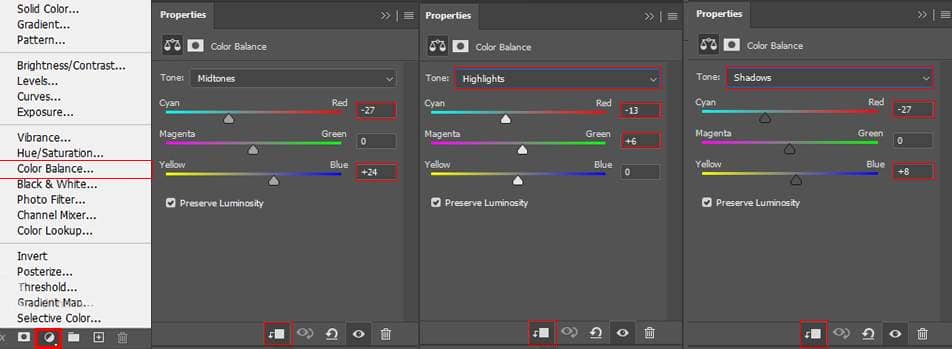
Step 28
Add Adjustment Layer "Curves"
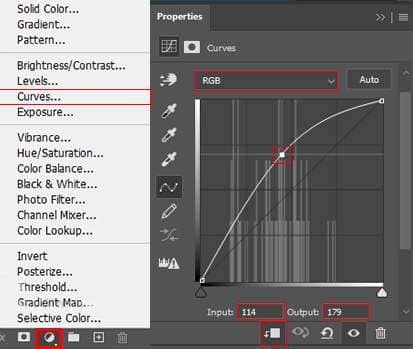
Step 29
Add Adjustment Layer "Curves"
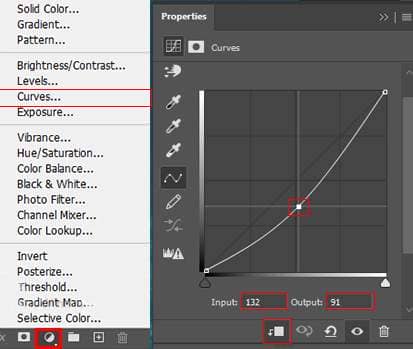
Step 30
Add Adjustment Layer "Hue/Saturation"
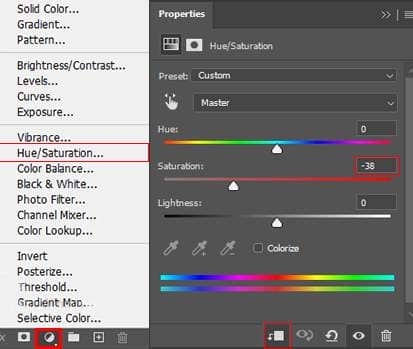
Step 31
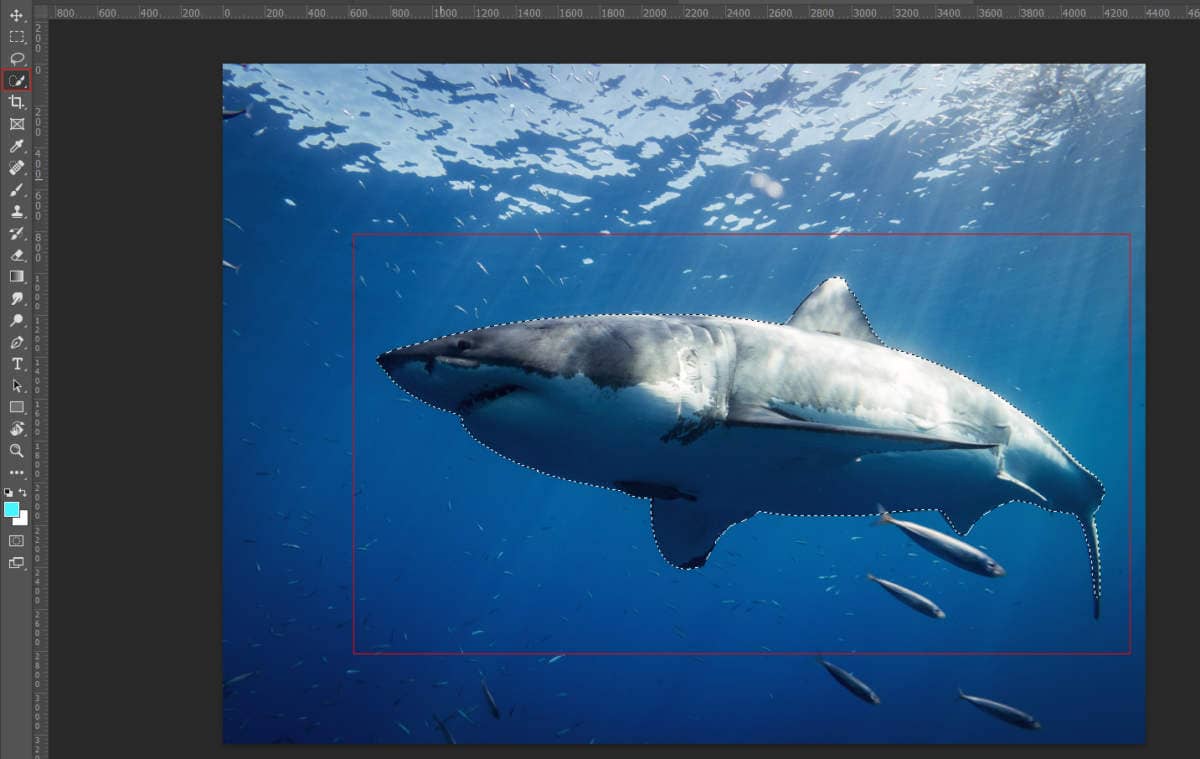
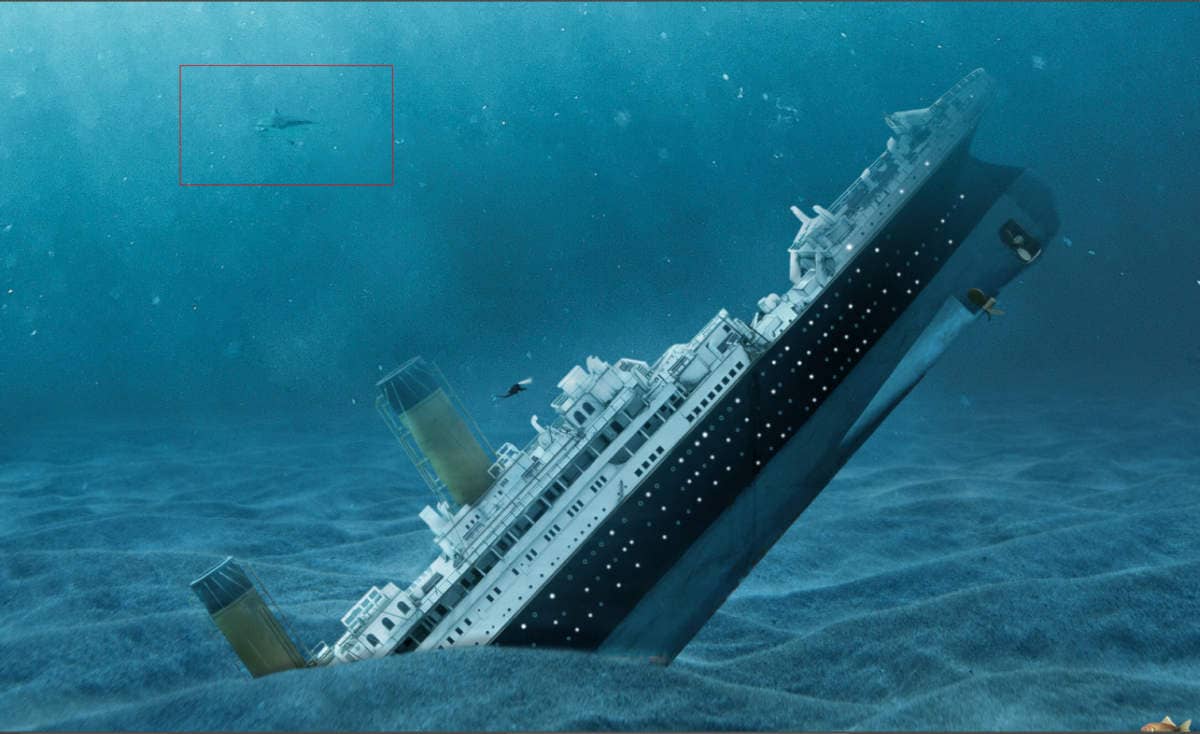
Next, we will open Shark, go to File > Open, and select image. Now use the Quick Selection Tool(W) and start selecting the animal. After the selection area has been created, simply copy (Ctrl / Cmd + C) and Paste (Ctrl / Cmd + V) it to our work canvas. Then position the image with the transform tool (Ctrl / Cmd + T). Hold Alt + Shift and resterize like image below. In Photoshop CC only hold Alt to resterize al sides together. Opacity change to 18%.
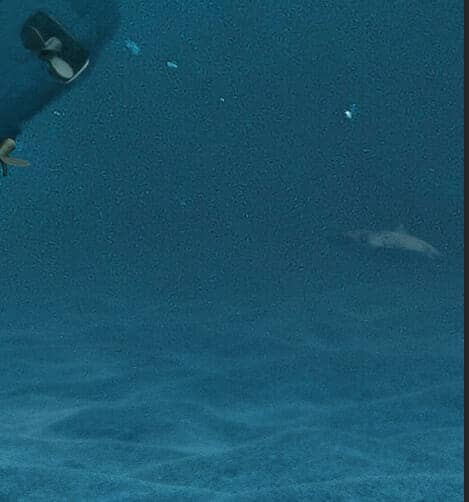
Duplicate shark layer (Ctrl/Cmd + J) and change the blend mode to Soft Light.
Step 32
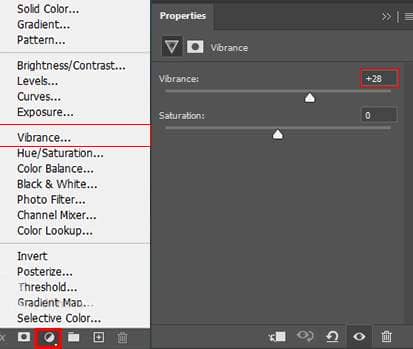
Add Adjustment Layer "Vibrance"
Step 33
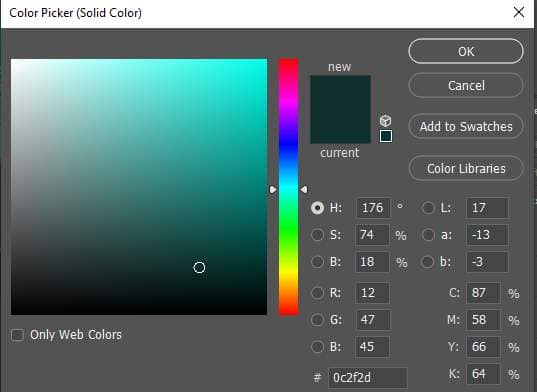
Add Adjustment Layer "Color Fill" #0c2f2d Soft Light 50%.A
Step 34
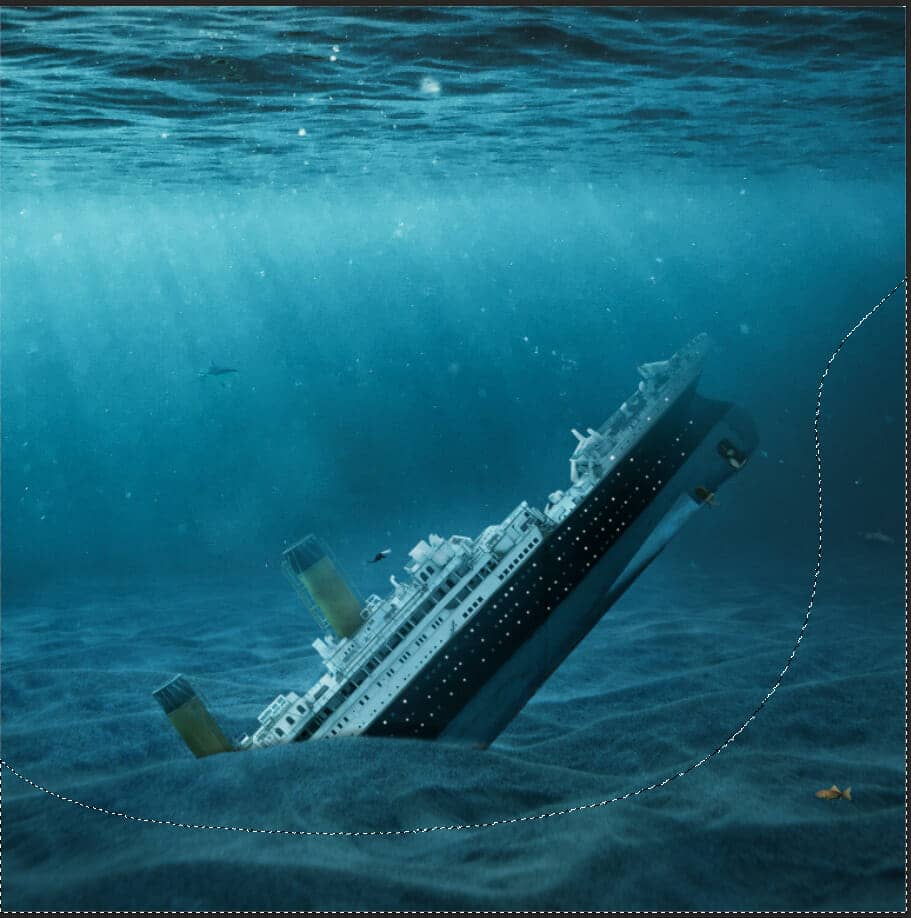
Add Another color fill with foreground color black. Opacity set to 39%.
Step 35
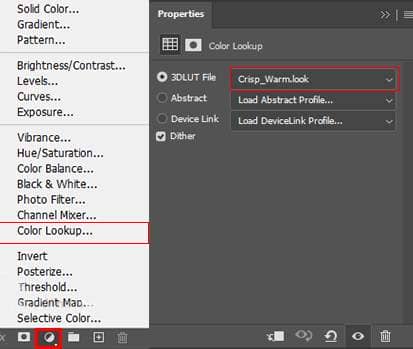
Add Adjustment Layer "Color Lookup" Opacity reduce to 30%.
Step 36
When we finished all this, now merge all layers to one. Select the last layer and hold CTRL/CMD + SHIFT + ALT + E. Now we have a final layer, right-click on mouse and select Convert to Smart Object. Then go to Filter > Camera RAW Filter. At its most basic, the Photoshop Camera Raw filter allows you to use the functions of the ACR interface at any time within Photoshop.


