Turn any photo into a dot grid artwork with these Photoshop actions. You'll get great results with dots that change size. They get larger in brighter areas and smaller in darker areas. Free download available.
Lower the opacity of this layer to 90%and use a layer mask to reduce the mist opacity to make it appear more subtle.
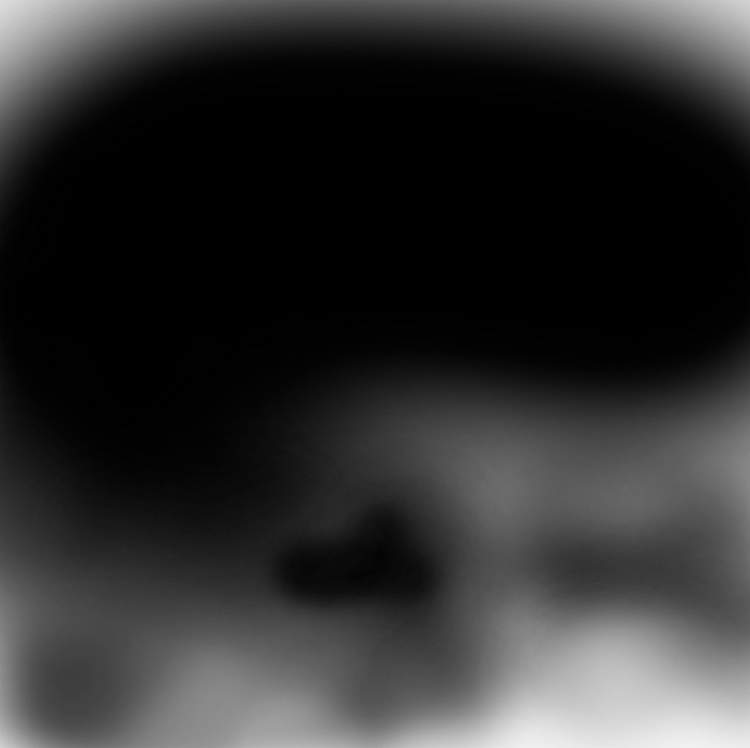
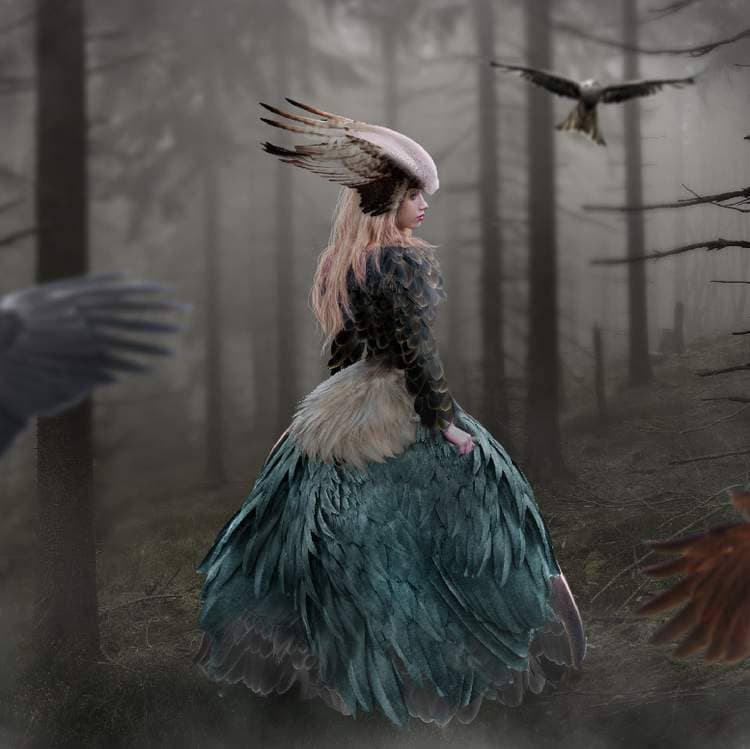
Duplicate this layer and lower the opacity of this layer to 50%. Here are results on the layer mask and on the image.
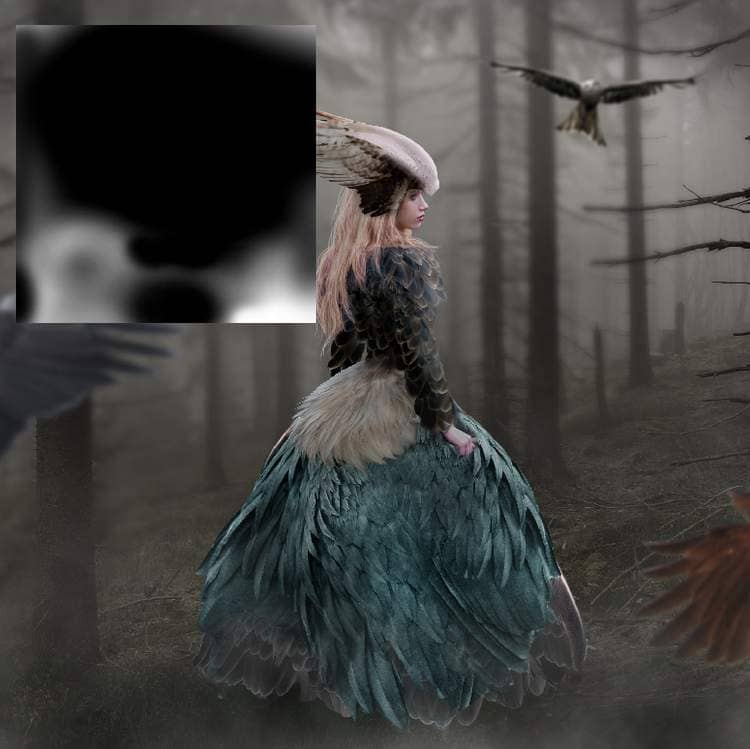
Step 51
Create a group of the mist layers and use a Curves adjustment layer to increase the mist's visibility.
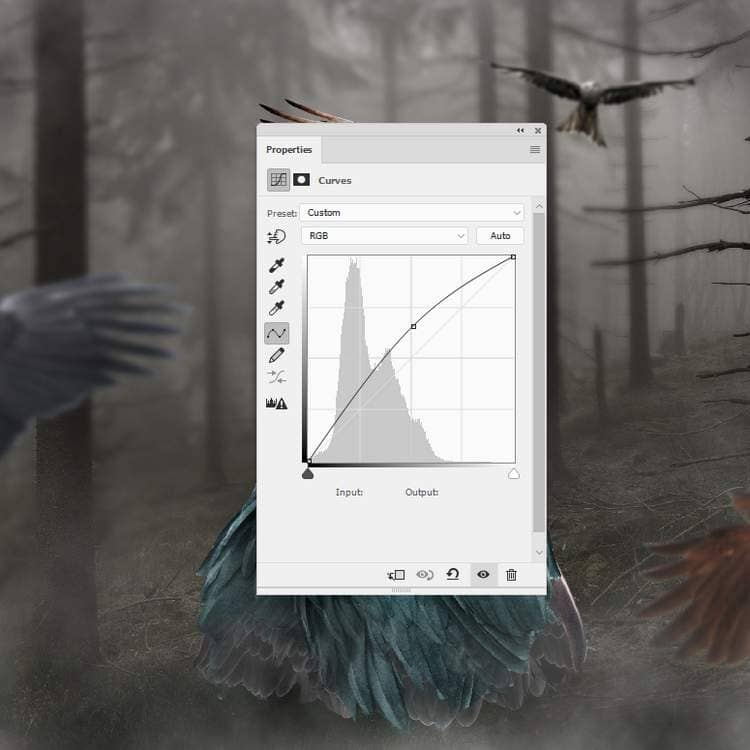
Step 52
Make a new layer on top of the layers and use a soft brush with the color #b7b2abto paint some light on the tree to fit the main light direction.

Step 53
Open the wands image and take the second one from the left to add to the arm's area. Use Ctrl+Tto rotate it to fit the arm's pose. Add a mask to this layer to erase the part on her hand to make the wand look like being held by the hand.

Step 54
Create a Hue/Saturation adjustment layer to change the wand's color. Alter the Reds, Yellowsand Cyans settings:
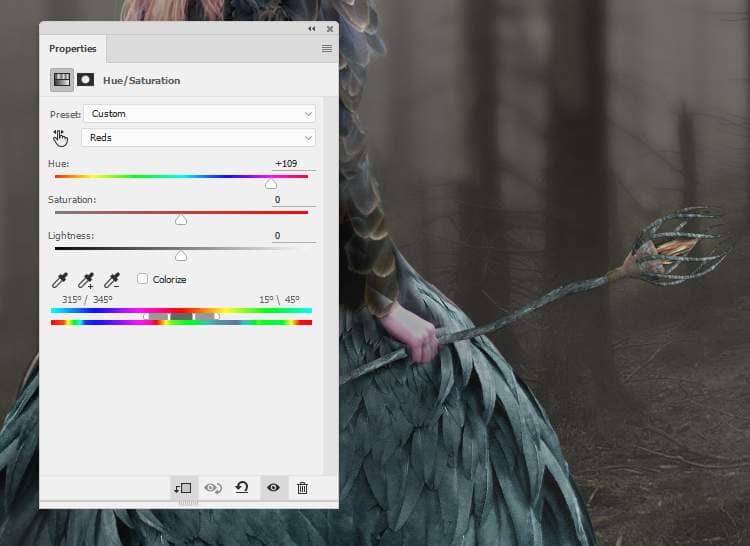
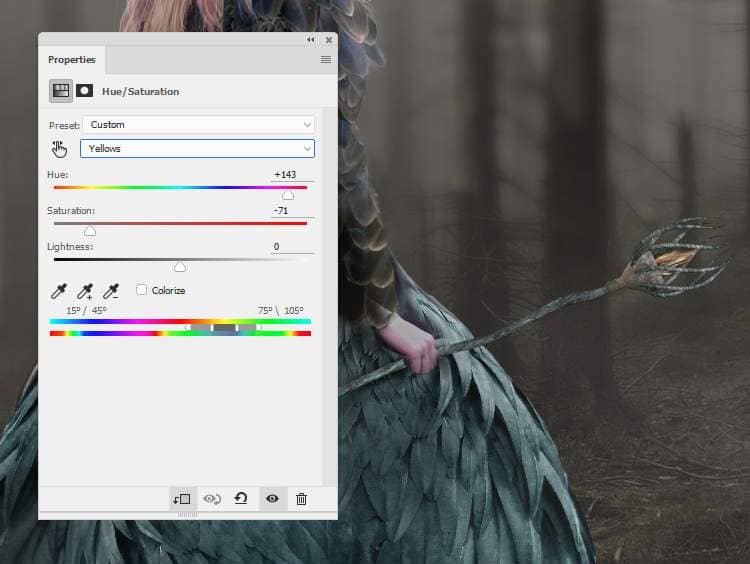
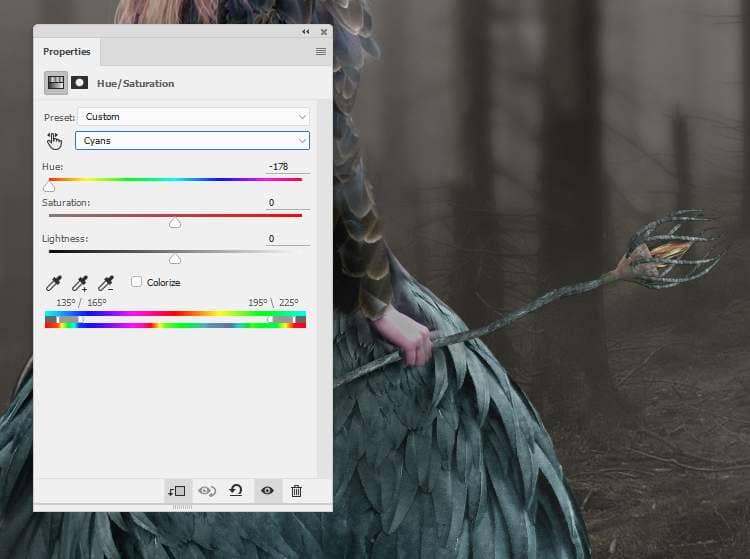
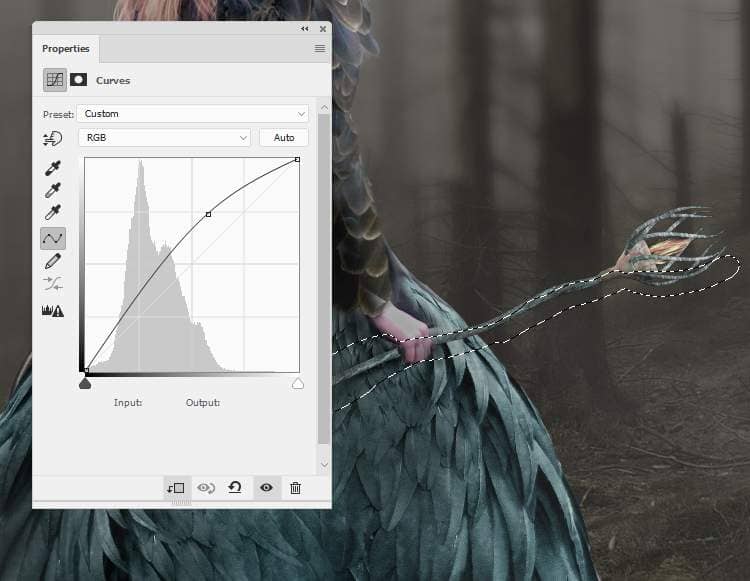
Make a Curvesadjustment layer to brighten the wand a bit. On the layer mask, paint on the lower part and the one behind the back as it's hidden from the light.
Step 55
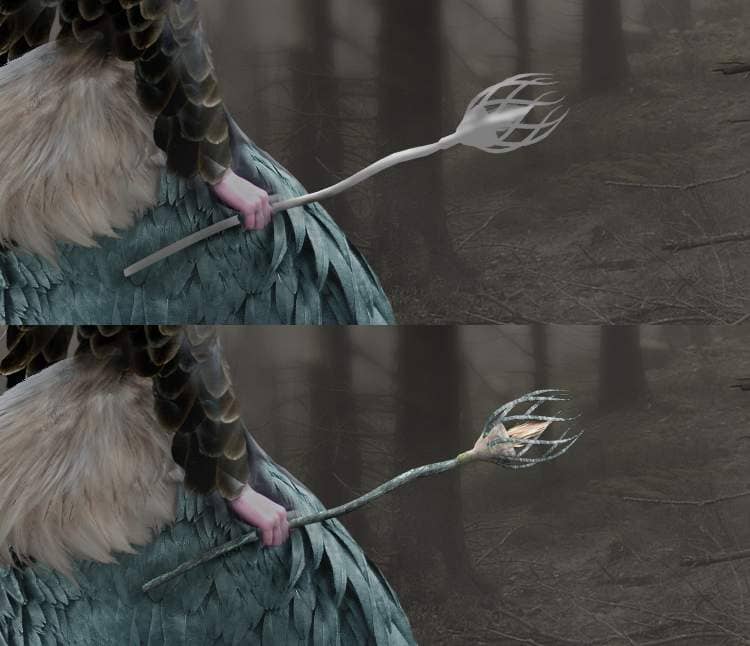
Make a new layer, change the mode to Overlay 100%and fill with with 50%gray. Use the Dodge and Burn Toolto refine the light and shadow on the wand.
Step 56
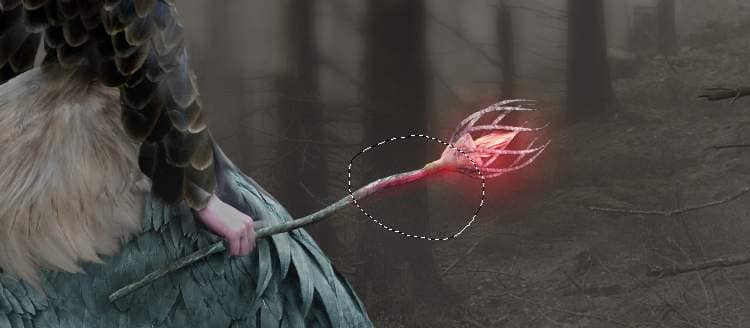
Create a new layer and use a soft brush with the color #170604to paint on the top of the wand. Change this layer mode to Linear Dodge 100%.

On a new layer, use a soft with the color #cf1623to paint more light to the wand and alter this layer mode to Overlay 100%:

Make a new layer , change the mode to Overlay 100% and and the brush's color to #cf2511. Use this color to paint light below the top of the wand as it's illuminated by the red light (we'll add it in the next stage).
Step 57
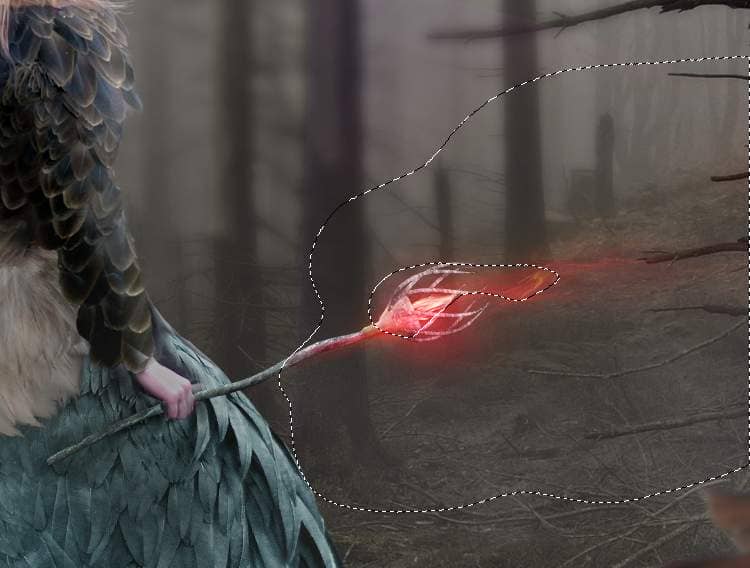
Place the nebula image on the top of the wand and use Ctrl+Twith the Warpmode to bend the image following the pose of the wand.
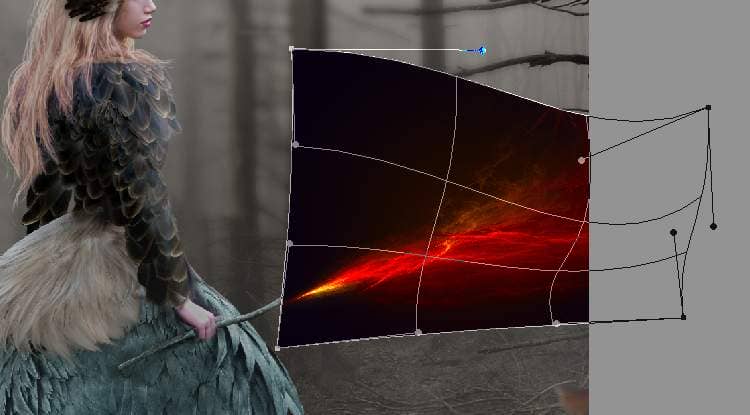
Change this layer mode to Screen 100%and use a layer mask to reduce the effect as shown below:
Step 58
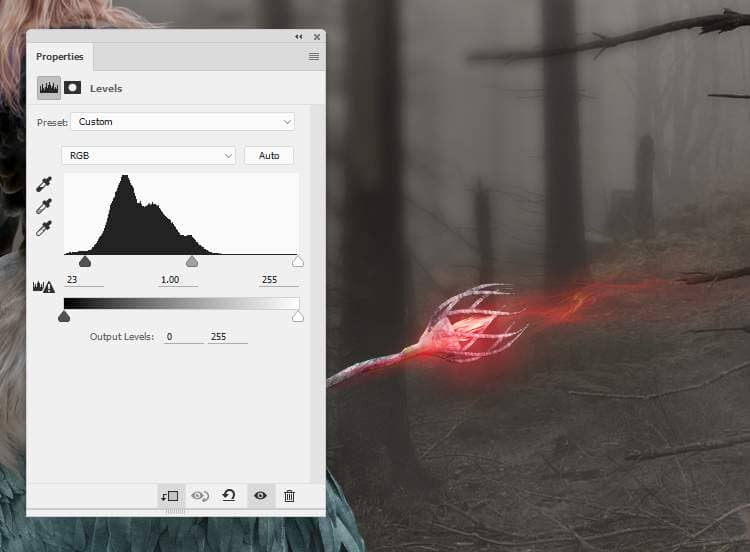
Create a Levelsadjustment layer (set as Clipping Mask) to remove all the hard edges remained.
Add a Hue/Saturationadjustment layer to change the color on the upper of the effect. Paint on the lower to keep the red light on there.
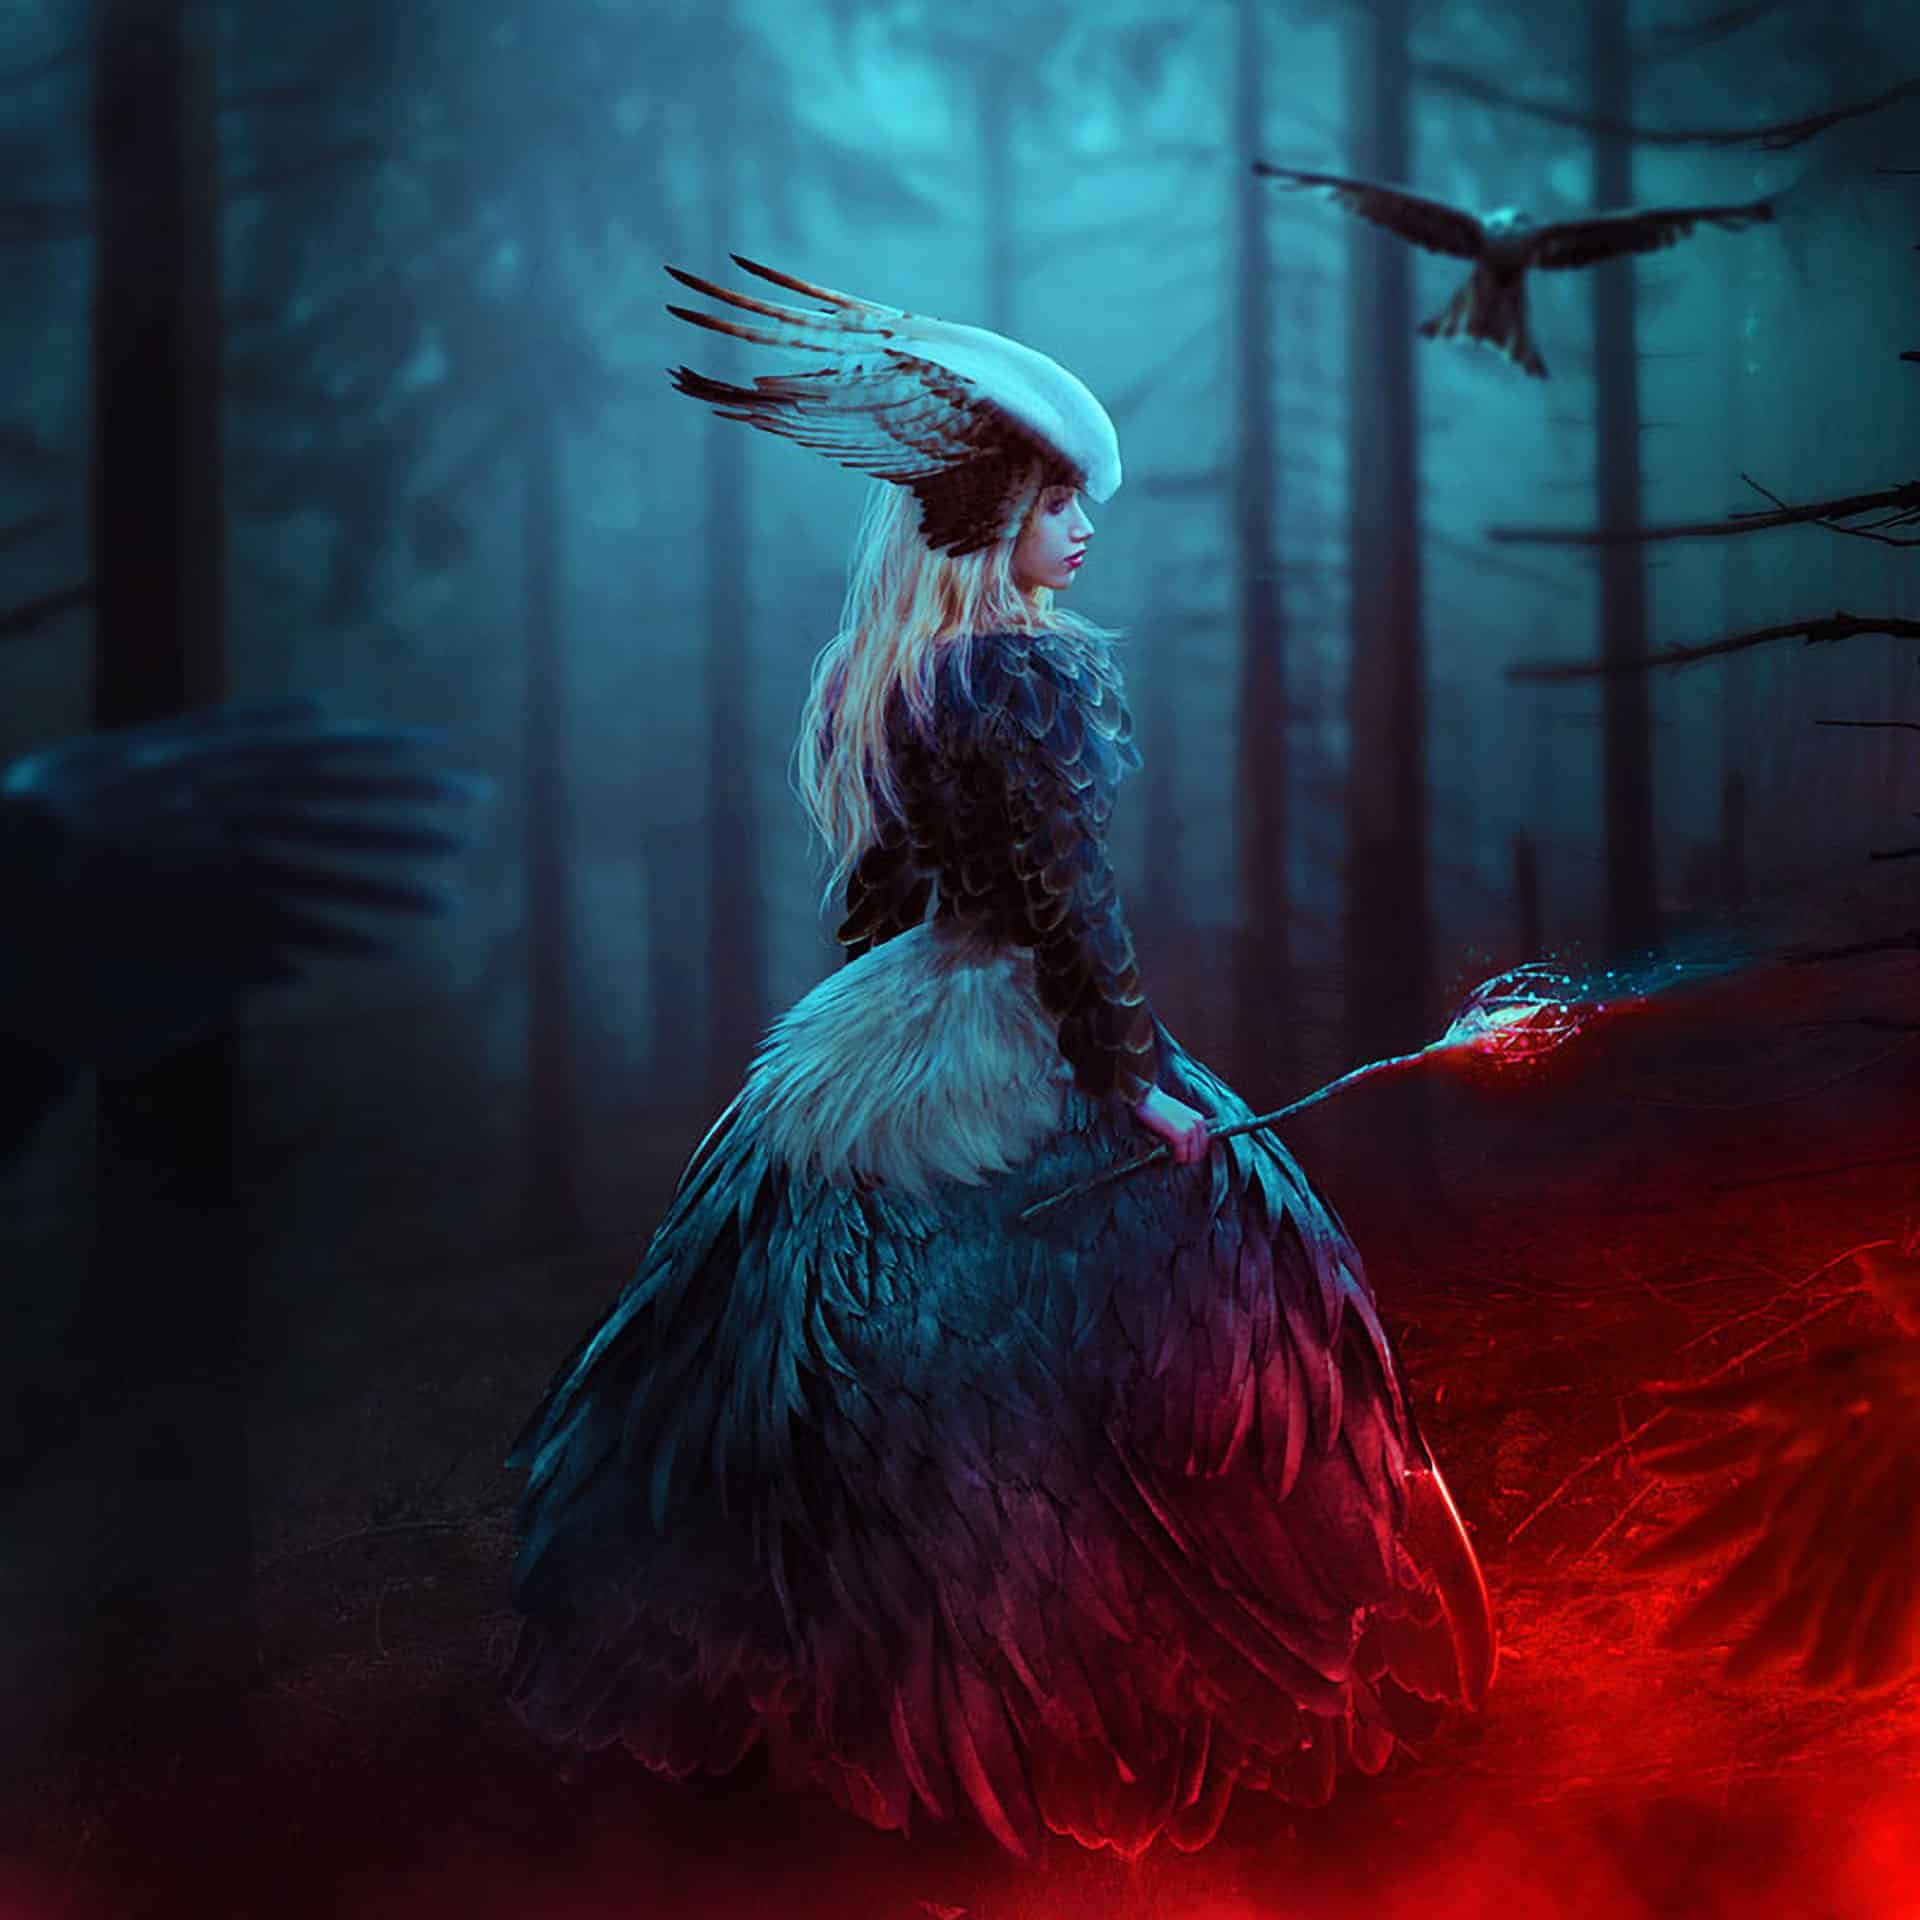

4 comments on “How to Create a Queen of Bird Photo Manipulation in Photoshop”
Where is the model image?
Don't worry, I found it. :)
La photo de la femme ??? merci !!
https://www.deviantart.com/ann-emerald-stock/art/Girl-in-Fantasy-Dress-306950772