Download Lightroom presets and LUTs, absolutely free. Use the presets to add creativity and style to your photos.

Step 32
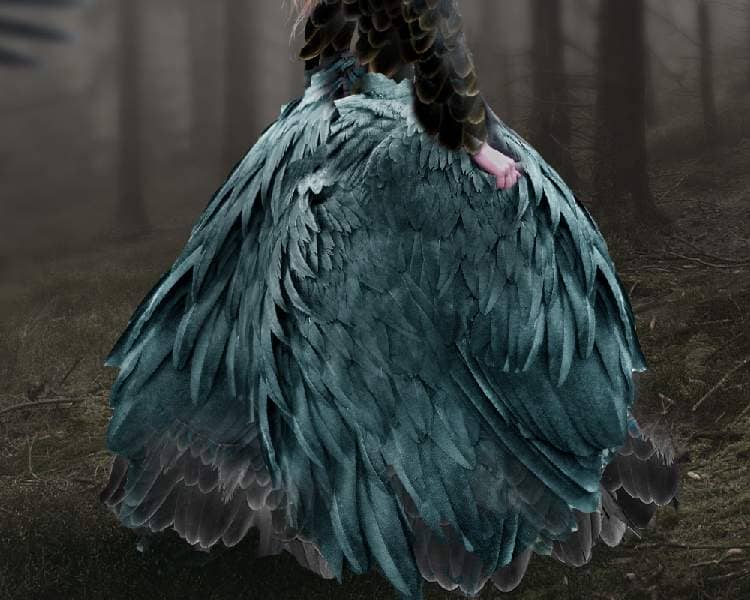
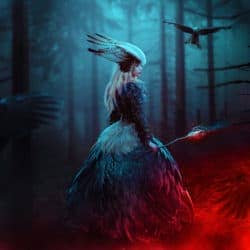
Open the bird 4 image and take a part of the bird's body to add to the lower section of the dress. Set this layer below the group of the bird 6 . I've turned off the group of the bird 7 so make you see the process more clearly.
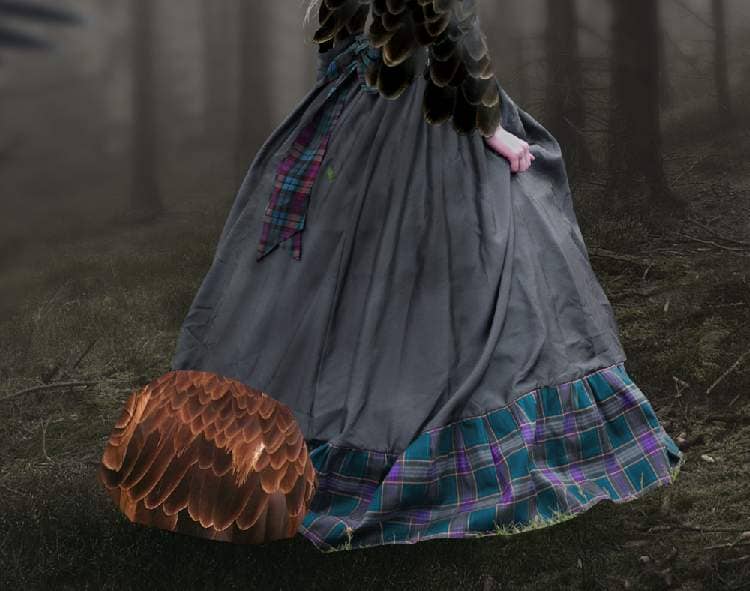
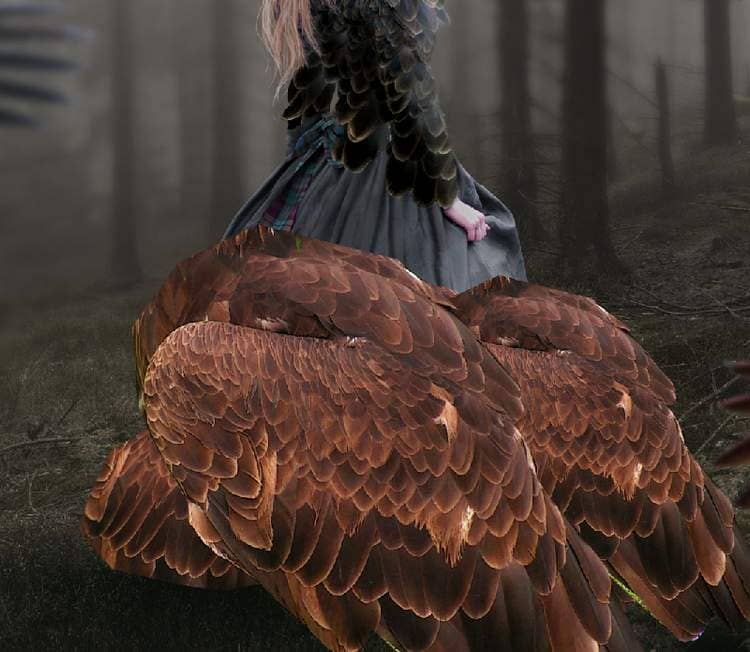
Take the bird body to add to the lower part of the dress. Duplicate this layer twice and arrange them around the dress bottom.
Step 33
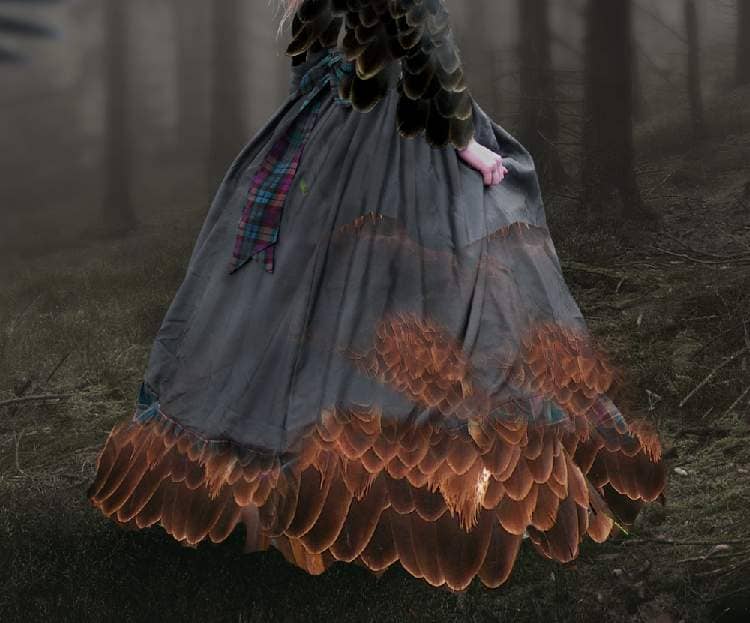
Add a mask to each of these layers and use both hard and soft black brushes to mask off these parts, leaving the edges and details of the feathers precisely.
Step 34
Create a group of the bird 4 layers and use a Hue/Saturationadjustment layer to desaturate them.
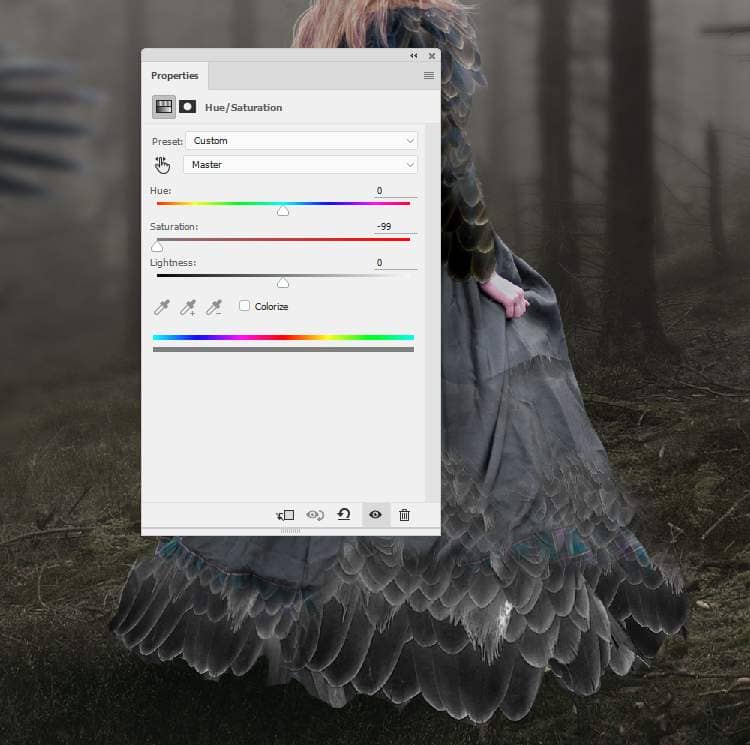
Turn on the bird 7 group and we have the result below:
Step 35
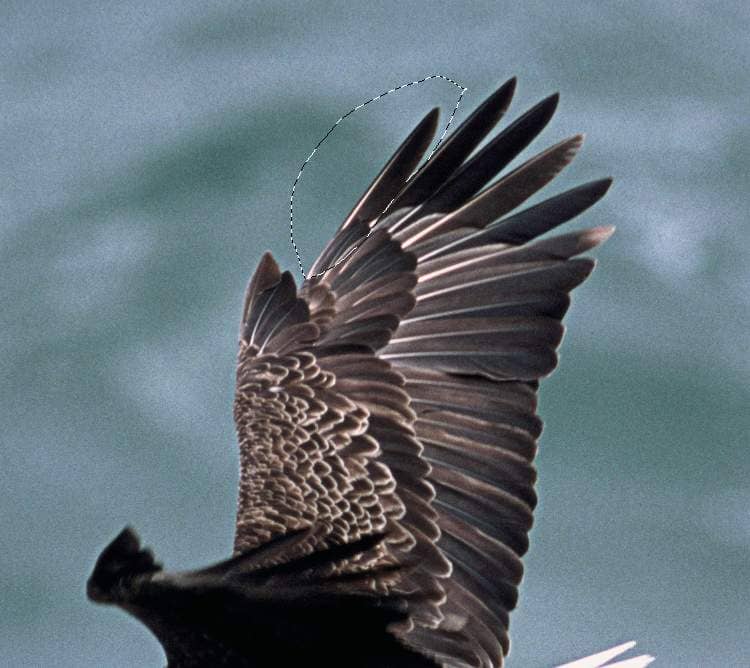
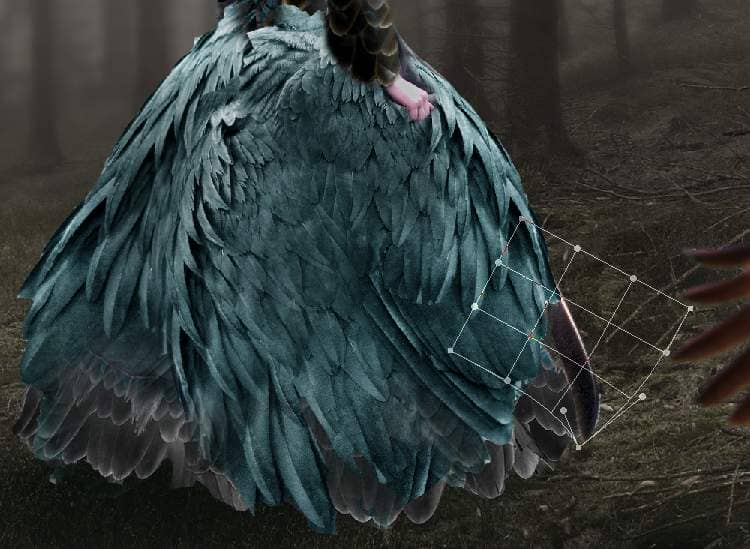
Open the bird 5 image and use the Magnetic Lasso Tool to select the feather on the top of his wing to add to the bottom right of the dress to fill in this place. Use Ctrl+Twith the Warpmode to tweak it a little to fit the form of the dress.
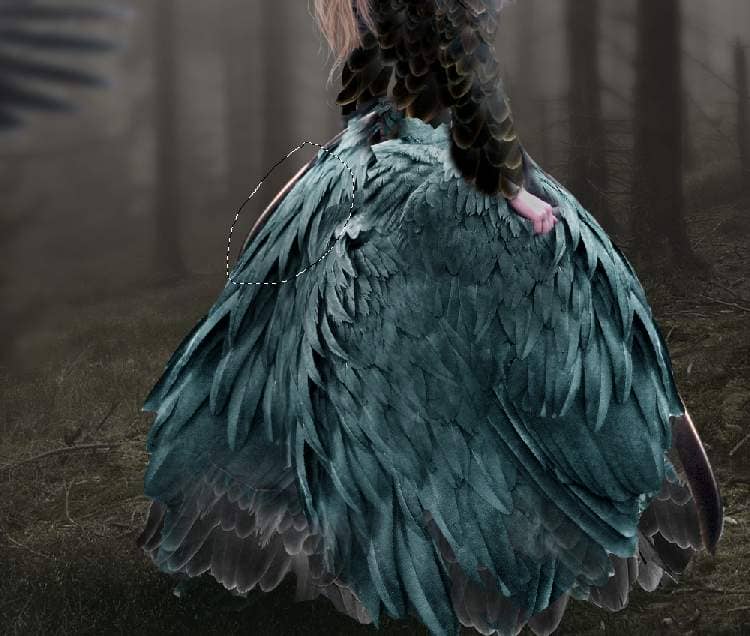
Duplicate this layer and flip it horizontally (Edit > Transform > Flip Horizontal). Move it to the higher position of the left of the dress.
Step 36
Make a group for these featherlayers and use a Curves adjustment layer to brighten the one on the right. On this layer mask, paint on the left one so it won't be affected by this adjustment layer.

Step 37
Create a new layer on top of the layers, change the mode to Overlay 100%and fill with 50% gray. Use the Dodge and Burn Tool to refine the light and shadow on the dress.

Step 38
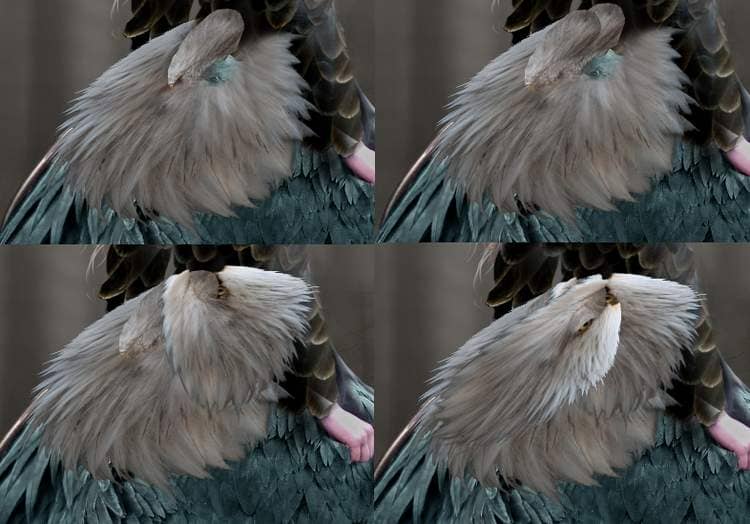
Open the bird 8 image and cut out the white feathers around his neck only and add to the back of the model. Add a mask to this layer to blend the top of the feathers with the dress.

Step 39
Create a Curves adjustment layer (set as Clipping Mask) to darken the feathers part. On the layer mask, paint on the lower area or any details you feel too dark.

Step 40
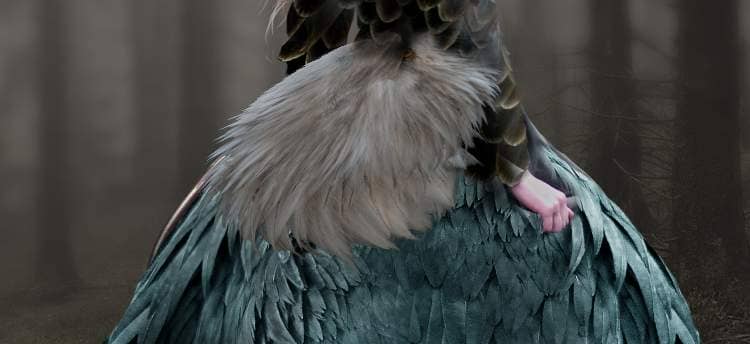
Take different parts from the feathers in the original image to add to the existing feathers. Duplicate these layers if needed and mask off them so they appear smooth and well blended.
Step 41
Make a group for these feathers layers and use a Color Balanceadjustment layer to change their color :

4 comments on “How to Create a Queen of Bird Photo Manipulation in Photoshop”
Where is the model image?
Don't worry, I found it. :)
La photo de la femme ??? merci !!
https://www.deviantart.com/ann-emerald-stock/art/Girl-in-Fantasy-Dress-306950772