Make skin look perfect in one-click with these AI-powered Photoshop actions.
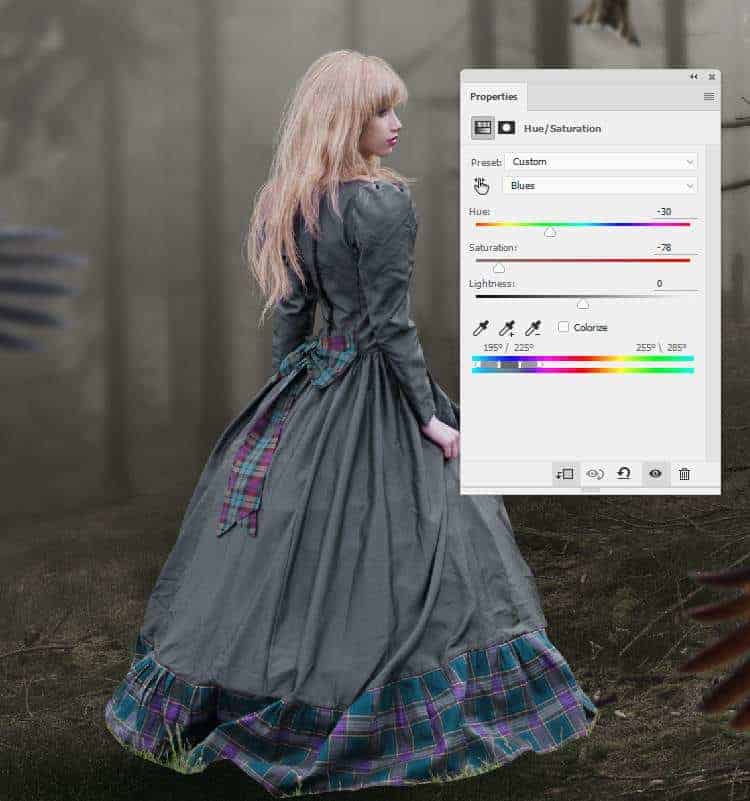
Step 21
Make a new layer, change the mode to Overlay 100%and fill with 50%gray.
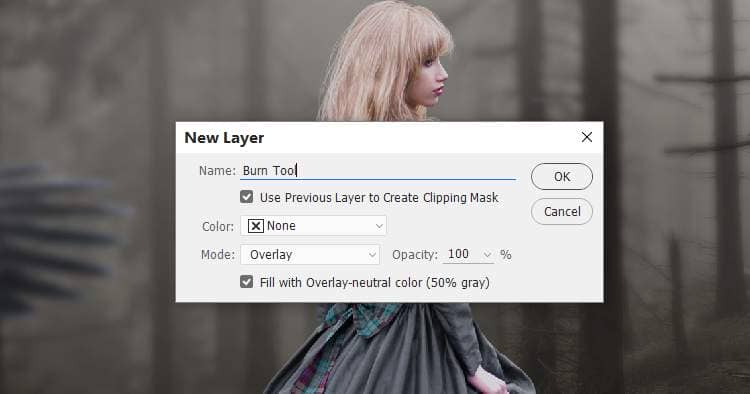
Activate the Burn Tool (O)with Midtones Range, Exposureabout 15-20%to darken some details on the dress and hair. You can see how I did it with Normalmode and the result with the Overlaymode.

Step 22
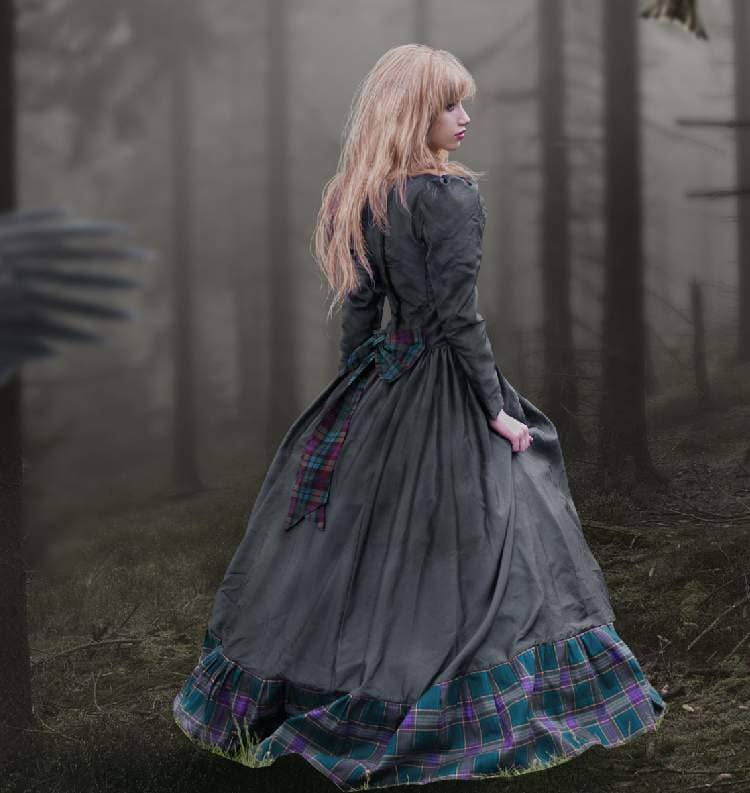
Create a new layer and a soft brush with the color #ba9799to paint on the hair and cheek. Change this layer mode to Multiply 100%to darken these details a bit more.

Step 23
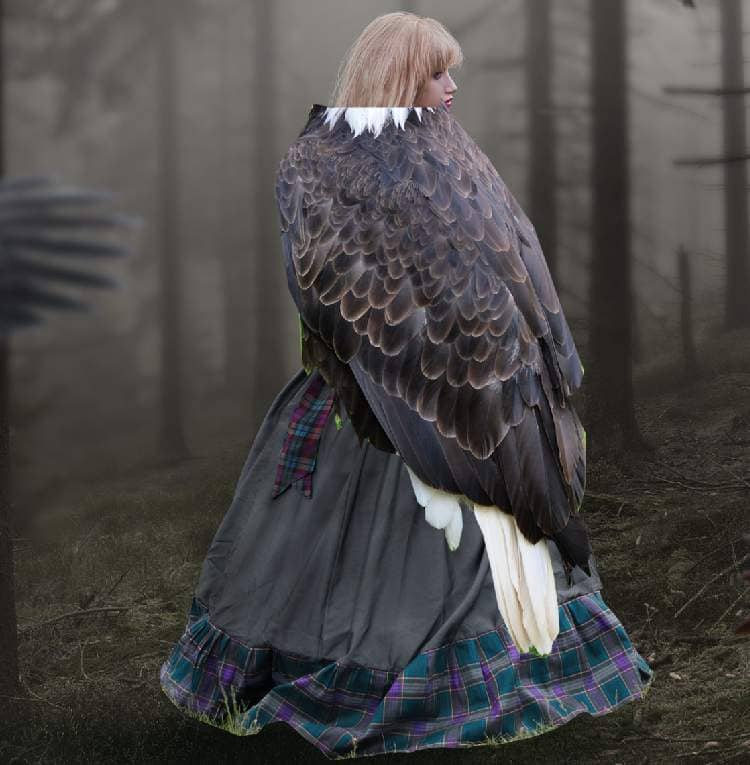
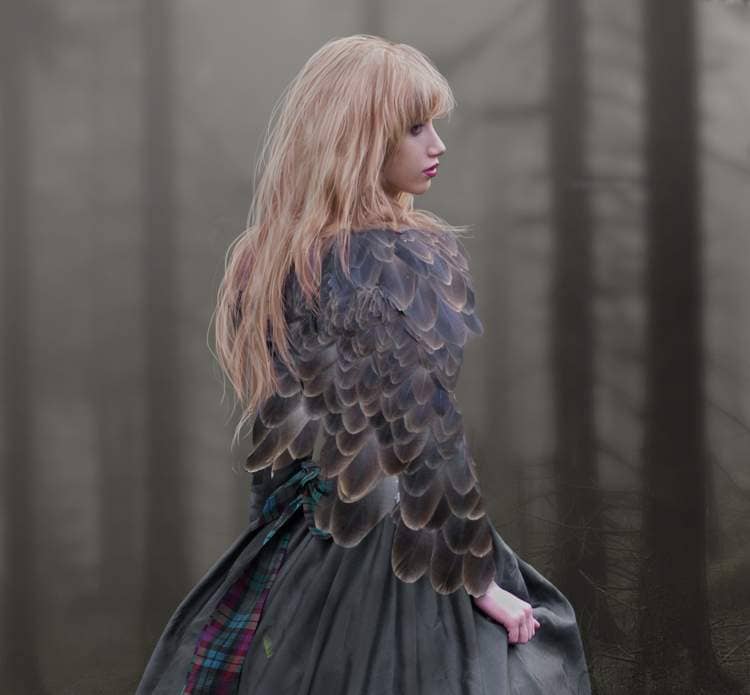
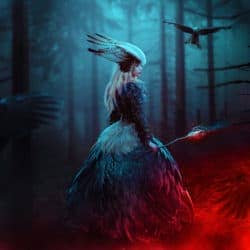
Open the bird 6 image and cut out his body only. Place it onto the model and add a mask to this layer. Use a hard black brush to erase the bottom and carefully mask off the feathers on the upper part of the model's body, leaving the edges and details similarly like below:
Step 24
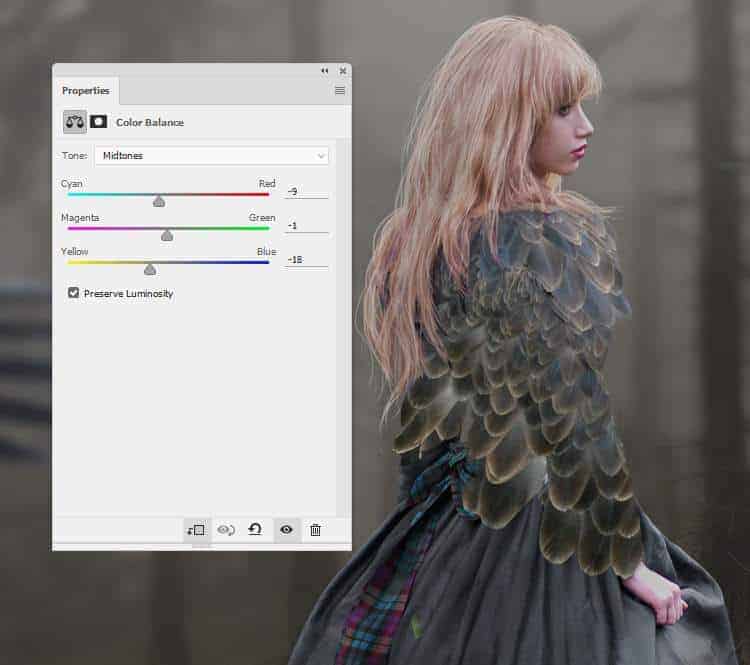
Make a Color Balance adjustment layer (set as Clipping Mask) to change this part's color.
Step 25
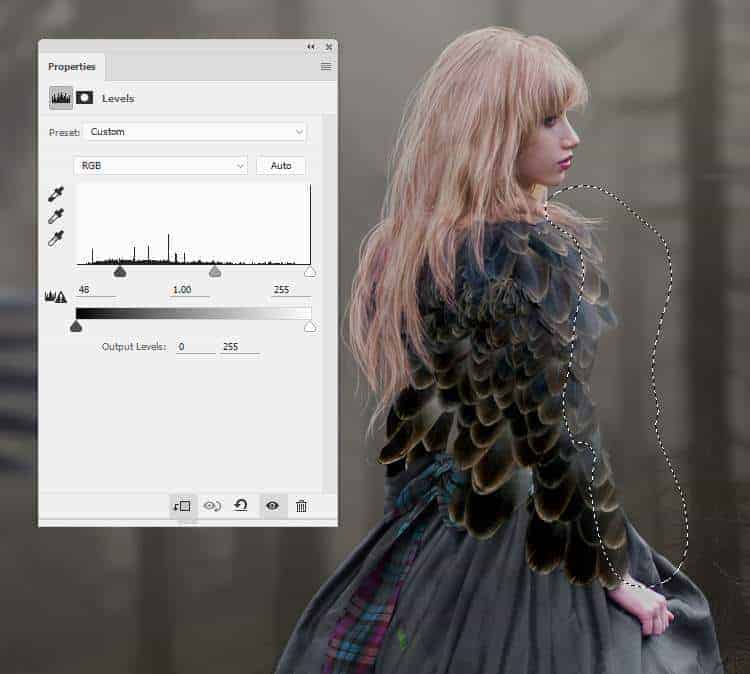
Add a Levelsadjustment layer to increase the contrast of this dress part. On this layer mask, paint on the shoulder and arm to reveal the lightness there.
Step 26
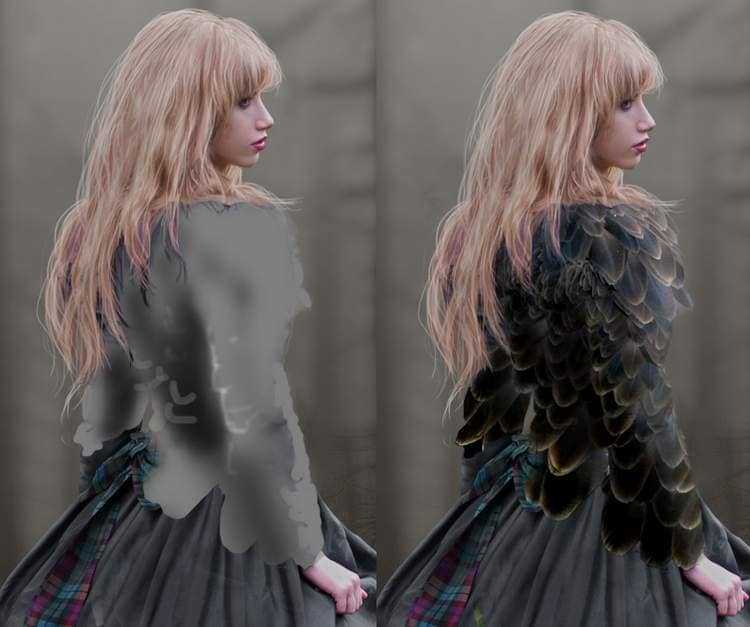
Make a new layer, change the mode to Overlay 100%and fill with50%gray. Use the Dodgeand Burn Tool to refine the light and shadow on this dress part.
Step 27
Cut out the body of the bird 7 and add it to lower part of the model's dress.
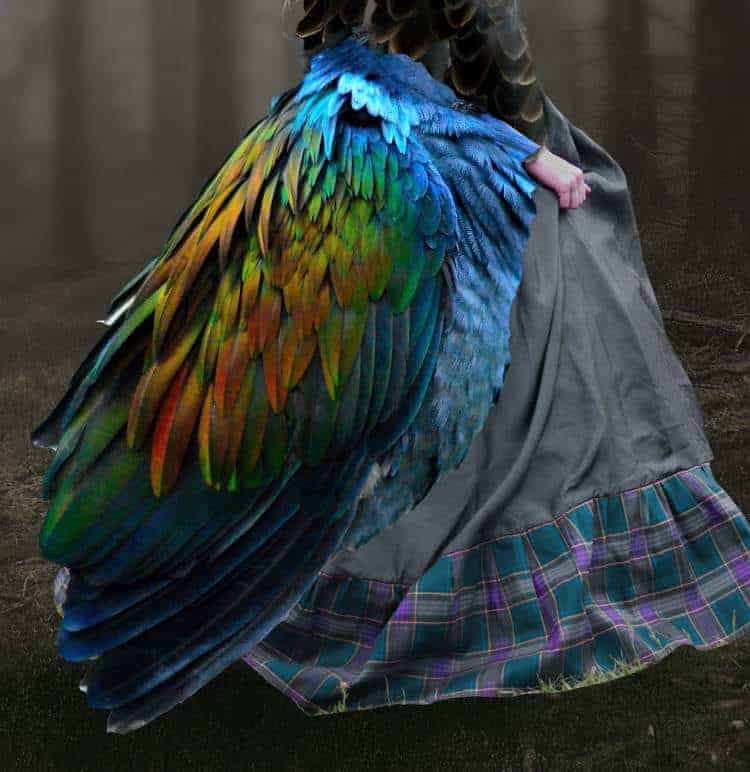
Duplicate this layers three times and arrange them around the dress. Use Ctrl+Tto change their sizes and positions as shown below.
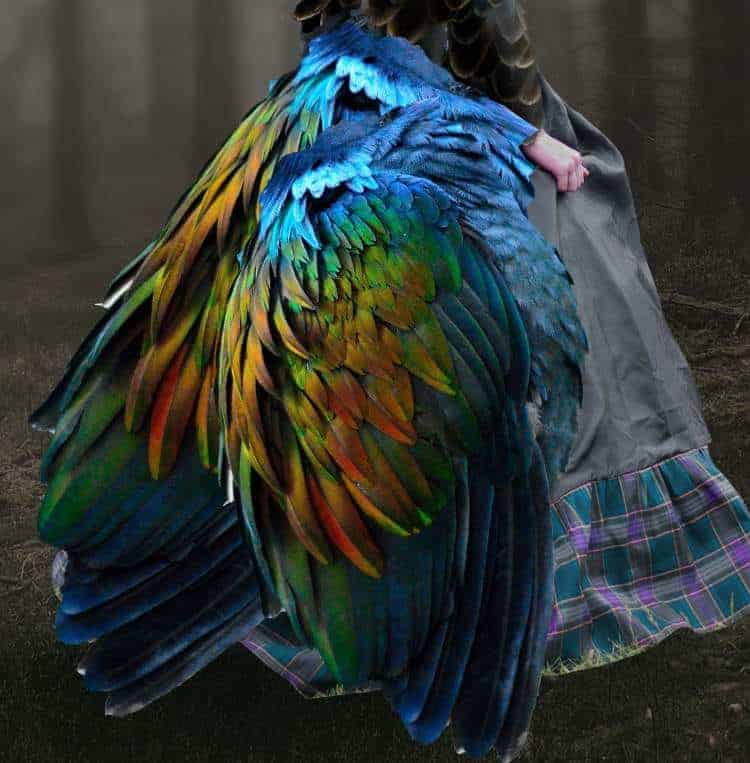

Step 28
Add a mask to each of these layers and use both of hard and soft black brushes to mask off the feathers.
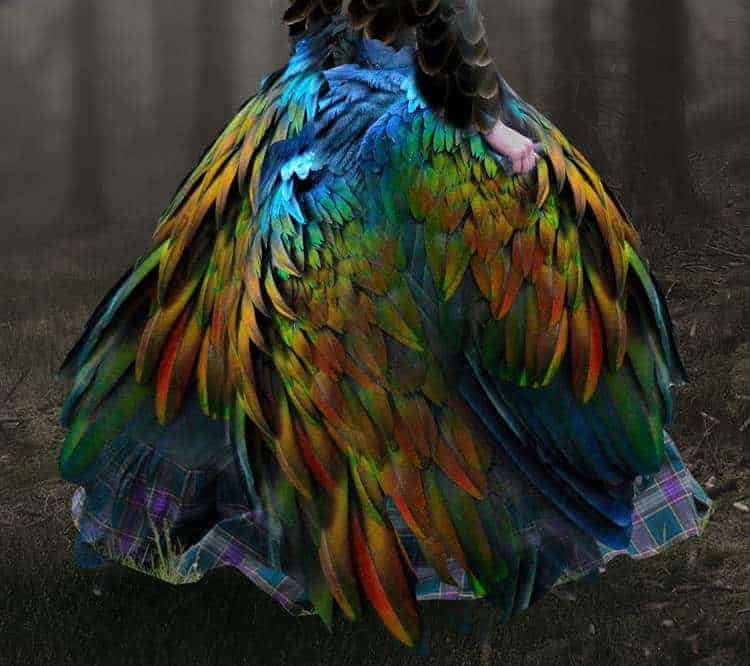
Step 29
Select all of these feathers layers and hit Ctrl+Gto make a group for them. Change the group's mode to Normal 100%and use a Hue/Saturationadjustment layer within this group. Bring the Saturationvalues down to -100to desaturate these parts completely.

Step 30
Make a Color Balanceadjustment layer to change the color of these parts.

Step 31
Create aCurves adjustment layer to brighten this birdy dress. On this layer mask, paint on the middle as it's hidden from the main light source.
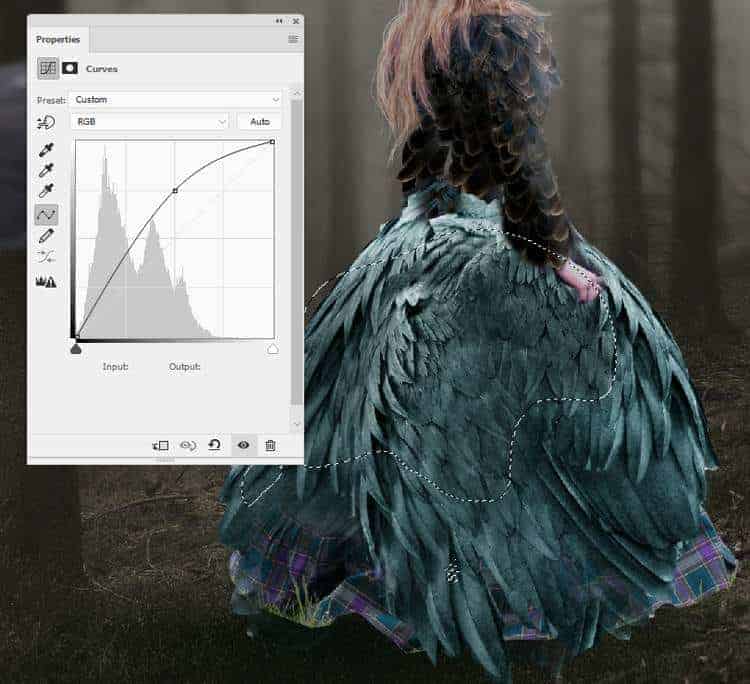
Make another Curvesadjustment layer to darken the middle a bit. On the layer mask, paint on the contour of this part to keep its lightness.


4 comments on “How to Create a Queen of Bird Photo Manipulation in Photoshop”
Where is the model image?
Don't worry, I found it. :)
La photo de la femme ??? merci !!
https://www.deviantart.com/ann-emerald-stock/art/Girl-in-Fantasy-Dress-306950772