

Download Lightroom presets and LUTs, absolutely free. Use the presets to add creativity and style to your photos.
Make ordinary photo dramatic and interesting. Follow this Photoshop tutorial to learn how to create a soft morning glow effect with just two layers.
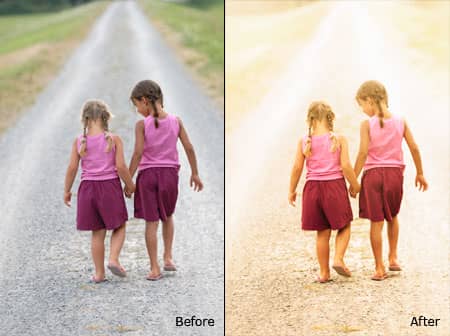
Before and After Morning Glow Photoshop Tutorial

Morning Glow Photoshop Tutorial
Step 1: Open an image
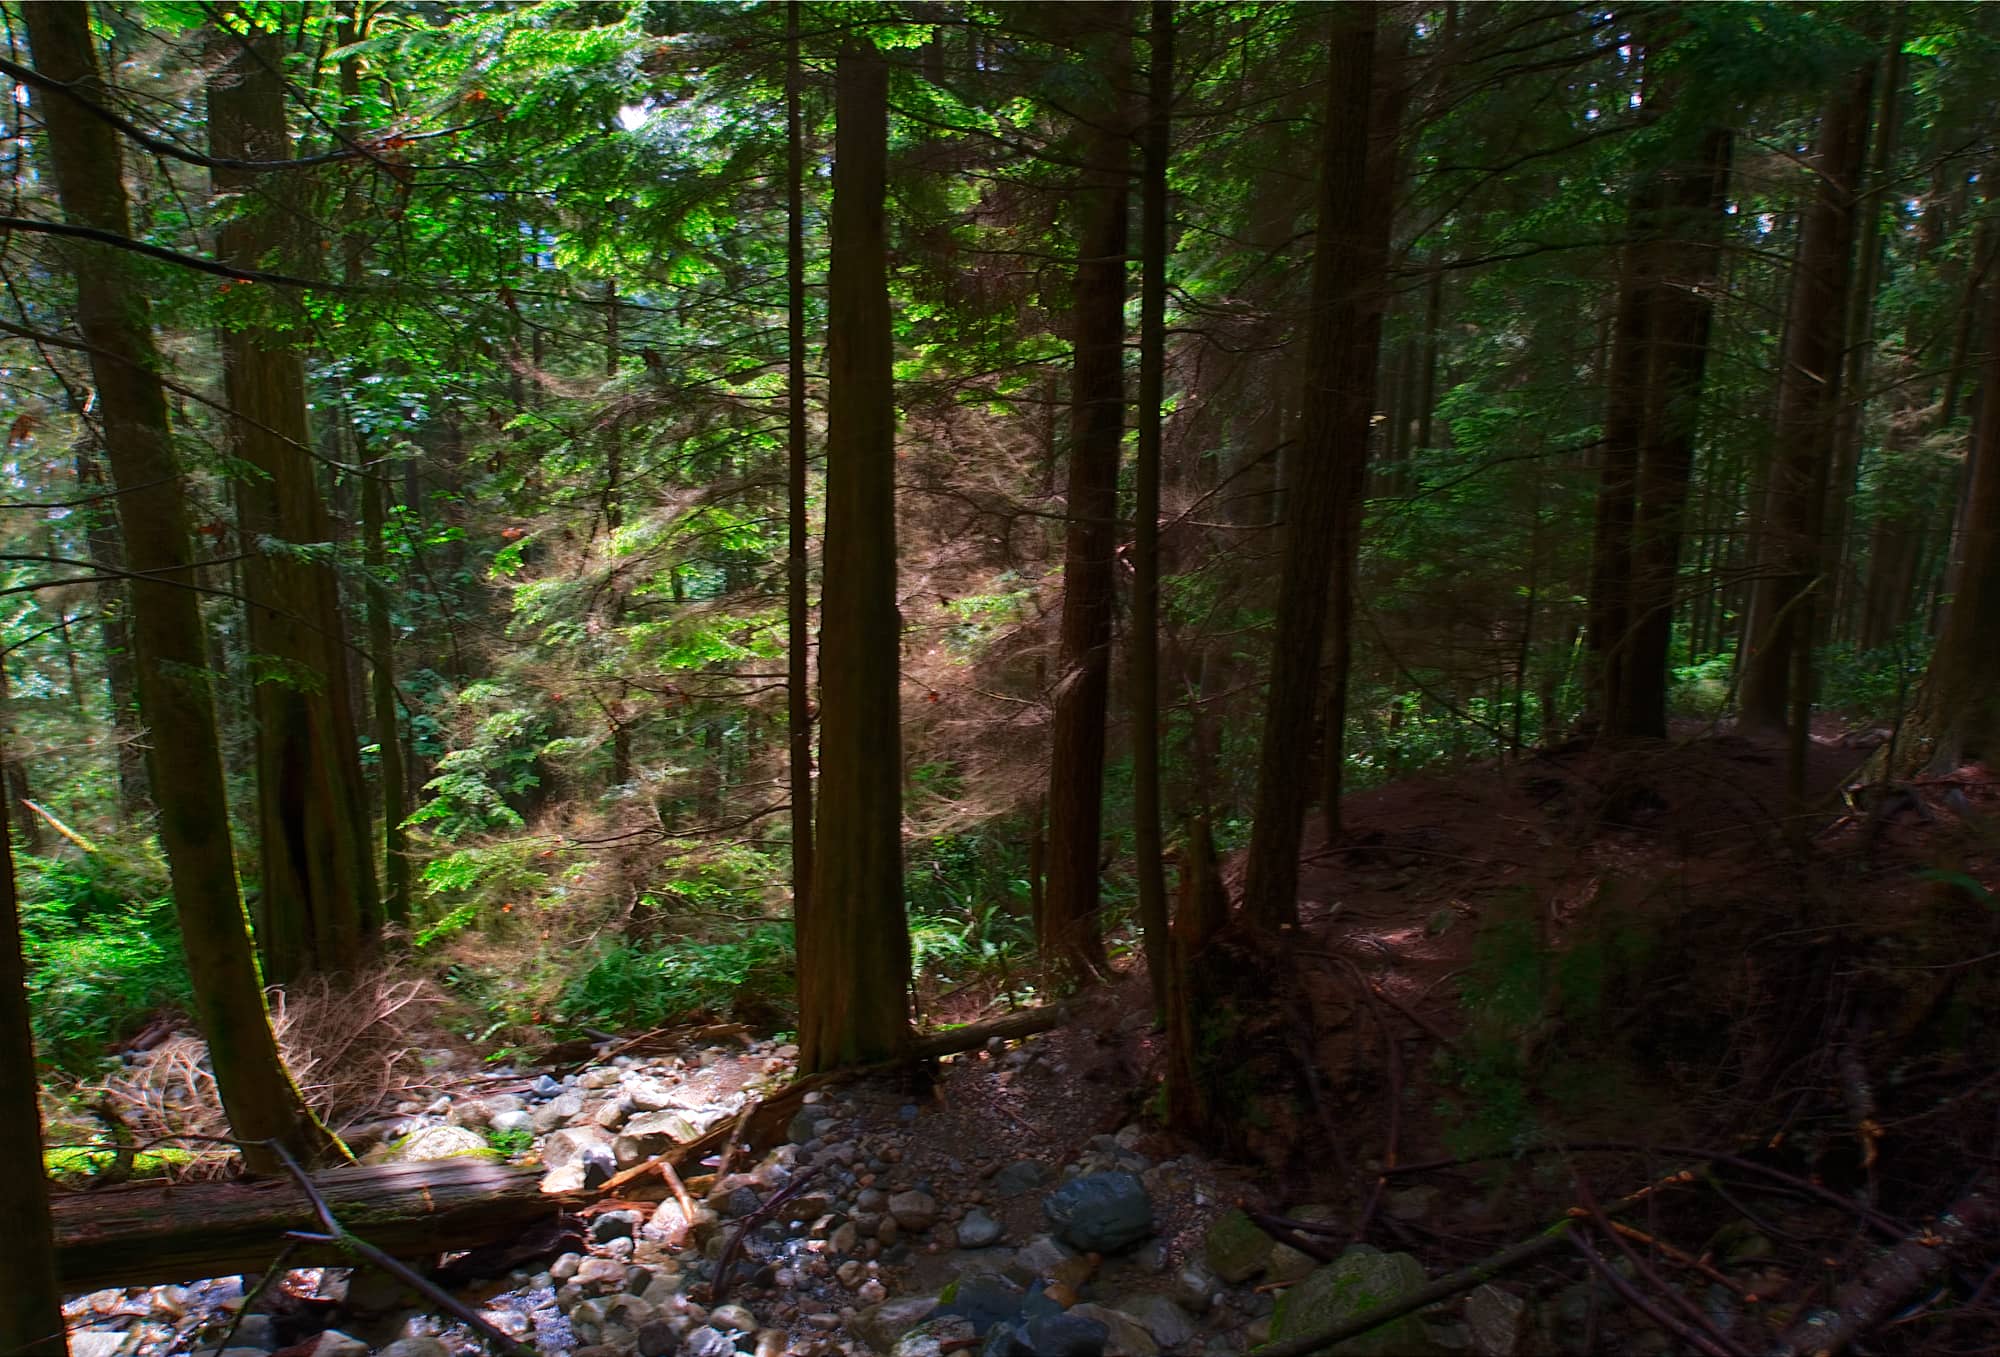
First, open a photo into Photoshop. To do this, open the File menu and select Open. If you do not have a photo to work on, you may download the photo used in this tutorial and open it into Photoshop.

Step 2: Create a new layer
Press the Create a new layer button in the Layers pallet. Then change the blending mode of Layer 1 to Screen.

Step 3: Add a Gradient
First, set the foreground color to white. You can do this quickly by pressing d and then x.
Now select the Gradient tool from the toolbar on the left. Select the radial gradient option (default is linear). Drag a line from one point to another to create a glow. You may undo and retry until you get the glow that looks natural in the photo.


Step 4: Add a Photo Filter
Now we're going to add a Photo Filter adjustment layer. To do this, go to Layer> New Adjustment Layer> Photo Filter. Use the default settings but set the density to 100%.

Step 5: Change the blending mode
Change the blending mode to Overlay and reduce the opacity if desired.

Final Results
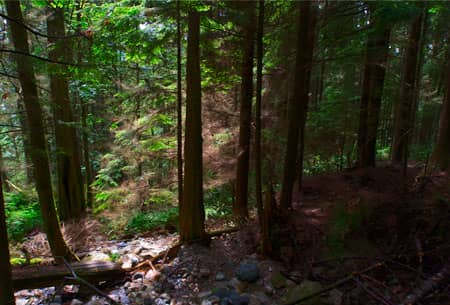
Original Photo
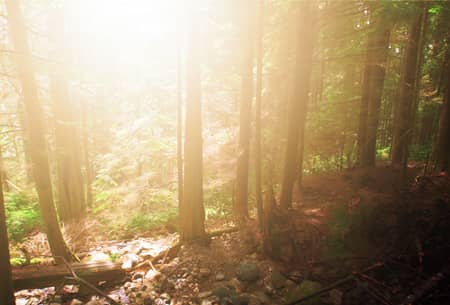
Morning Glow Photoshop Effect
More Examples


2 comments on “Morning Glow”
Stop doing this. It looks awful.
Thanks you, very simple effect but looks awesome!