Turn any photo into a dot grid artwork with these Photoshop actions. You'll get great results with dots that change size. They get larger in brighter areas and smaller in darker areas. Free download available.
- Opacity: 50%
- Fill: 50%

Group this layer and rename it to “Windmill”.
Step 7: Add textures
Now, we’re going to add some textures to our image. Let’s start by opening “Texture 119” by Sirius_sdz. Once open, activate the Move tool (V) and drag this to our canvas. Rename this layer to “Texture 1”. See image below:
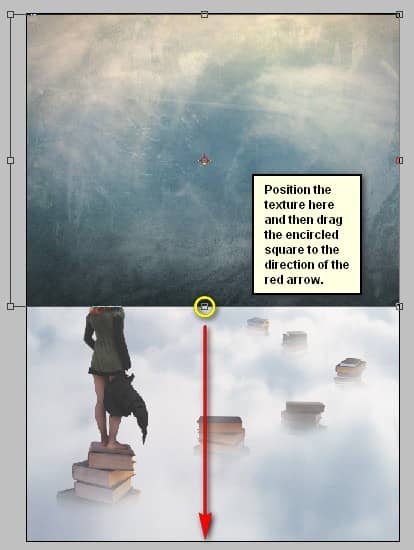
The result:
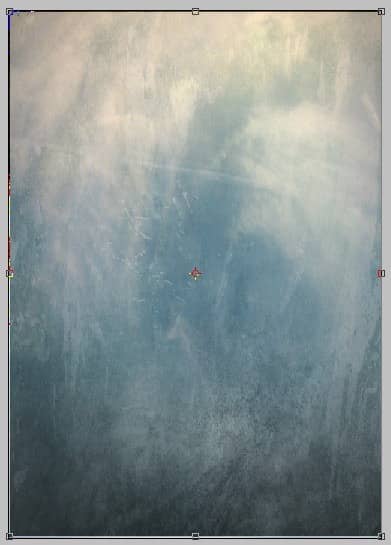
Next, let’s change the Blending mode and the Opacity of “Texture 1” to the following:
- Blending Mode: Screen
- Opacity: 100%

The result:

Next, let’s add “Paper Texture 1” by Wojtar Stock. Move this texture to our canvas using the Move tool (V) and rename it to “Texture 2”.
Put this layer above “Texture 1” and position this layer as shown below:
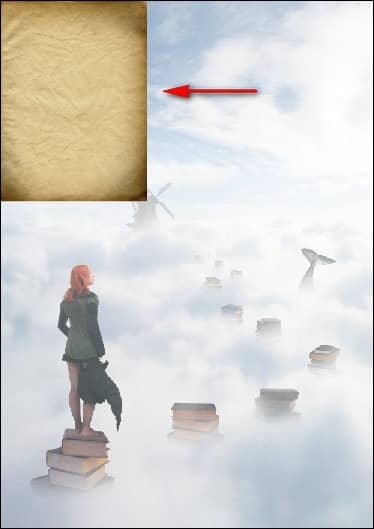
Activate the Transform tool (Ctrl/Cmd + T) and resize “Texture 2” as shown on the image below:
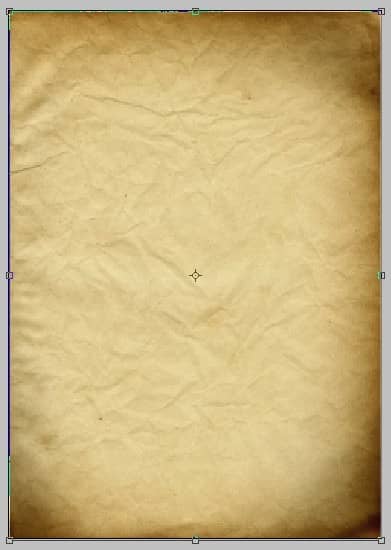
Next, apply the following changes:
- Blending Mode: Soft Light
- Opacity: 40%
The result:

Now, group these textures and rename this group to “Texture”.
STEP 8: Add the Bubbles
Now, let’s make the image more magical by adding bubbles!
To start, create a new layer (Ctrl/Cmd + Shift + N) above the “Texture” group and rename this layer to “Bubbles 1”.
Now, activate the Brush tool (B) and open the brush set: “Bubble Brushes” by Hawksmont. To load them, simply, right click on our canvas through any layer and then click on the drop-down button as shown below:
![image023[1] image023[1]](https://cdn.photoshoptutorials.ws/images/stories/ded637810223_14C17/image0231.jpg?strip=all&lossy=1&quality=70&webp=70&avif=70&w=1920&ssl=1)
This will prompt the contextual menu to pop up and once you see that, just click on Load Brushes.
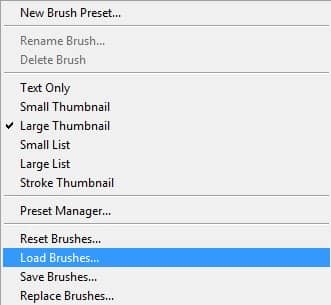
You will now be prompted to this directory: Adobe Photoshop > Presets > Brushes so make sure that you have put the brushes within this folder. Now locate the brush set and click OK.
Right click on the canvas again using your Brush tool (B) and now you’ll notice that you have the bubble brushes activated.
Now, that you have that brush set active, choose the following brush:
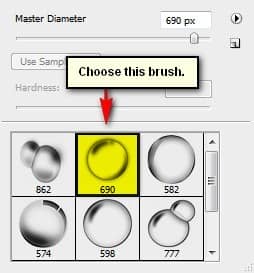
With that brush selected, use the following settings before painting:
- Brush size: 175px
- Hardness: Defaulty
- Opacity: 100%
- Flow: 100%
- #: ffffff
Paint in the bubbles as seen on the image below:

Next, let’s create a different set of bubbles. Create a new layer (Ctrl/Cmd + Shift + N) and then rename it to “Bubbles 2”.
Activate the Brush tool (B) and choose the following brush from the “Bubble Brushes” brush set.
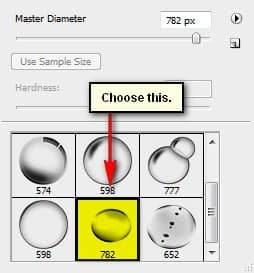
With that brush selected, apply the following settings:
