Turn any photo into a dot grid artwork with these Photoshop actions. You'll get great results with dots that change size. They get larger in brighter areas and smaller in darker areas. Free download available.
- Brush size: 125px
- Hardness: Defaulty
- Opacity: 100%
- Flow: 100%
- #: ffffff
Now, let’s paint! Brush in the Bubbles as shown below:

Next, let’s create the smaller bubbles. Create a new layer (Ctrl/Cmd + Shift + N) and name it “Bubbles 3”.
Use the following brush:
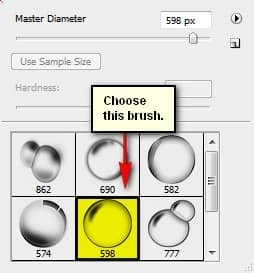
- Brush size: 50px
- Hardness: Default
- Opacity: 100%
- Flow: 100%
- #: ffffff
Paint in the brushes as shown below:
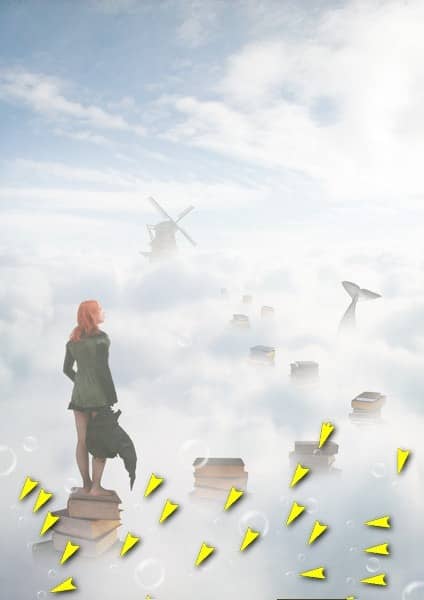
So far, the image should be similar to this:

Step 9: Add the magical dust
In this step, we’re going to add a little fairy dust in the sky. To start, create a new layer (Ctrl/Cmd + Shift + N) and name this layer: “Magic 1”.
Activate the Brush tool (B) and Load this brush set: “Starfield Brush Set” by gvalkyrie. Once these brushes are loaded, choose the following brush:
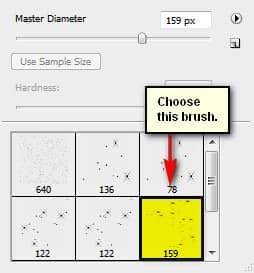
After that, input the following settings:
- Brush size: 1100px
- Hardness: Default
- Opacity: 100%
- Flow: 100%
- #: ffffff
Paint in the magic on the area shown below:
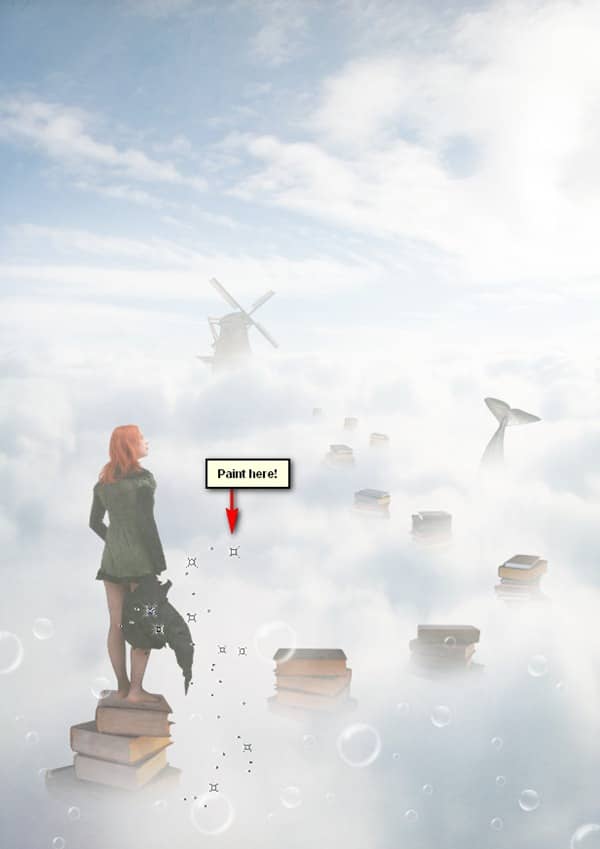
The result:

Next, create another layer (Ctrl/Cmd + Shift + N) and name it “Magic 2”. Activate the Brush tool (B) and choose the following brush from the “Starfield Brush Set”.
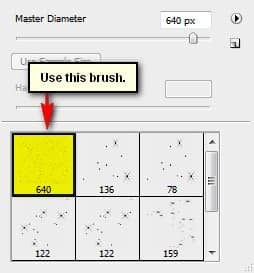
Input the following brush settings:
- Brush size: 2500px
- Hardness: Default
- Opacity: 100%
- Flow: 100%
- #: ffffff
Paint in the magic on the area shown below:
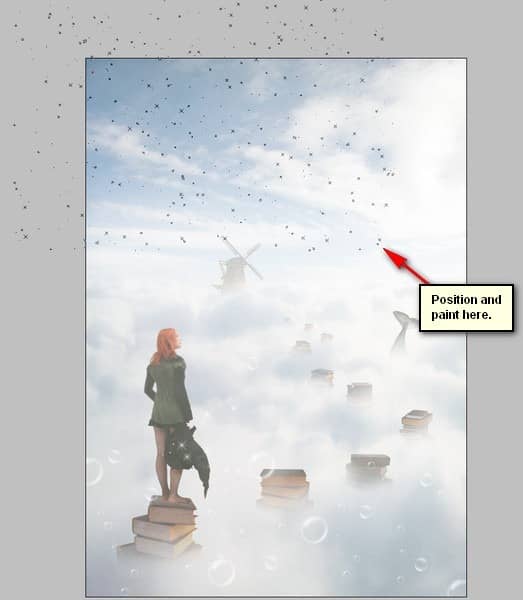
The result:

Select all these layers and group them. Name the group: “Magic”.
Step 10: Retouch the Image
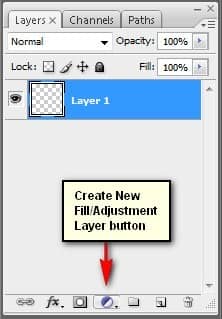
Now let’s enhance the colors of our image to make it look more magical! For starters, we’re going to create a Solid Color adjustment layer. To do that, simply click on the button shown on the image below:
When it opens, click on the following:
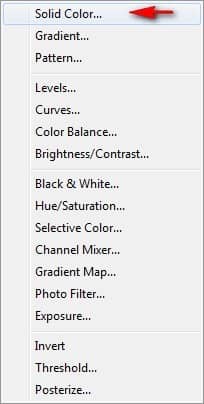
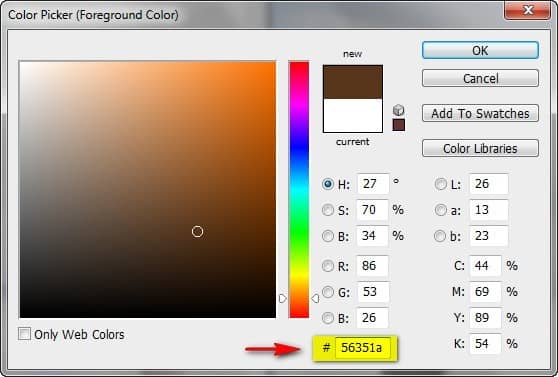
Once you’ve clicked on Solid Color, the Color Picker menu would open. When it opens, input the following color:
- #: 56351a
Next, change the Blending mode and Opacity of this Solid Color to the following:
- Blending Mode: Soft Light
- Opacity: 30%

Next, create a Channel Mixer adjustment layer from the Create New Fill/Adjustment Layer button.
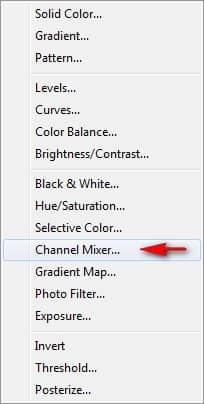
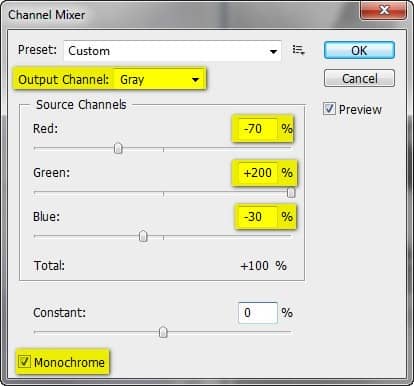
When the Channel Mixer menu opens, input the following:
- Output Channel: Gray
- Source Channels:
- RedL -70%
- Green: +200%
- Blue: -30%
- Constant: 0%
- Monochrome: Check
Next, change the following for the Channel Mixer layer:
- Blending Mode: Luminosity
- Opacity: 40%
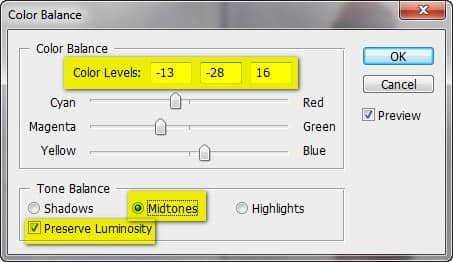
Now, let’s create a Color Balance adjustment layer.
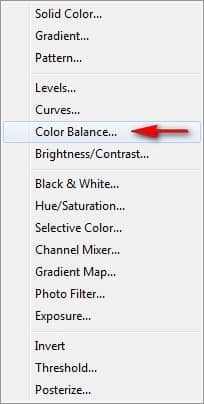
When its menu opens, input the following:
- Color Levels: -13, -28, +16
- Tone Balance: Midtones
- Preserve Luminosity: Check
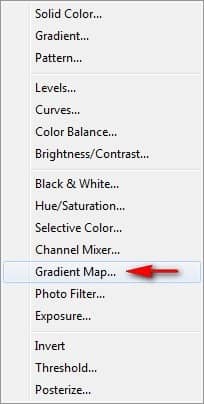
Finally, let’s create a Gradient Map adjustment layer, still from the Create New Fill/Adjustment Layer button.
When it opens, choose the following Gradient:
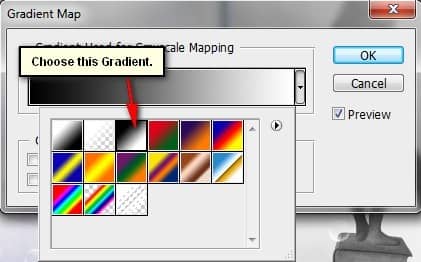
Now, the whole image is Black and White, but we don’t want that, so we’ll need to change the Blending mode and Opacity to the following:
- Blending Mode: Luminosity
- Opacity: 50%
Now, the image should be similar to this:

