Move it on this position:

Once moved, activate the Transform tool (Ctrl/Cmd + T) and resize and position it as shown on the image below:

Next, activate the Eraser tool (E) and input the following:
- Brush size: 1000px
- Hardness: 0%
- Opacity: 100%
- Flow: 100%
Let’s erase!
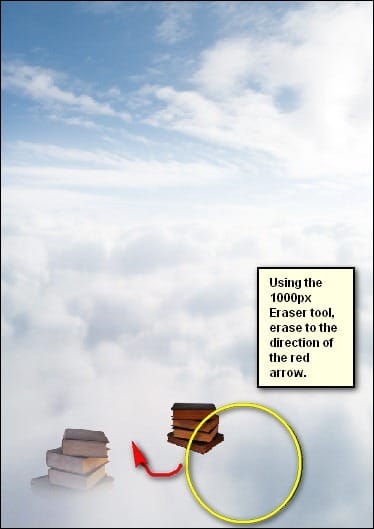
The result should be similar to this:

Next, let’s create the third book. From the “books pack 3” stock image, create a selection area on the book shown below:

With that book selected, activate the Move tool (V) and drag it to our canvas. Once on the canvas, rename it to “Book 3”.
Activate the Transform tool (Ctrl/Cmd + T) and resize it as shown on the image below:

Now, activate the Eraser tool (E) and input the following:
- Brush size: 800px
- Hardness: 0%
- Opacity: 100%
- Flow: 100%
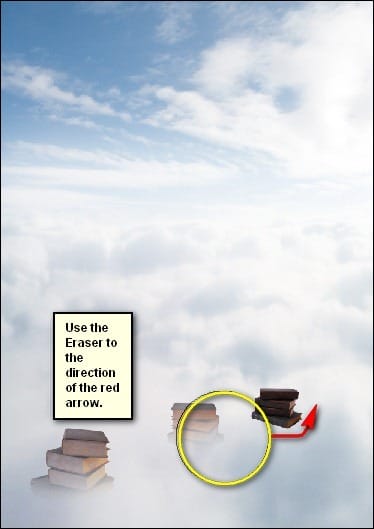
The result:

Now, let’s create the fourth book. We won’t be using “Books pack 3” anymore, so you may close it if you like. We are going to use a new stock image, open “Books Pack 4” by twilightamazonstock.
Once open, create a selection area using the Magnetic Lasso tool (L) around the book shown below:
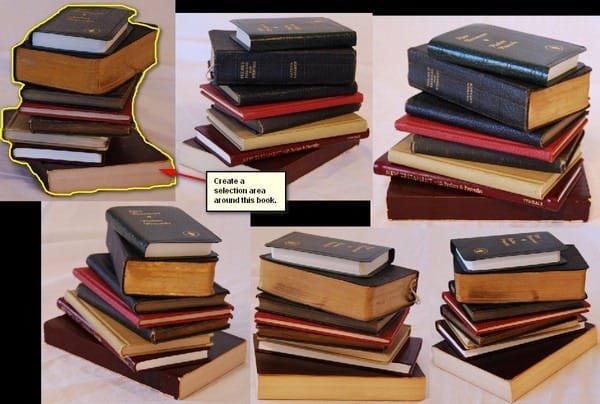
Activate the Move tool (V) and drag that book to our canvas. Rename it to “Book 4” once on the canvas.
Next, activate the Transform tool (Ctrl/Cmd + T) and resize it as shown below:

Now, activate the Eraser tool (E) and input the following:
- Brush size: 600px
- Hardness: 0%
- Opacity: 100%
- Flow: 100%
Now, let’s erase!
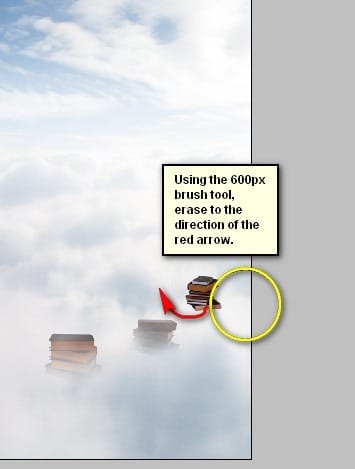
The result:

Now, for the fifth book! Create a selection area around the following:
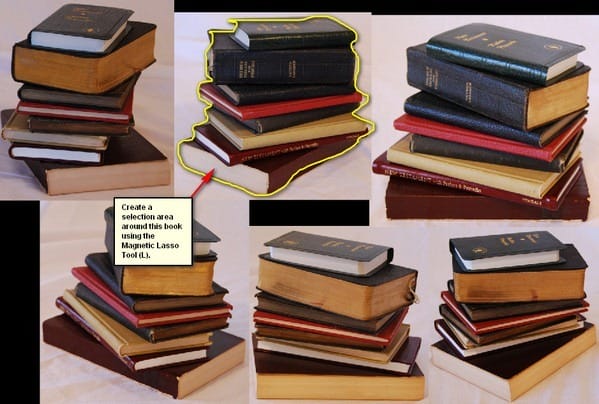
Move that to our canvas using the Move tool (V) and then rename it to “Book 5”.
Next, activate the Transform tool (Ctrl/Cmd + T) and resize it as shown on the image below:

After resizing, you know the drill! Activate the Eraser tool (E) and input the following:
- Brush size: 600px
- Hardness: 0%
- Opacity: 100%
- Flow: 100%
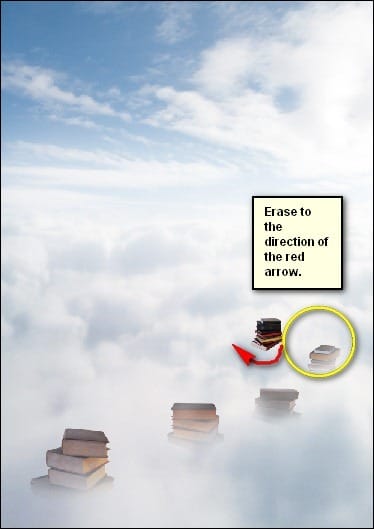
The result:

Next, let’s create Book 6. From the “Books pack 4” stock image, create a selection area around the following book:
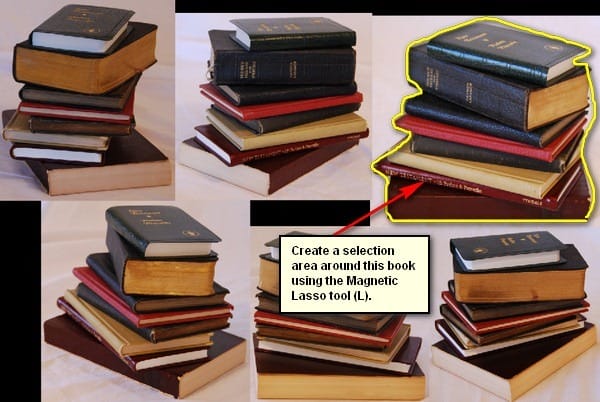
Move it to our canvas using the Move tool (V) and rename it to “Book 6”.
Next, activate the Transform tool (Ctrl/Cmd + T) and resize it to the size shown below:

Next, activate the Eraser tool (E) and input the following:
- Brush size: 600px
- Hardness: 0%
- Opacity: 100%
- Flow: 100%
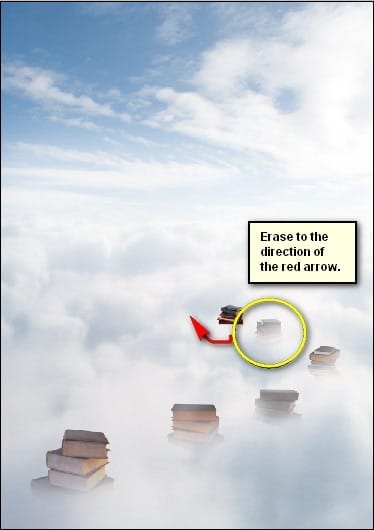
The result should be similar to the following:

Next, let’s create Book 7. From the “Books pack 4” stock image, create a selection area around the following book:


Leave a Reply