

Turn any photo into a dot grid artwork with these Photoshop actions. You'll get great results with dots that change size. They get larger in brighter areas and smaller in darker areas. Free download available.
This is a simple tutorial about how to make an awesome space image with a couple of simple pictures. Made in Photoshop Cs5 on a Macbook pro.
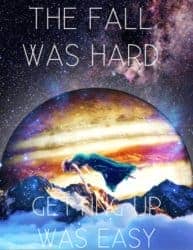
Jupiter Fall is a piece I did out of a dream I had one night. A girl falling behind a beautiful backdrop of Jupiter and Mountains. This is a pretty easy piece to make. Its great practice on seeing what and how certain images fit together.
Tutorial Resources
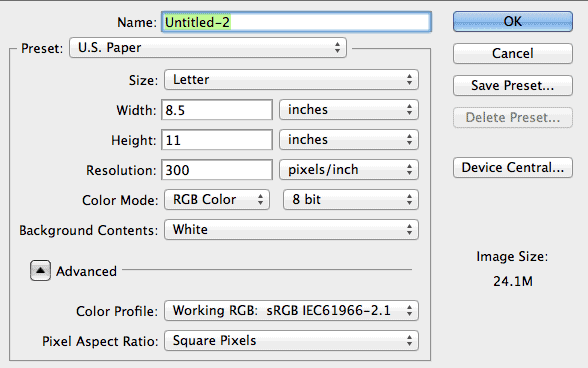
Step 1
Open a paper sized document.
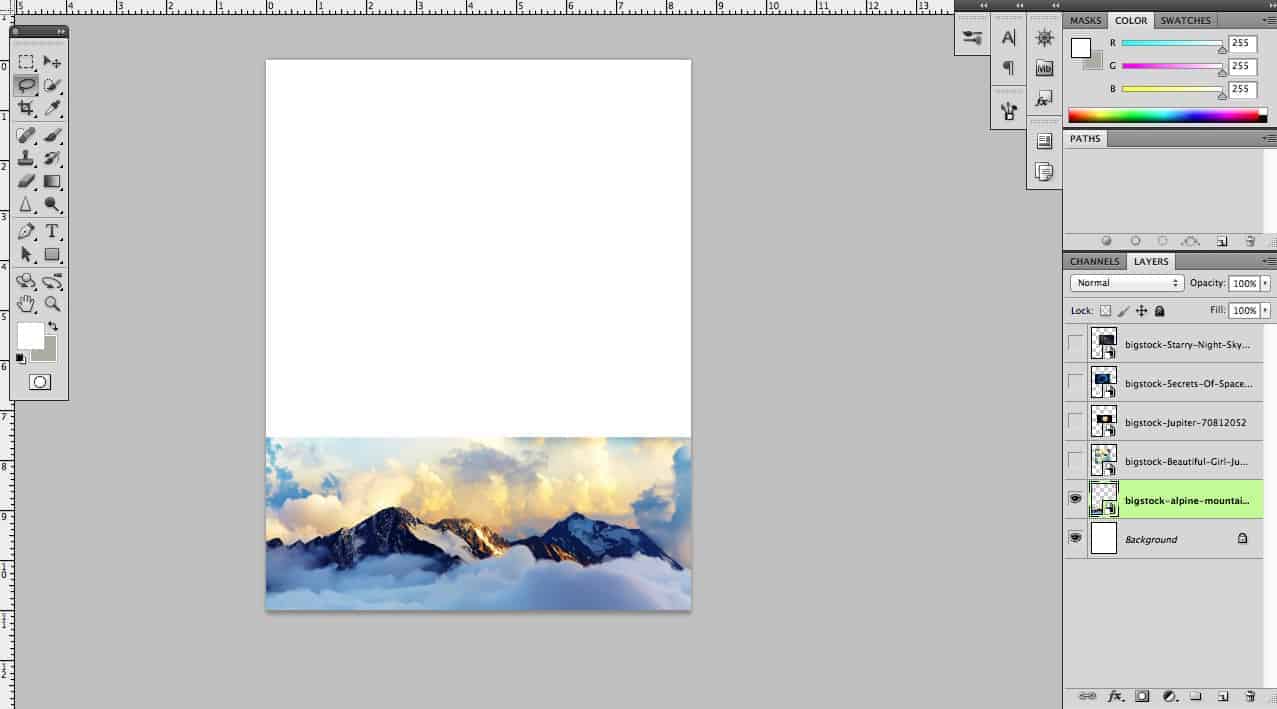
Step 2
I went ahead and just added all the pictures we will need for step 2. You can drag and drop them into the document. The first picture we will work with is the mountain stock photo. The first thing we need to do is get ride of the sky. So use the pen tool (P).
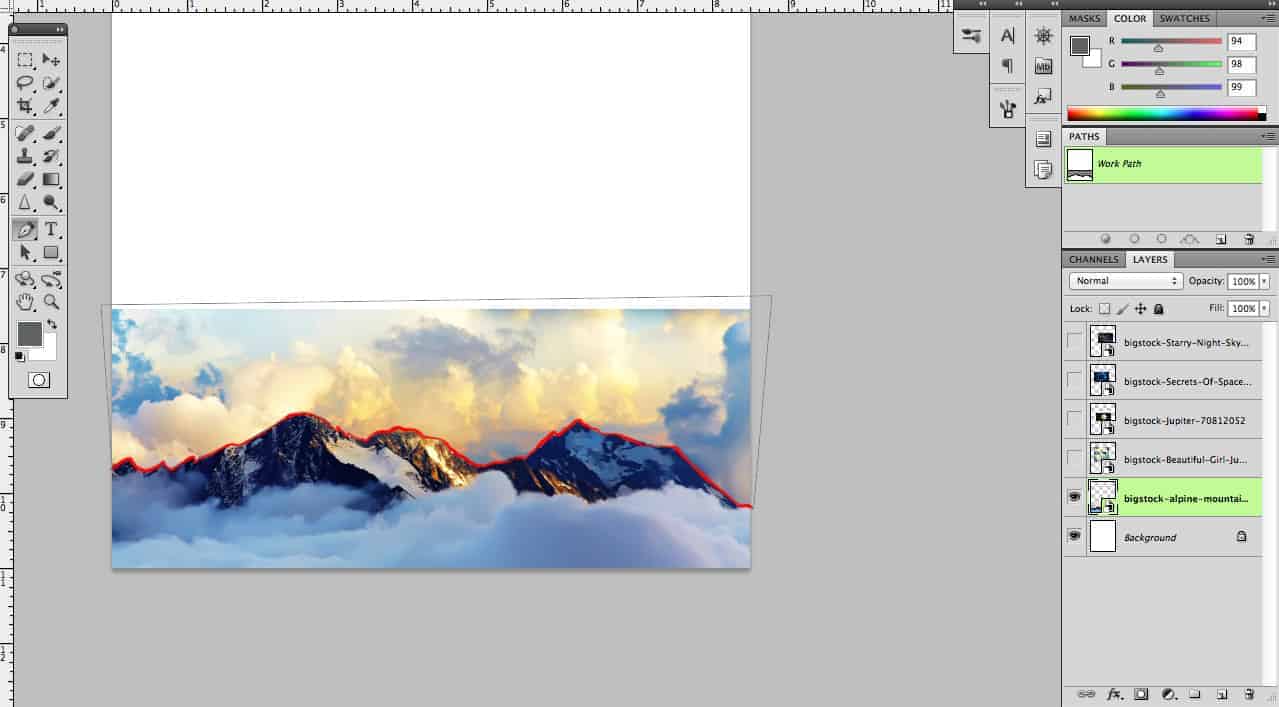
Step 3
Once your path is complete it should look a little like this.
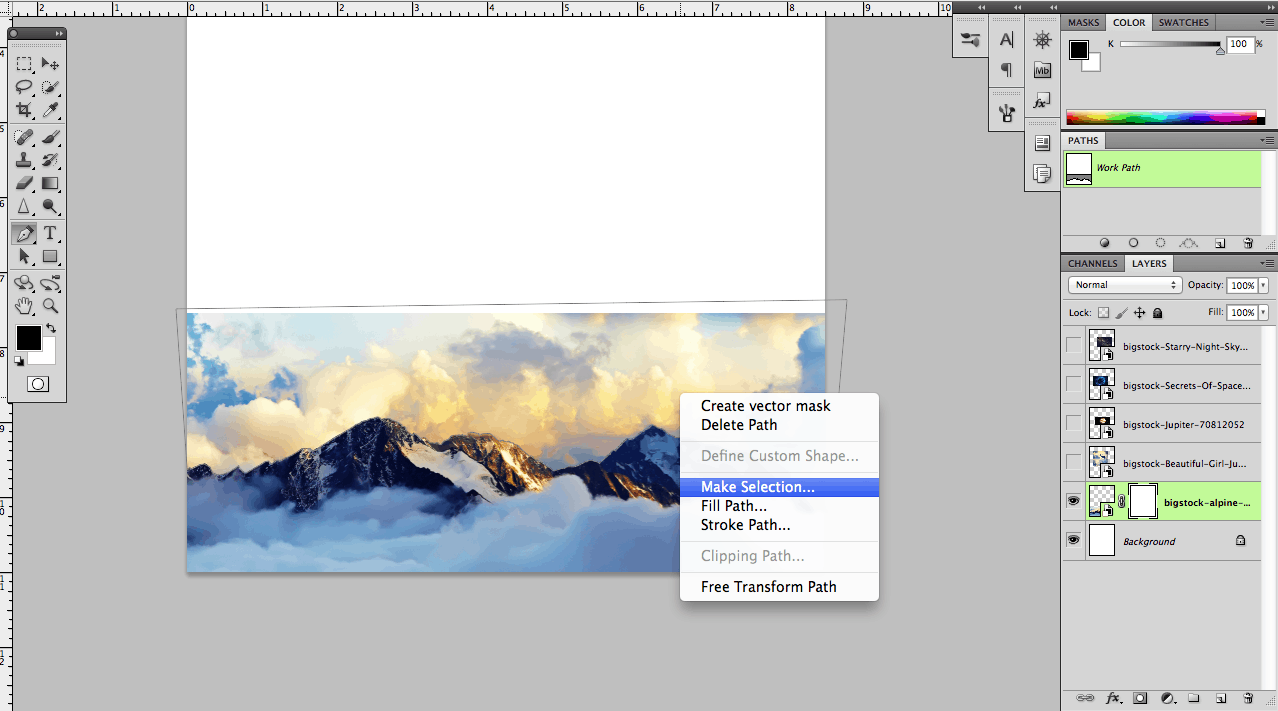
Step 4
While the pin tool is still marked, right-click in the selected area of the picture > go to make selection. Now sometimesyou are going to have to select inverse which all you have to do is right-click in the marching ants area and go to "select inverse".
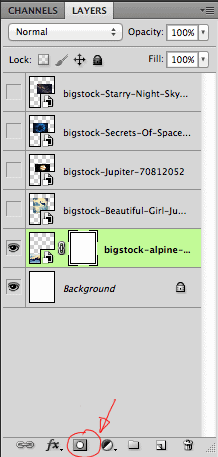
Step 5
Add a layer mask by clicking on the Mask Layer button in the layer tab.
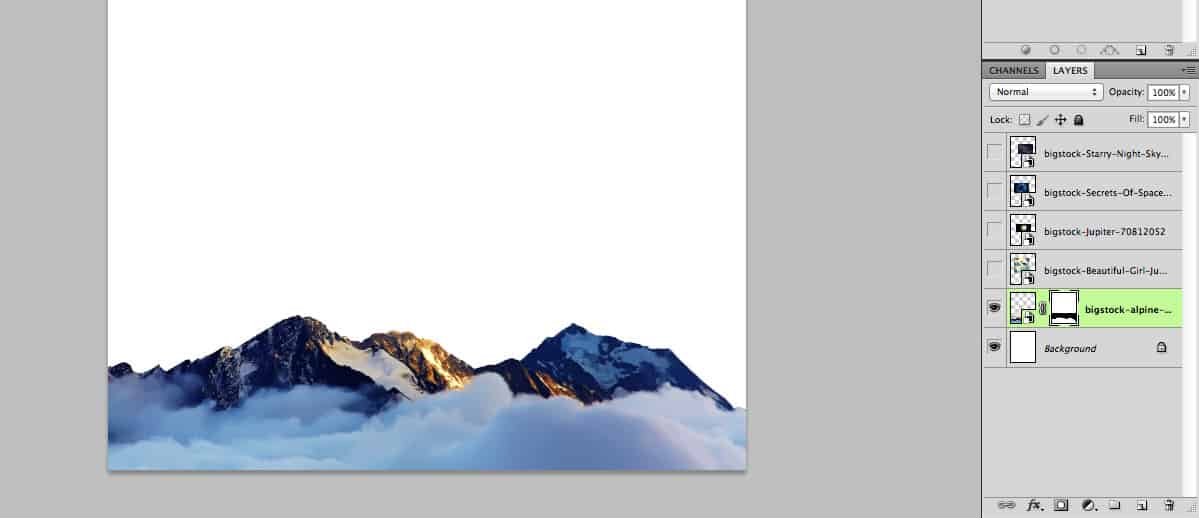
Step 6
Then this should happen.
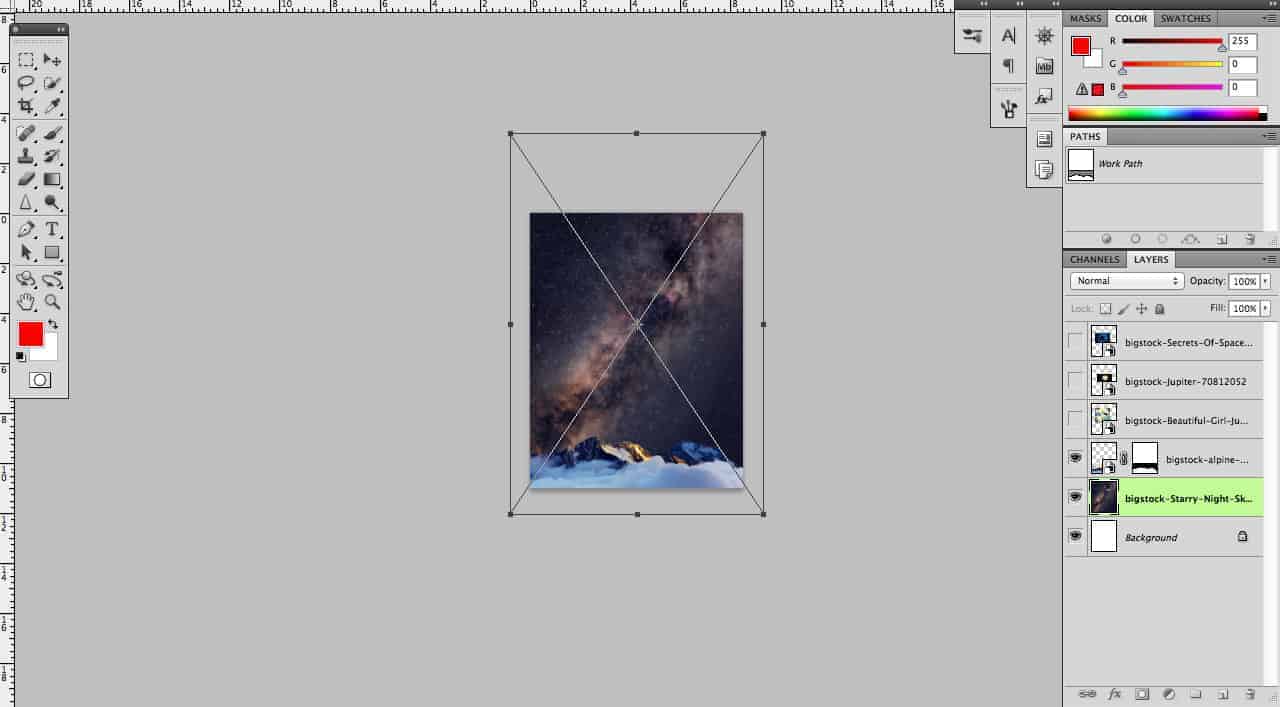
Step 7
Next lets add the space background. All you have to do is un hide the Starry Night stock photo > Move behind mountain image > Free Transform(Cmd + T) and place it where I have it. Next we are going to do Jupiter.
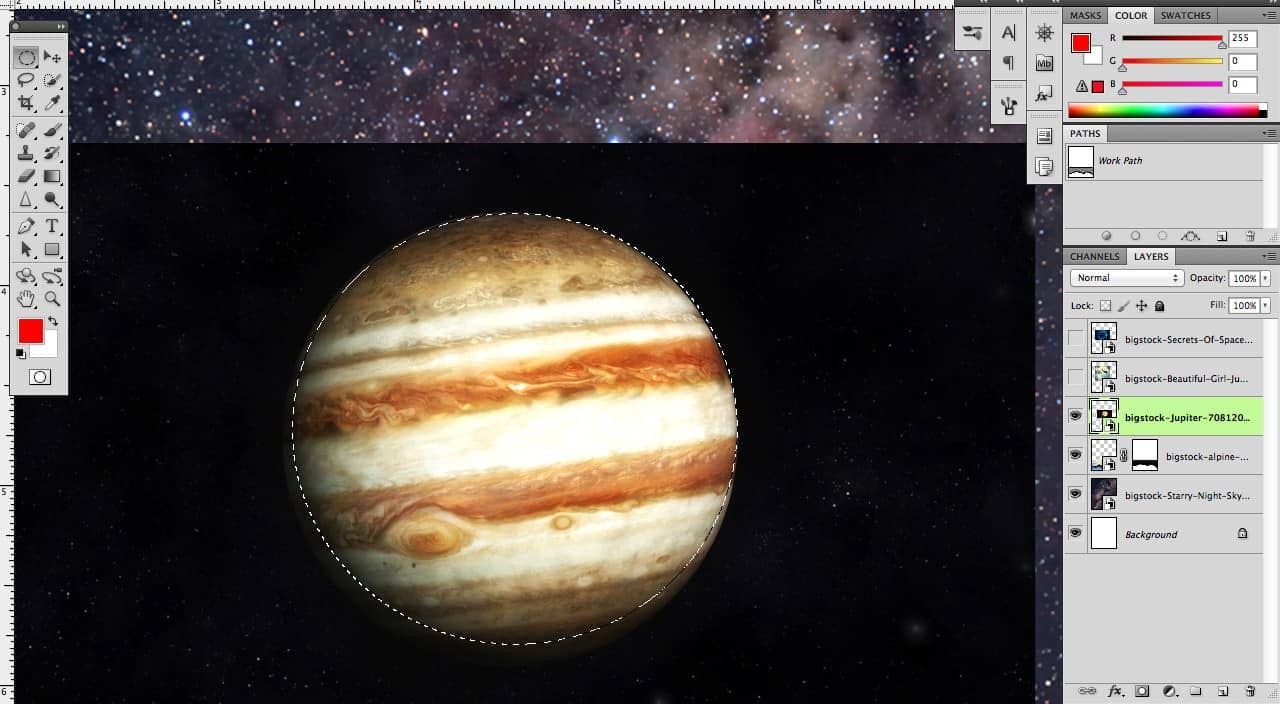
Step 8
This is a pretty basic step, First take your Elliptical Marquee Tool (M) The circle one and just make a circle jupiter, its okay not to get it perfect. Then make a Mask layer.
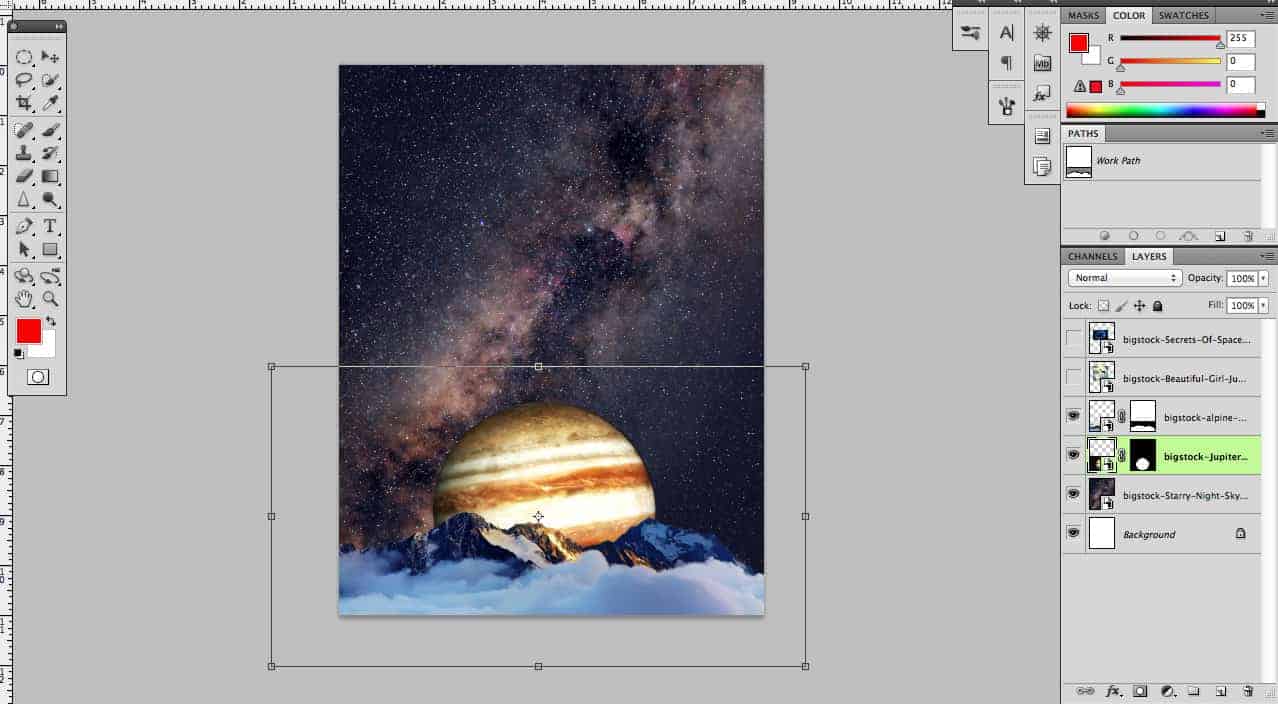
Step 9
Next put the Mountain Layer one top of Jupiter layer and place it like this. In the next step we will re-position the Mountains and Jupiter. The important part in this step is just to make sure everything is where they need to be.

Step 11
Now let's make Jupiter bigger. Use the same method like the one above. Use (Cmd + T) and the alt key to make it centered.
Step 12
Now we can start with the falling lady. Grab the Pen Tool (P)
Step 13
This is how I cut out the hair. It's okay to take out some of the harder details to get (Hair, Parts of the dress)
10 comments on “How to Create a Surreal Space Scene in Photoshop”
Nice one. Thank you for sharing
i love this class
hey Daniel T
bruh
i hate this class
This is definitely fantastic!
This tutorial is horrible omg
The type treatment is bad af
The mountains link takes you to the beautiful girl link instead of the mountains.
Link fixed thanks for letting us know!