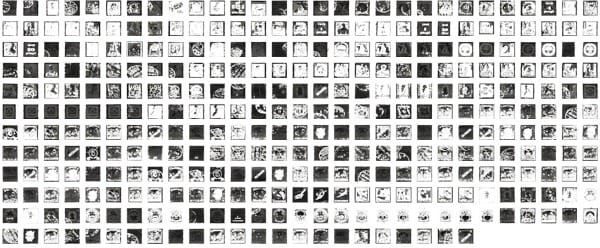
Our largest set of Photoshop brushes to date! This set contains 342 stamps from Hungary. Included with this Photoshop brush is a tutorial on how to create realistic stamps using these brushes.
Stamps from Hungary Photoshop Brushes Preview



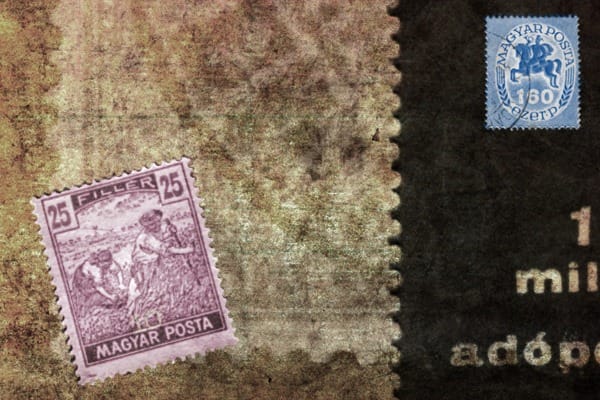
How to Create Realistic Stamps
These brushes may be used like any other brushes. Follow this tutorial if you would like to get a realistic looking stamp like shown in some of our examples.
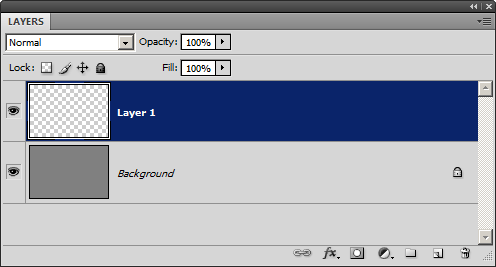
Step 1 – Create a new layer
Create a new layer. This layer will hold the stamp.
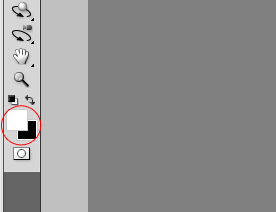
Step 2 – Set the foreground color to white
These brushes are designed to be used with white paint so set your foreground color to white. You can do this quickly by pressing D on your keyboard then pressing X on your keyboard.
Step 3 – Select and apply the brush
Make sure that you have the new layer selected. Select the brush tool, select a brush, then click anywhere in the document window to apply the stamp.

Step 4 – Create an inversed selection
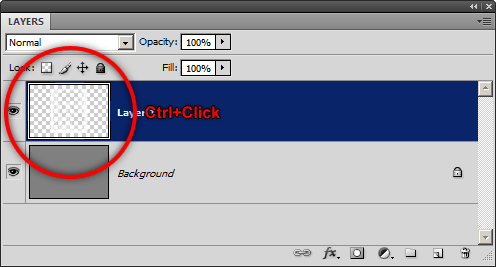
In the layers palette, hold the Ctrl key then click on the thumbnail of the current layer. This will create a selection based on the transparency of the layer.
Choose Select > Inverse to inverse the selection.
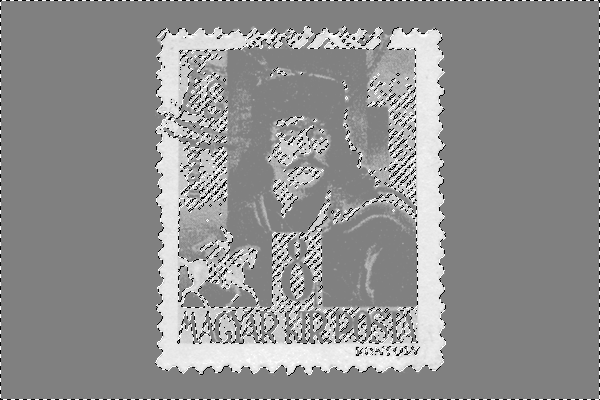
Select the Magic Wand tool then set the Tolerance setting in the option bar to 0.

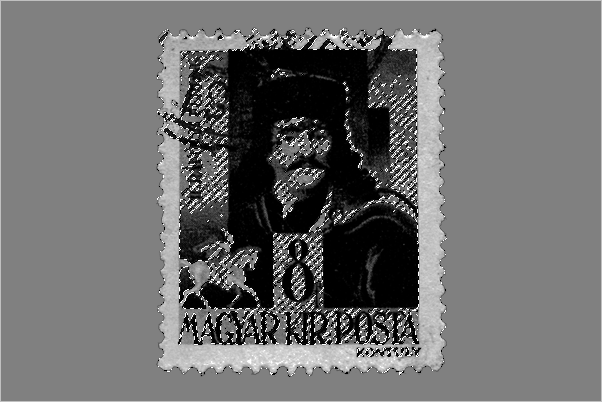
Hold down the Alt key then click on the area outside the stamp. You should have a selection similar to the image below.
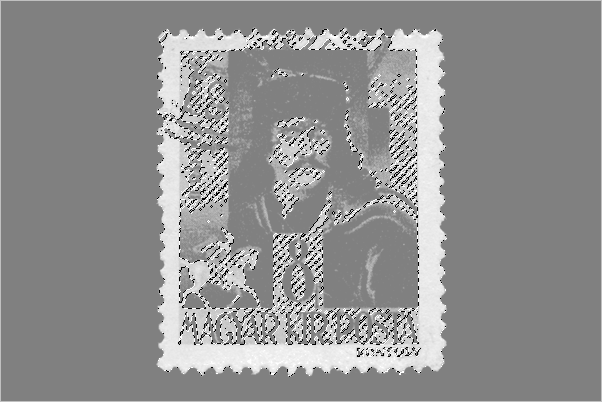
Step 5 – Fill the selection with black
Set your foreground color to black. You can do this quickly by pressing D on your keyboard.
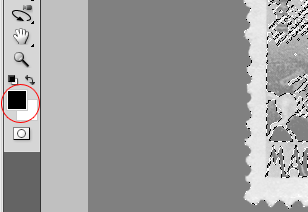
Fill the selected area with black. To do this, press Alt+Backspace or choose Edit > Fill > Black.
Step 6 – Deselect
Press Ctrl+D or choose Select > Deselect to deselect the selection.

Step 7 – Colorize
There are many ways you can colorize the stamp. The fastest way to do this is with the Hue/Saturation tool. Press Ctrl+U or choose Image > Adjustments > Hue/Saturation to use the Hue/Saturation tool. Checkmark the Colorize option then adjust the settings to get the color you like.
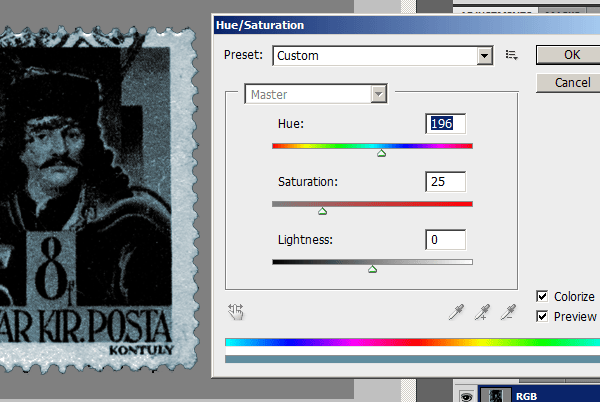
To color specific areas of the stamp, select the brush tool then set the blending mode in the option bar to Color. Select the color you like to paint with then paint directly on the layer. Remember to change the blending mode back to normal when you’re done!


How to use the inversed stamp
There is one black colored stamp in this set. To use this stamp, follow same steps above with the following modifications:


Leave a Reply