Make your artwork look like they're from an alternate universe. These Cyberpunk presets work with Photoshop (via the Camera Raw filter) and Lightroom. Download all 788 presets for 90% off.
Shoot for High Dynamic Range (HDR)

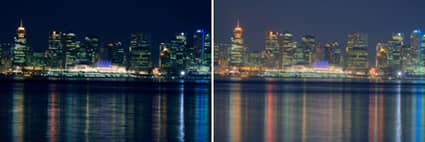
Place your camera on a tripod and shoot three exposures: one darker, one lighter, and one just in the middle. Your camera may have auto exposure bracketing to help you with this. Load the images into Photoshop and create HDR file out of the three exposures. Now you have a HDR image that you can apply tone mapping to to reveal more details. Tone mapped night photos can give results similar to shooting during twilight with more post-processing control.
Shoot Several and Stack

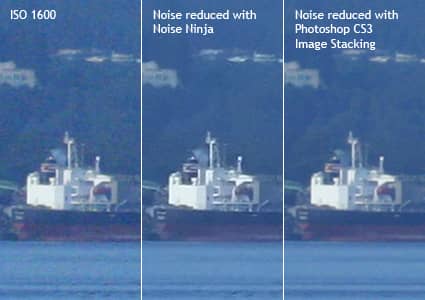
Sometimes when you shoot long exposures, noise and hot pixels will appear even at the lowest ISO setting. To overcome this problem, shoot the same photo a few times (more is better), and use Photoshop CS3 image stacking to combine the analyze the image to remove noise and hot pixels.
- Start Photoshop CS3.
- Open the File> Scripts menu and choose Load files into Stack
- Click the Browse button and load all the images.
- Checkmark the "Create Smart Object after Loading Layers" and click OK.
- Open the Layers> Smart Objects> Stack Mode menu and choose Median.


5 comments on “7 Tips for Great Photos in the Dark”
This is amazing and so easy! Thank you for sharing!
Goooood
Nice one!! i like it
goooooooooooooooooooooood
wow fantastic baby..!