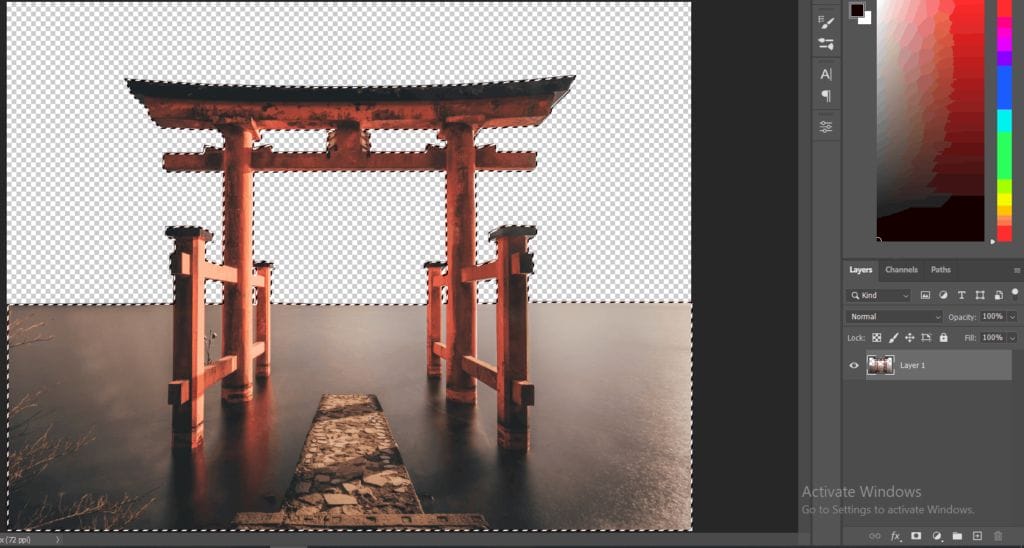

Step 8
Next, add some Adjustment layers for gate layer. Click on Adjustment Layer and add Color Balance.

Step 9
Add Adjustment Layer “Levels”

Step 10
Add Adjustment Layer “Hue/Saturation”

Step 11
Add Adjustment Layer “Hue/Saturation” Opacity set to 60%.

Step 12
Add Adjustment Layer “Levels”

Step 13
Add Adjustment Layer “Brightness/Contrast” and press Ctrl/Cmd + I to invert and use Brush Tool(B) Soft Round with foreground color white and paint the Highlights parts on water.
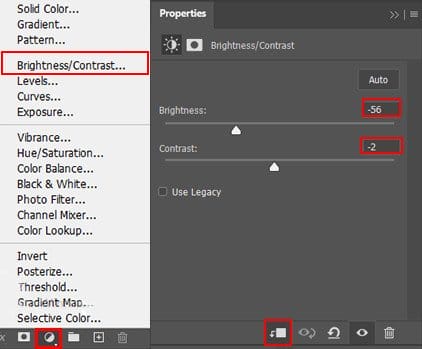

Step 14
Add Adjustment Layer “Curves” and press Ctrl/Cmd + I to invert and use Brush Tool(B) Soft Round with foreground color white and paint the Highlights parts on gate.


Step 15
Add Adjustment Layer “Levels”
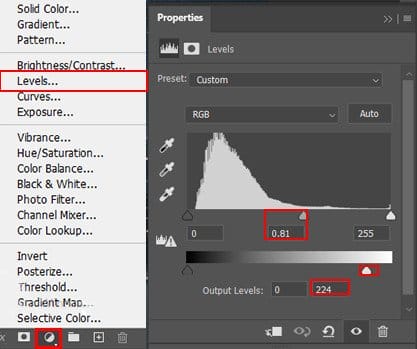
Step 16
Create a new layer and change Blend mode to Soft Light with Opacity 90% then use a Brush Tool(B) Soft Round with foreground color white. Then paint to right corner.
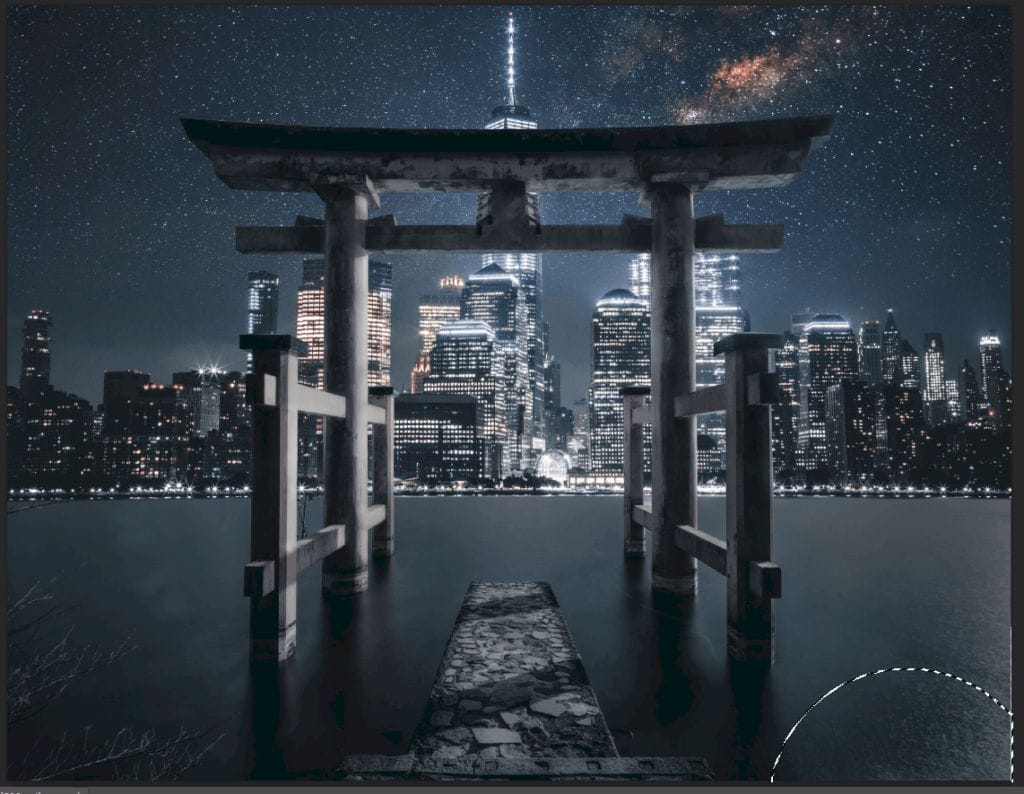
Step 17
Next we will openBird 1 After you open the image, use Quick Selection Tool(W) and start selecting the Bird. After the selection area has been created, simply copy (Ctrl / Cmd + C) and Paste (Ctrl / Cmd + V) it to our work canvas. Then position the image with the transform tool (Ctrl / Cmd + T). Hold Alt + Shift and resterize like image below. In Photoshop CC only hold Alt to resterize al sides together.Make a selection with the Quick Selection toolSelect the Quick Selection tool in the Tools panel. Add a checkmark to the Auto-Enhance option in the Options bar. Click and drag over an area you want to select. The tool automatically selects similar tones and stops when it finds image edges.Add to the selectionTo add to the initial selection, just click and drag over another area. The Quick Selection tool automatically changes to the Add to selection option.Subtract from the selectionTo subtract from the initial selection, press the Option key (MacOS) or Alt key (Windows) as you select an area you want to remove from the selection. When you release the Option or Alt key, the Quick Selection tool switches back to its Add to selection option.


Step 18
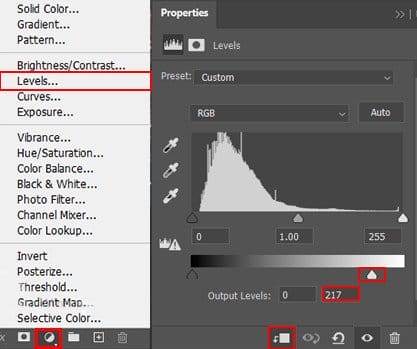
Add Adjustment Layer “Levels”
Step 19
Add Adjustment Layer “Color Balance”
7 responses to “A Gate of New Hope Photoshop Tutorial”
-
Photoshop prtis ka karna
-
PSD File is not downloadable.
-
The PSD file works for us. It’s a really big file, so it will take awhile to download.
-
-
The download link doesn’t work
-
Sorry about that – link has been fixed!
-
-
very good :)
just a problem with link psd-
Sorry about that – link has been fixed!
-


Leave a Reply