Luminar AI lets you turn your ideas into reality with powerful, intelligent AI. Download the photo editor and see how you can completely transform your photos in a few clicks.

Step 24
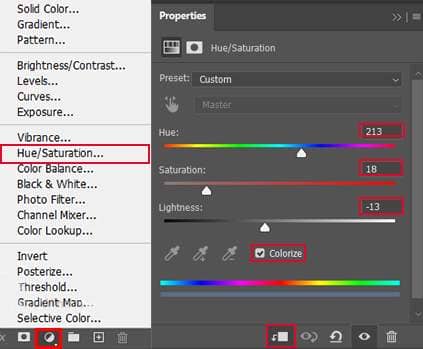
Add Adjustment Layer "Hue/Saturation"
Step 25
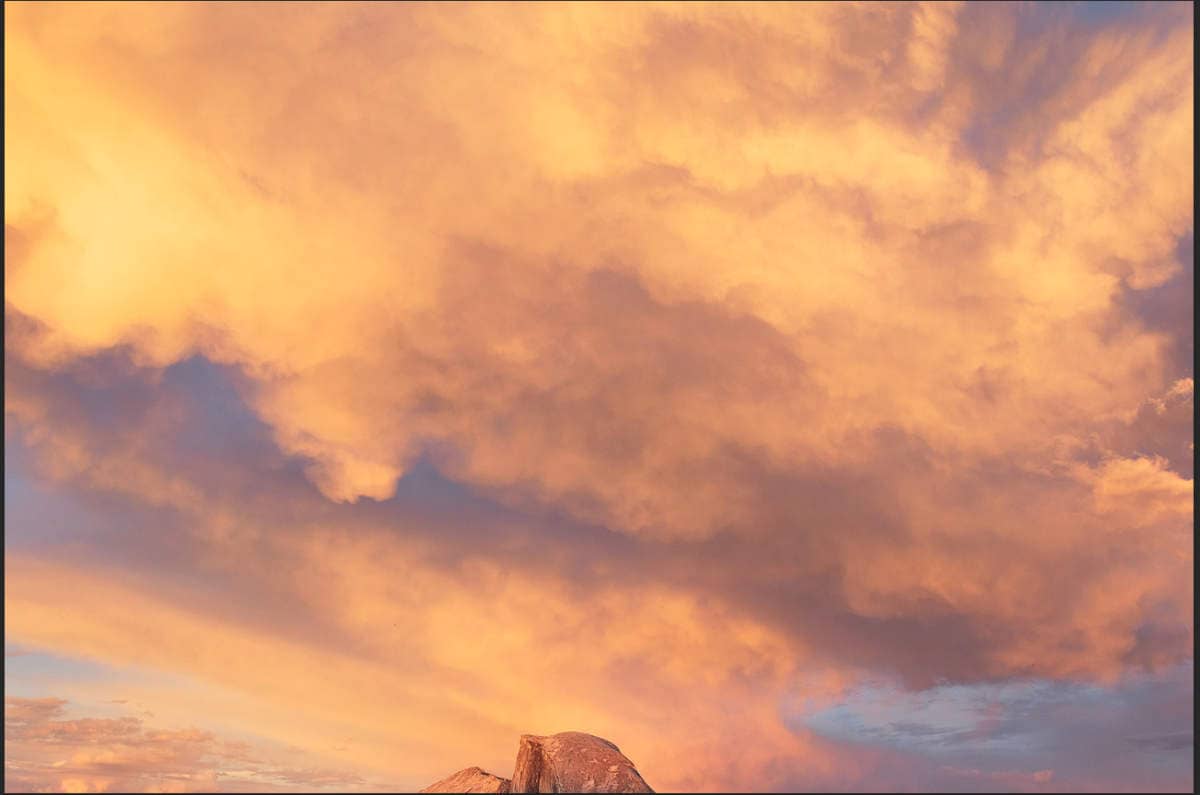
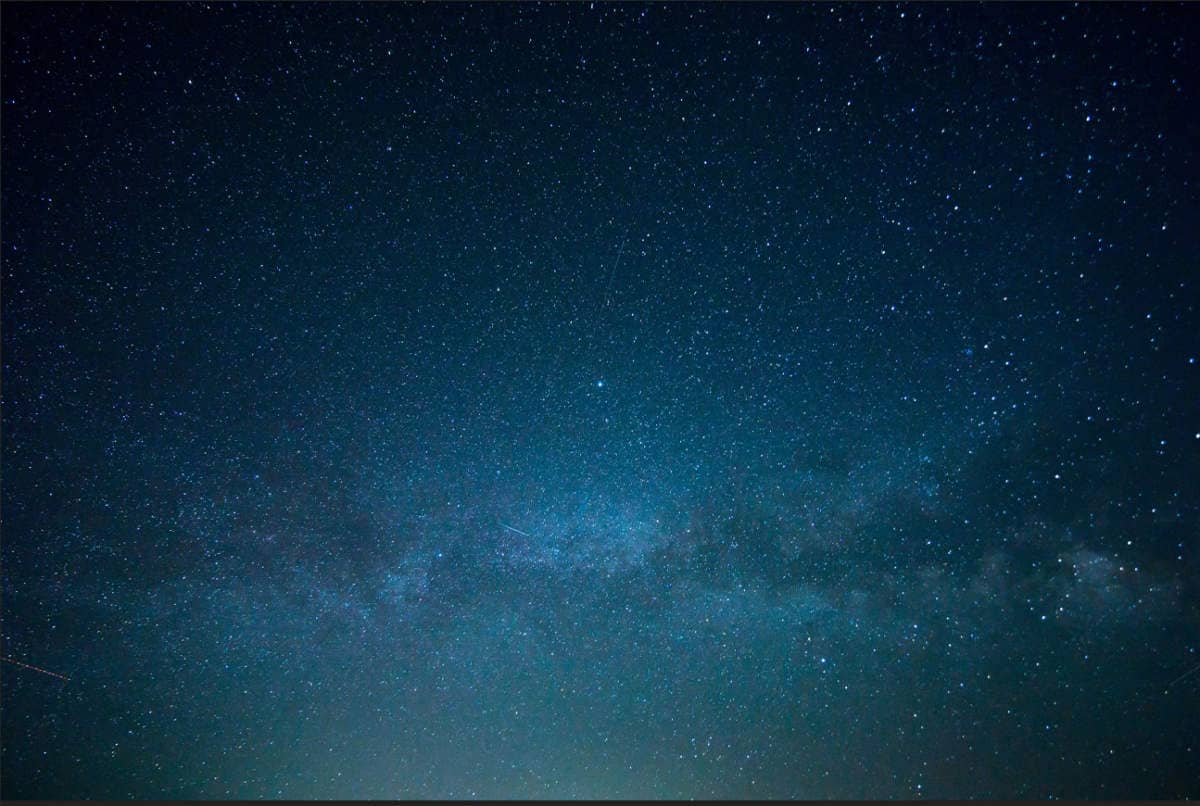
Now, place Stars Go to File > Place and select Stars, then place it to our work canvas, position the image with the transform tool (Ctrl / Cmd + T). Hold Alt + Shift and rasterize like the image below. In Photoshop CC only hold Alt to rasterize all sides together. Blend mode change to Soft Light.
Step 26
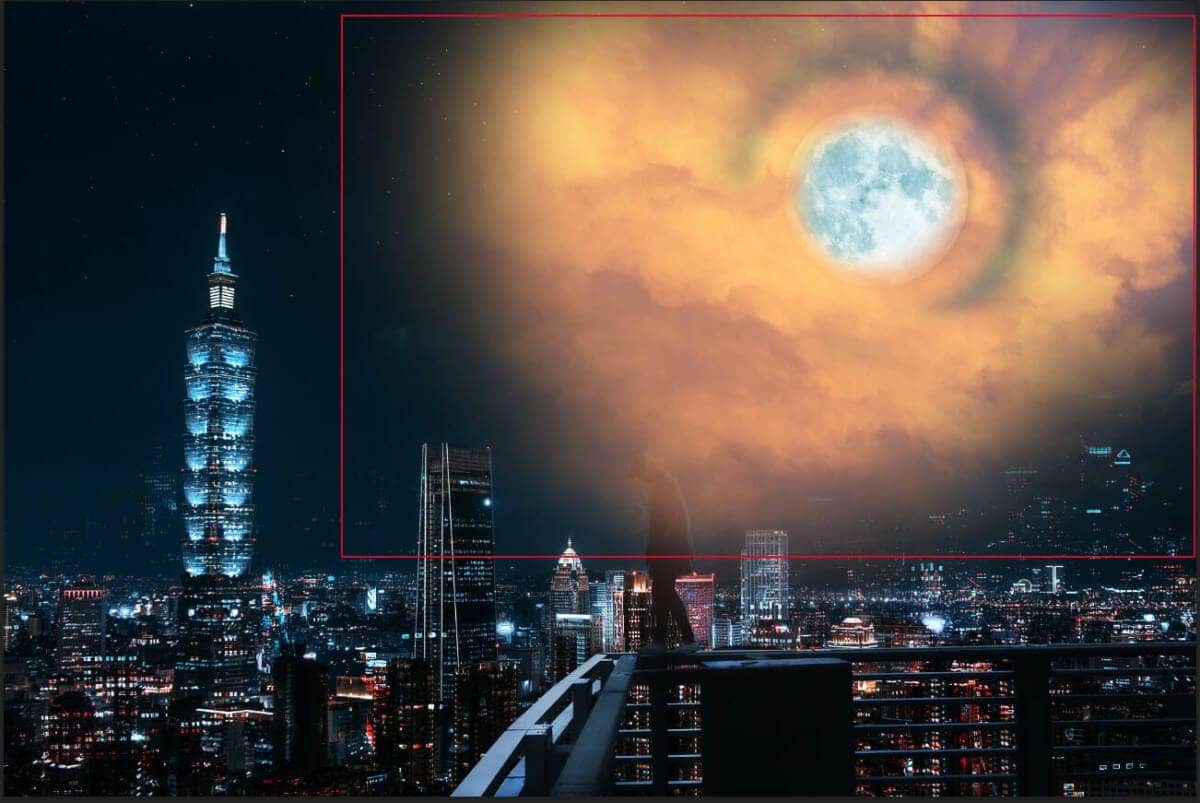
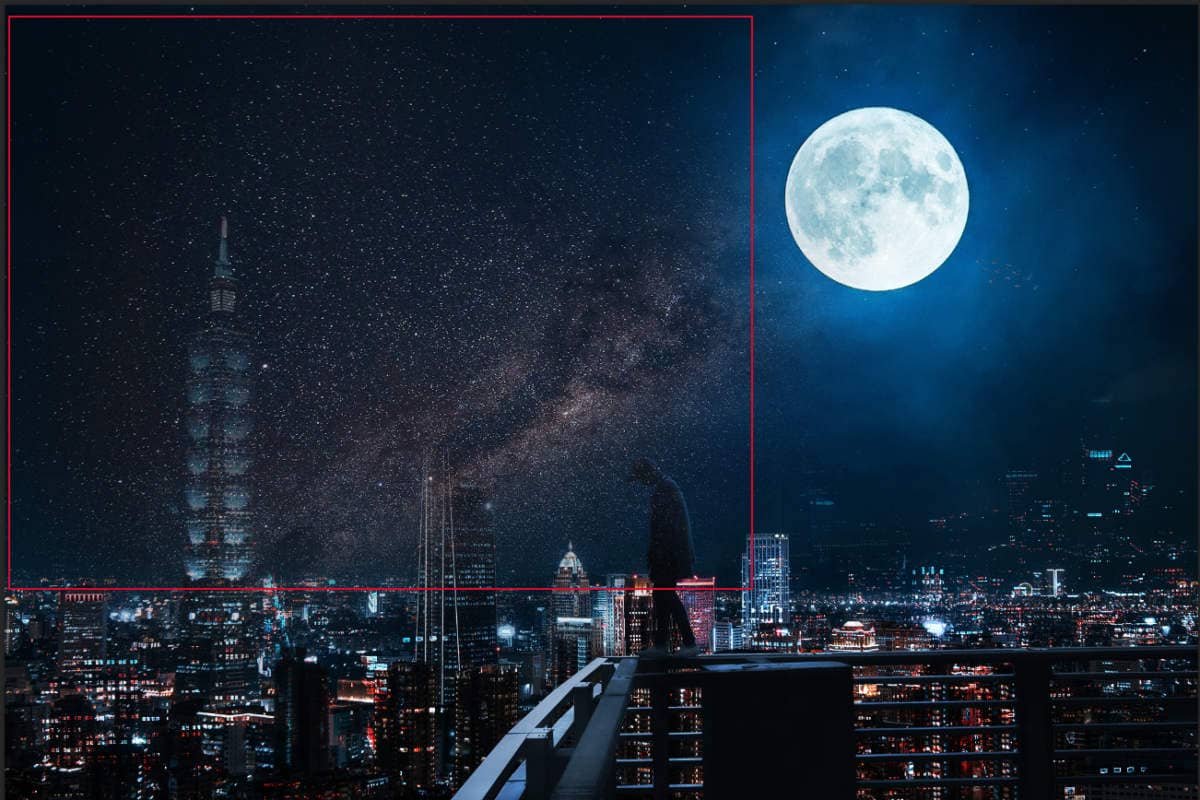
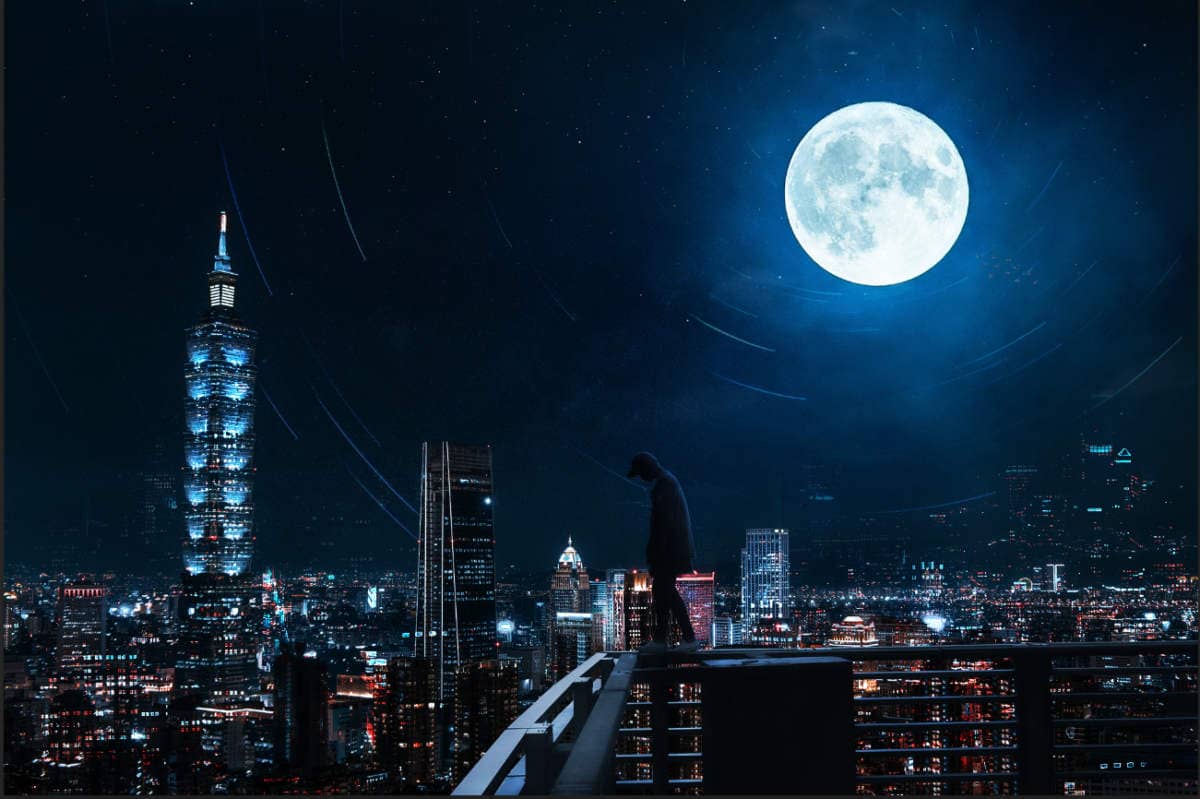
In this step place Milky Way Go to File > Place and select Milky Way. Then place it to our work canvas, position the image with the transform tool (Ctrl / Cmd + T). Hold Alt + Shift and rasterize like the image below. In Photoshop CC only hold Alt to rasterize all sides together. Blend mode change to Overlay and reduce Opacity to 60%.
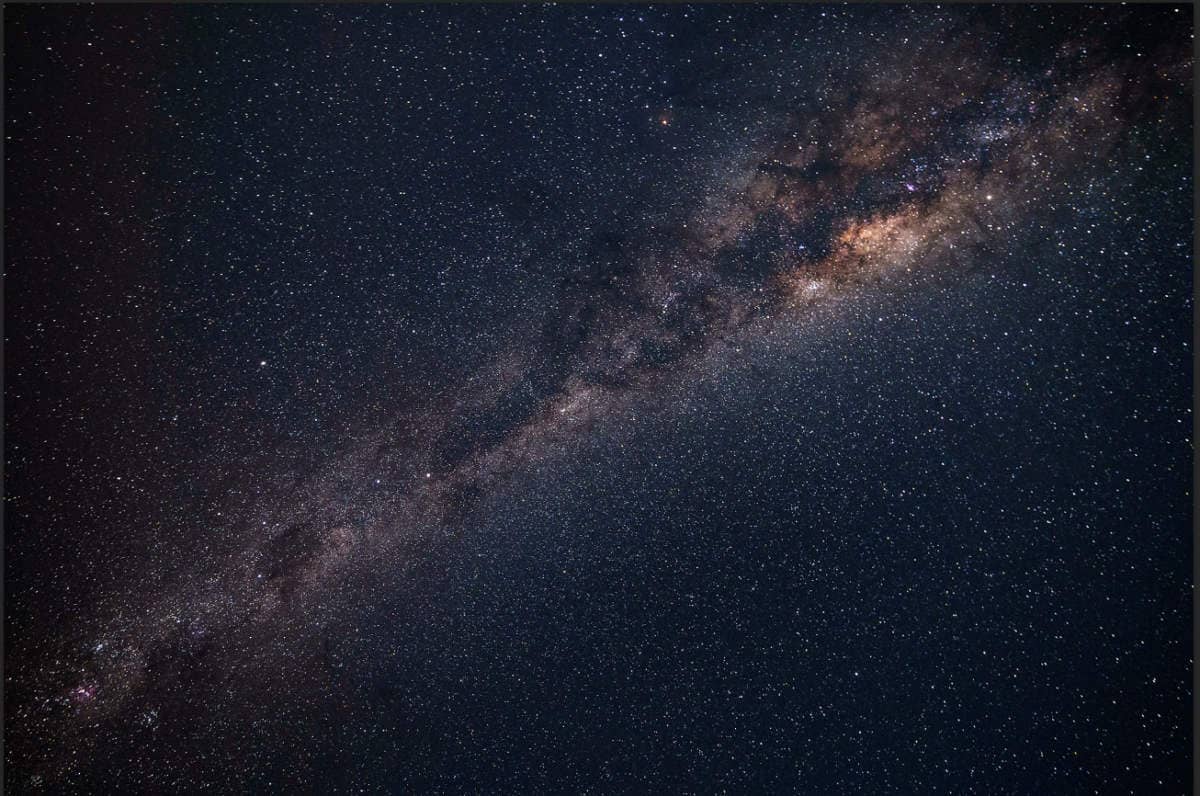
Create a layer mask and use Brush Tool Soft Round with foreground color black and paint...

Step 27
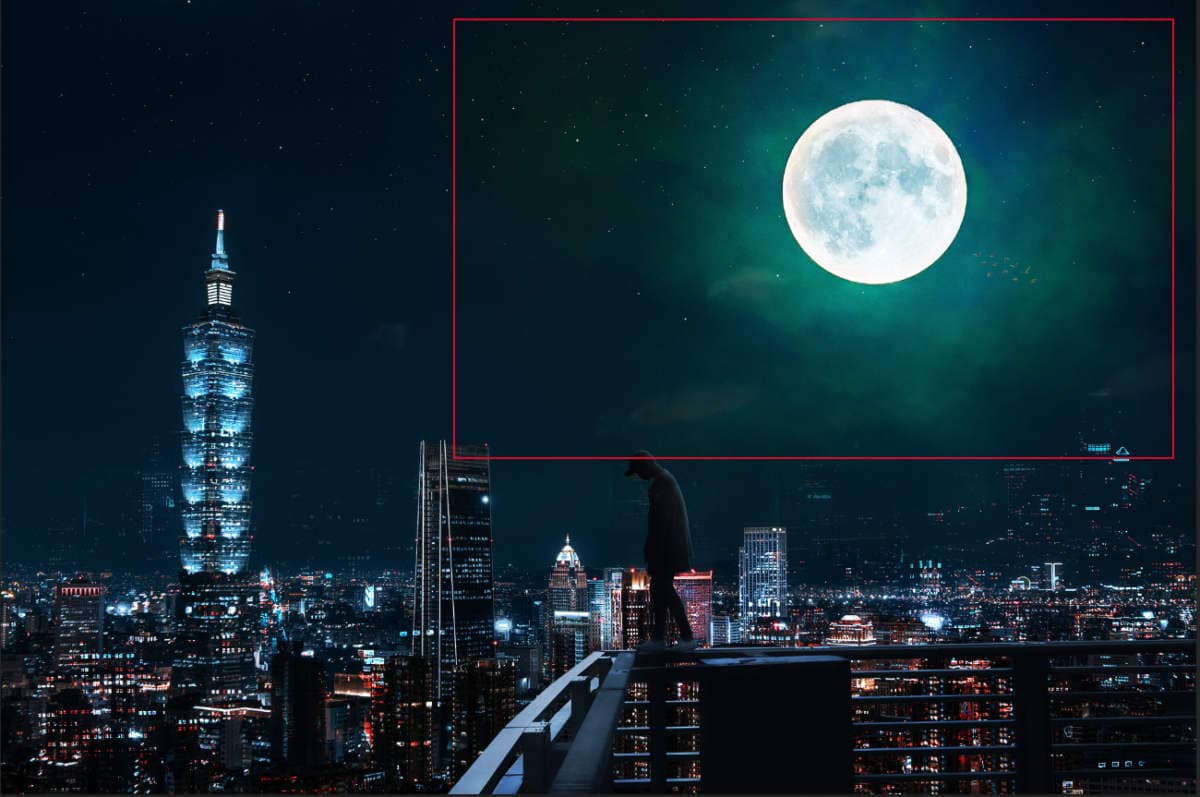
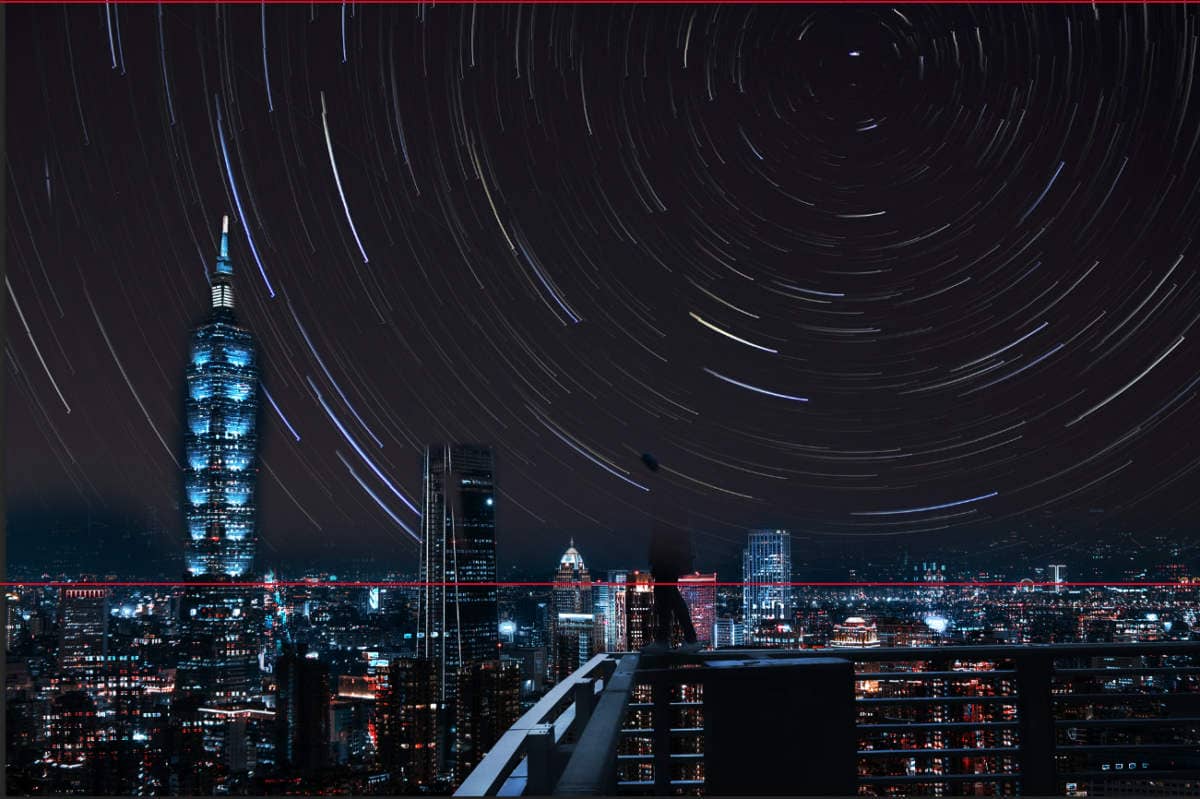
Next, Go to File > Place and select Circles. Then place it to our work canvas, position the image with the transform tool (Ctrl / Cmd + T). Hold Alt + Shift and rasterize like the image below. In Photoshop CC only hold Alt to rasterize all sides together. Blend mode change to Color Dodge and reduce Opacity to 30%.
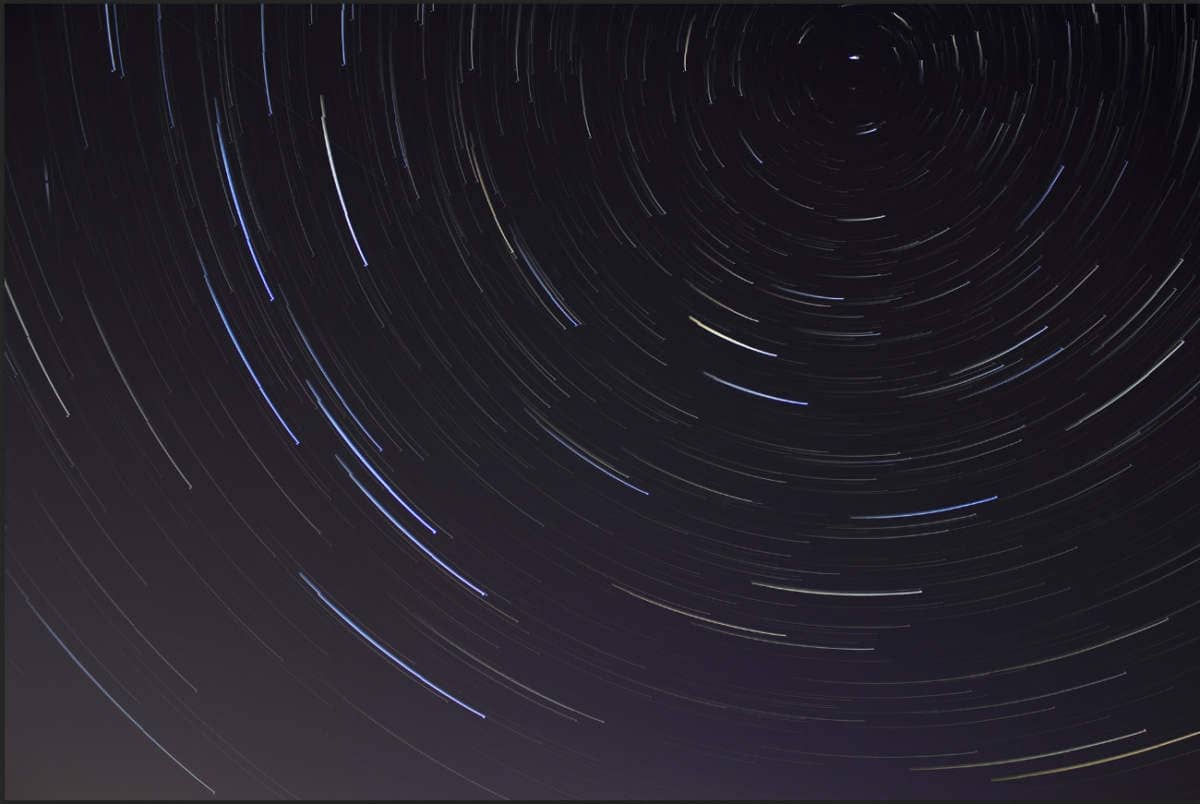
Now create a layer mask and use soft round brush tool with the foreground color black and paint on circles to delete it from the city.
Step 28
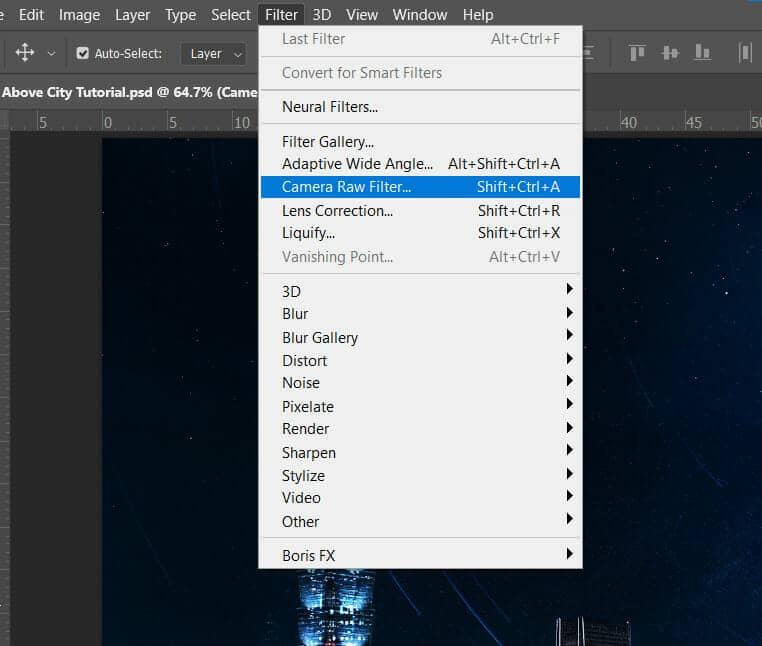
When we finished all this, now merge all layers to one. Select the last layer and hold CTRL/CMD + SHIFT + ALT + E. Now we have a final layer, right click on mouse and select Convert to Smart Object. Then go to Filter > Camera RAW Filter. At its most basic, the Photoshop Camera Raw filter allows you to use the functions of the ACR interface at any time within Photoshop.
Step 29
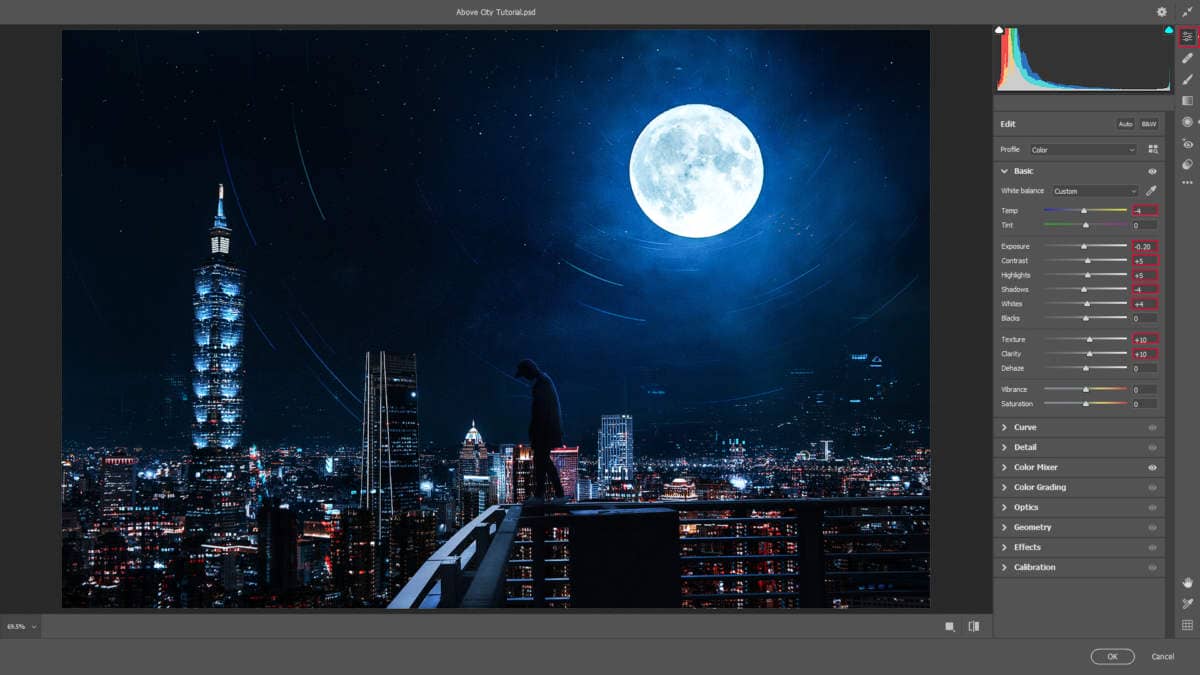
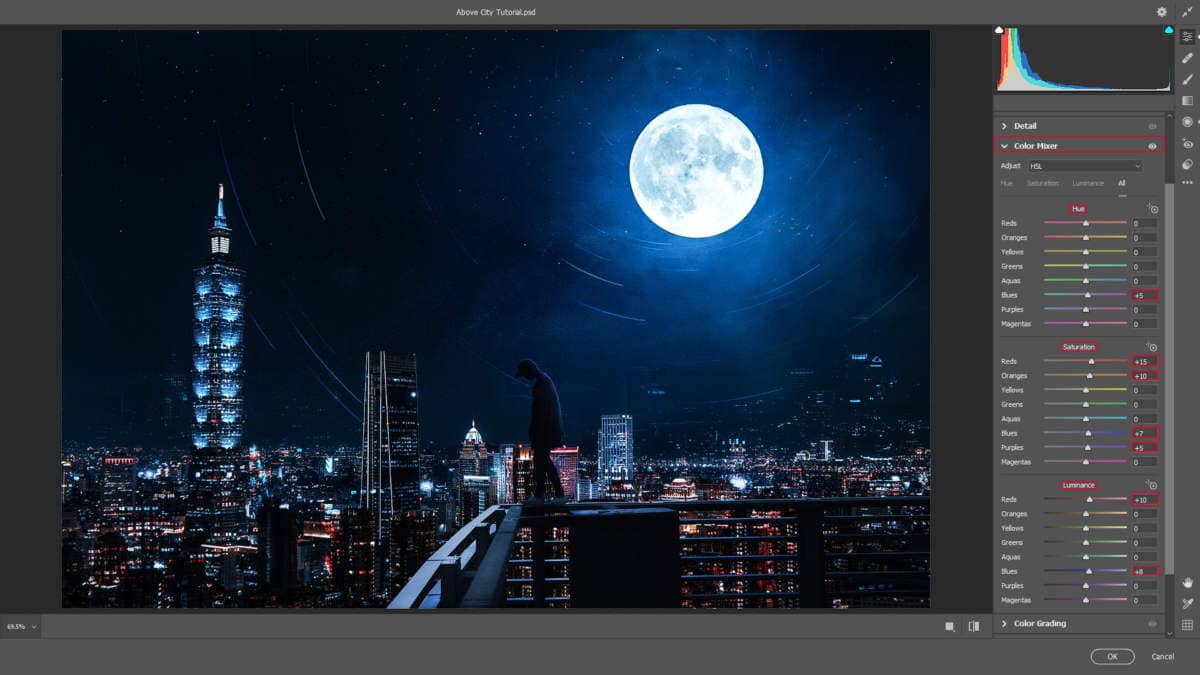
Now in Camera Raw Filter, set the Value: Basic
- Temp: -4
- Exposure: -0.20
- Contrast: +5
- Highlights: +5
- Shadows: -4
- Whites: +4
- Texture: +10
- Clarity: +10
Color Mixer Hue
- Blues: +5
Saturation
- Reds: +15
- Oranges: +10
- Blues: +7
- Purples: +5
Luminance
- Reds: +10
- Blues: +8
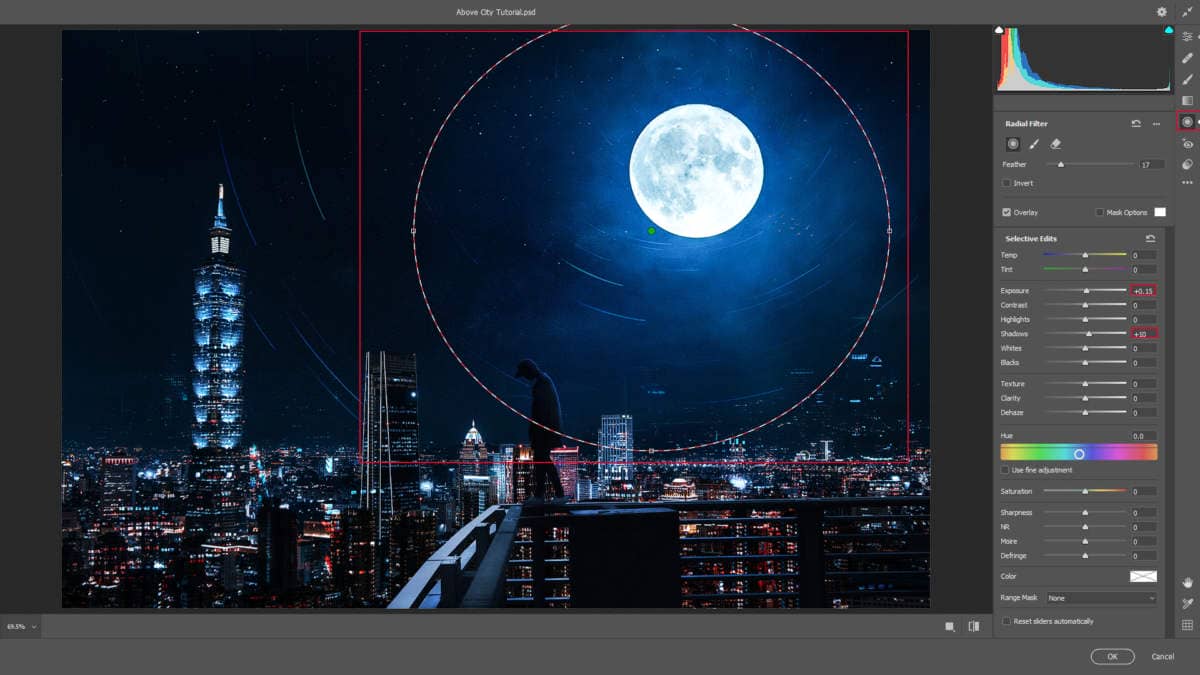
Radial Filter
- Exposure: +0.15
- Shadows: +10
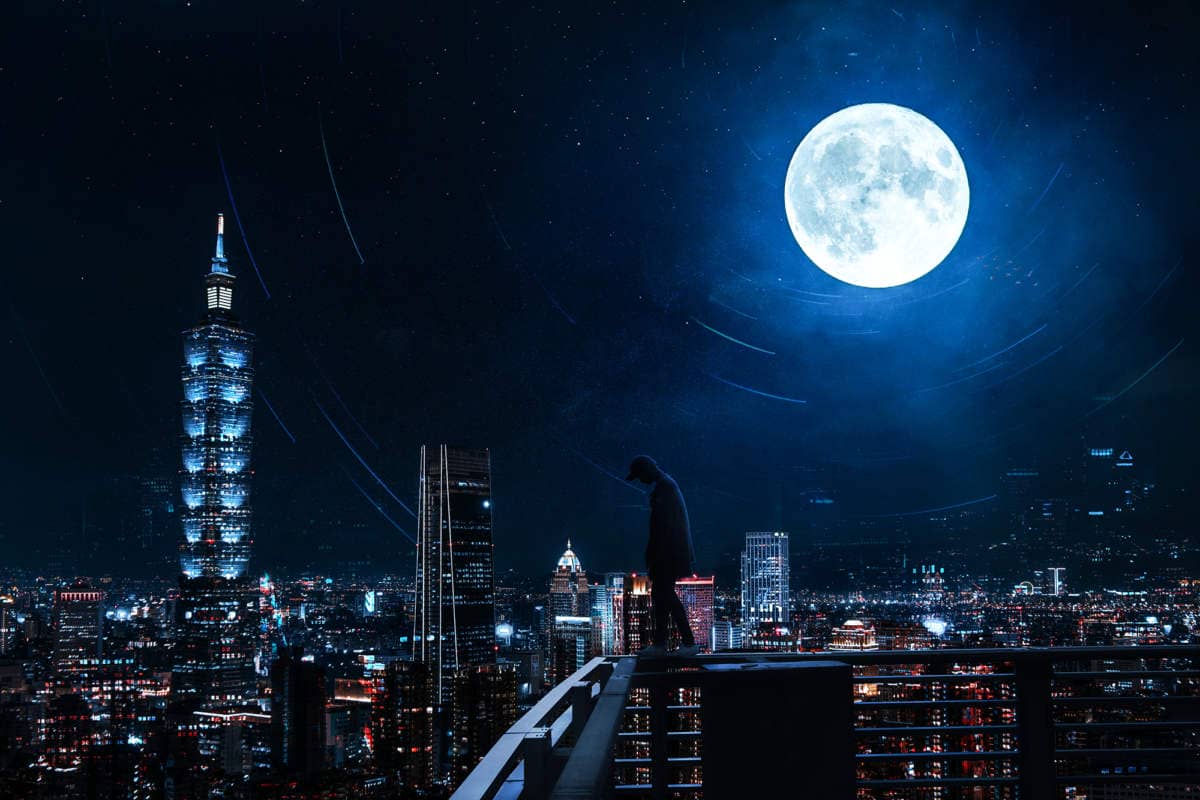
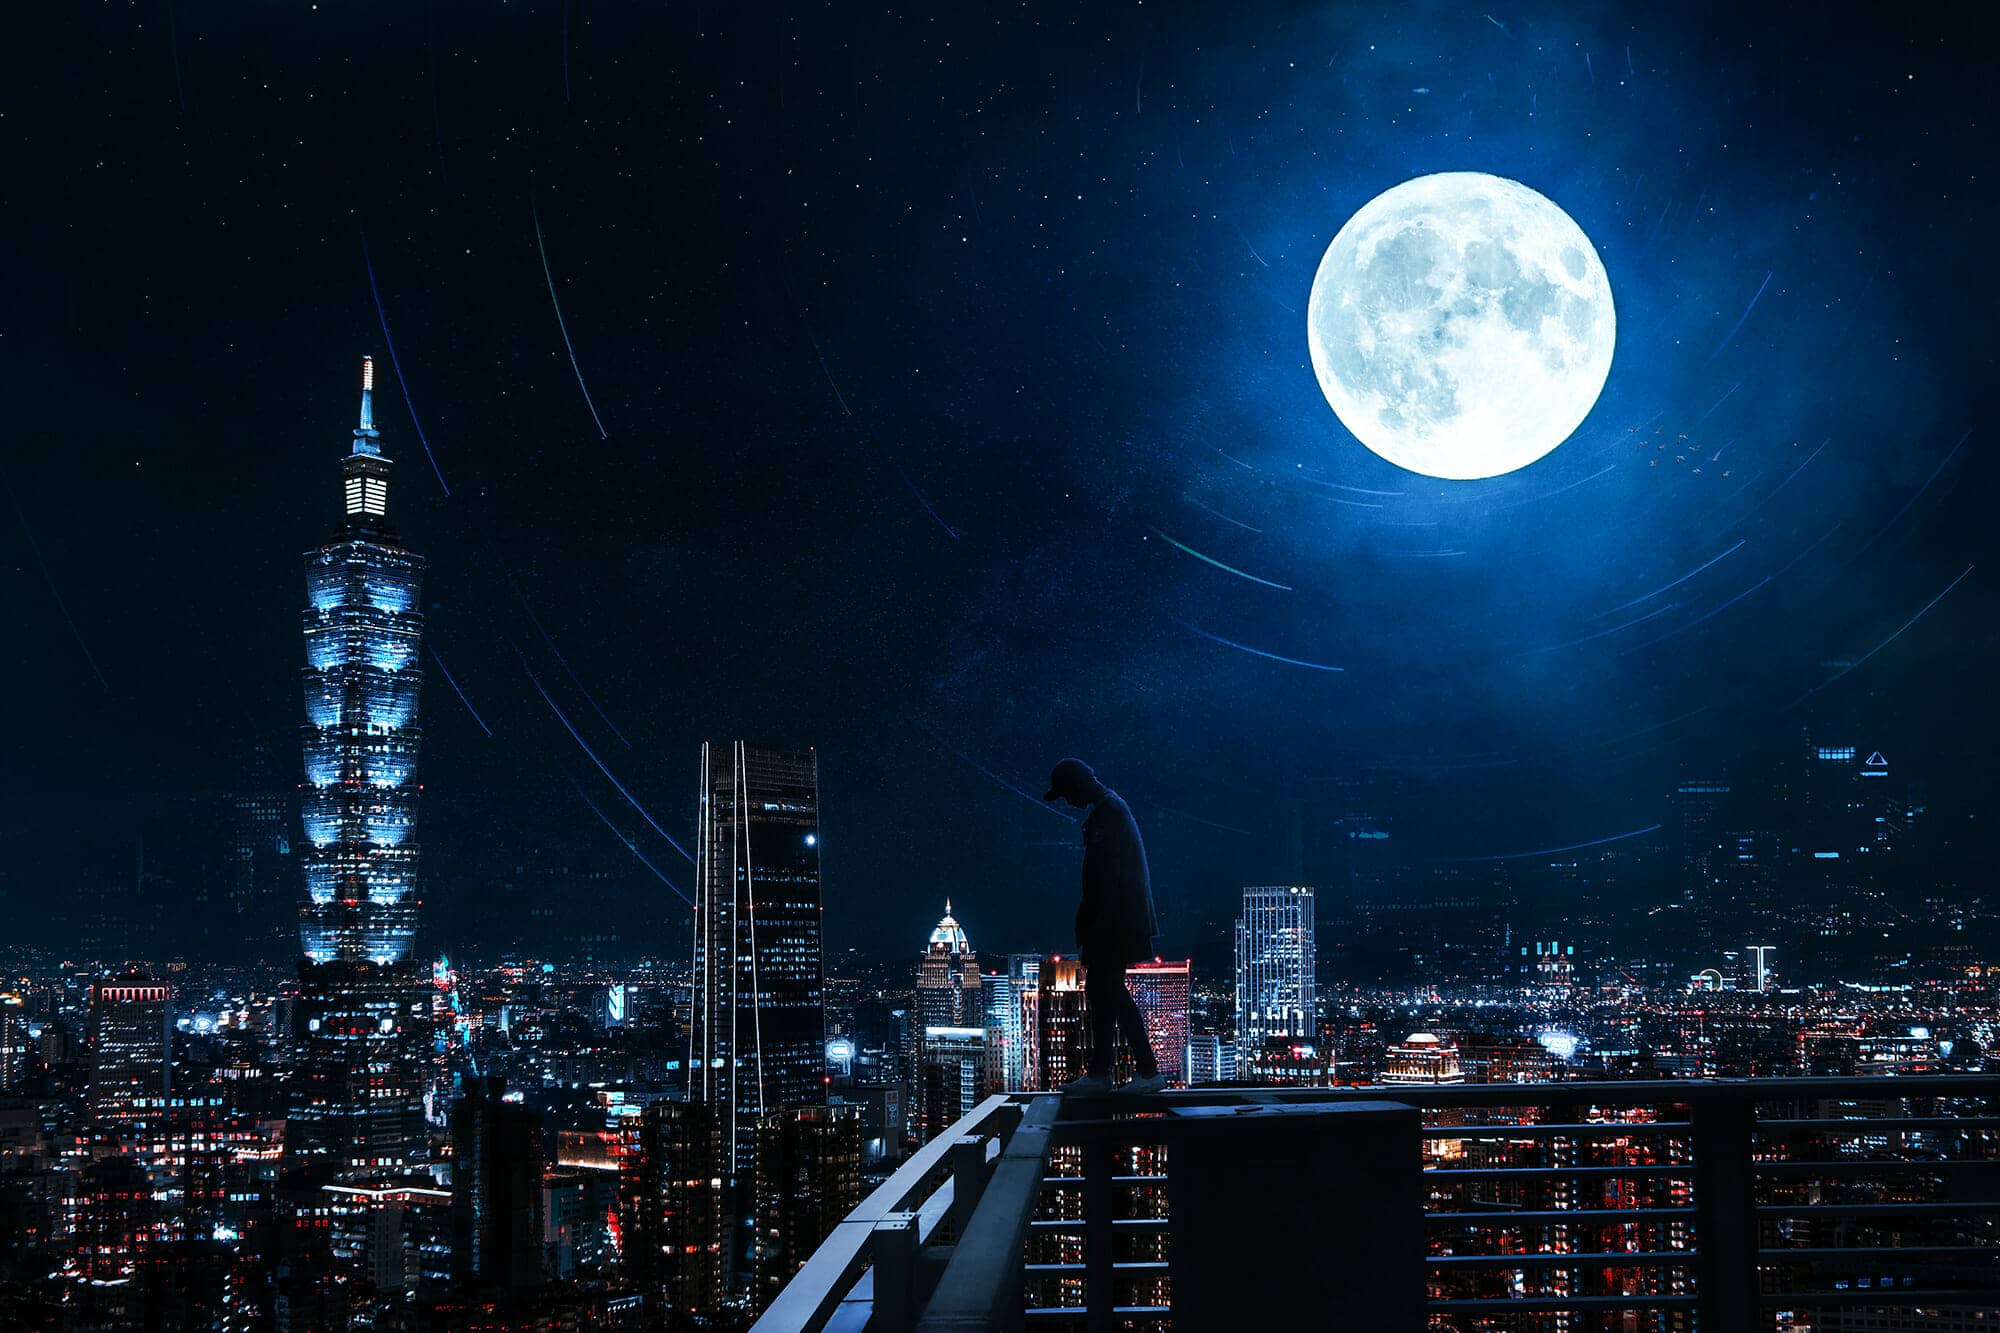
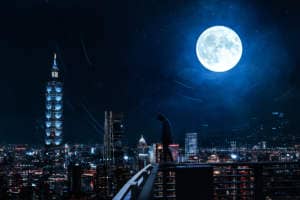
And finally, everything should look like this.

Final Results

3 comments on “Create an Urban Rooftop Scene in Photoshop”
In grote lijnen kan ik het wel volgen maar vanaf stap 14 ga ik nogal onderuit. Het bedekken van die Man en dat mooie blauwe kleurtje op zijn rug, lukt mij niet. Zodra Ctrl-I mee mag doen, maak ik kennelijk een essentiële fout. Moet ik het Masker omkeren? Dan krijg ik Wit.
Ik vond het wel leerzaam; het gebruik van allerlei Aanpassingslagen is bij mij wat helderder.
Veel dank voor al jullie moeite om deze tutorial de Wereld in te sturen. Wat mij betreft mag bij iedere stap ook het Lagenmenu zichtbaar zijn/worden. Dan denk ik beter mijn in de fout gaan kan beoordelen.
Met vriendelijke groet, HK.
Zeer bedankt voor deze uitgebreide Tutorial. Ik mis dikwijls het totaal overzicht van de Lagen en vanaf stap 7 ga ik 'de mist in'. De Glow City lukt natuurlijk maar het Toevoegen van die 3 Lagen Curves is mijn Masker wit met zwart. Toepassing van Pen bij Man geen probleem.
Ik ga nu verder met pagina 2......
Wonderful!