
We will build the city from scratch. It will be drone-friendly and a center for the development of robotics. We want to create something different. New York is a place for dreamers who want to create something new in the world, something extraordinary. In this Photoshop tutorial, we will create an urban scene. First, we added a City and then replace the sky with a Photoshop feature. Next, added stars, moon, and planet then blended them with adjustment layers. Also added brushes, clouds and comets then Finally, we use Camera Raw Filter.
Preview of Final Image

Tutorial Resources
Step 1
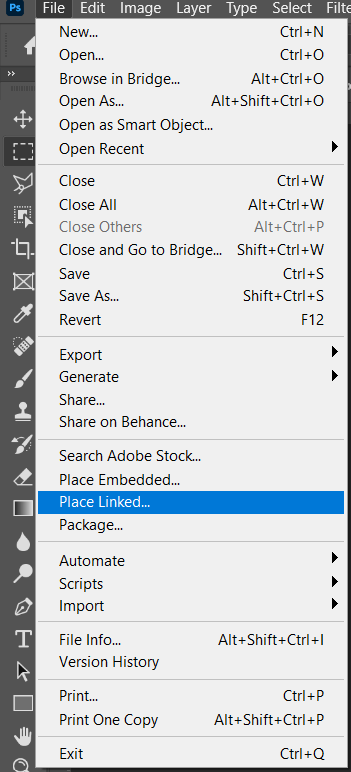
Now, let’s start by creating a new image file, go to the Menu bar and click File > New, and then input the following values on their respective fields
- Preset: Custom
- Width: 3080px
- Height: 3850px
- Resolution: 300px
- Color Mode: RGB Color 8 bit
- Background Contents: Transparent

Step 2
Now, place City Go to File > Place and select City, then place it to our work canvas and position the image with the transform tool (Ctrl / Cmd + T). Hold Alt + Shift and rasterize like the image below. In Photoshop CC only hold Alt to rasterize all sides together.

Step 3
We will now replace the sky with the new Sky replacement feature. Go to Edit > Sky Replacement…

Then select sky sample and press Ok.

Step 4
Add Adjustment Layer “Hue/Saturation”

Step 5
Next, place Stars Go to File > Place and select Stars. Then place it to our work canvas and position the image with the transform tool (Ctrl / Cmd + T). Hold Alt + Shift and rasterize like the image below. In Photoshop CC only hold Alt to rasterize all sides together. Blend mode change to Screen.

Create a layer mask and use soft round brush tool with the foreground color black and delete the bottom part of the sky.


Step 6
Add Adjustment Layer “Curves”

Step 7
Next, place Moon Go to File > Place and select Moon. Then place it to our work canvas, position the image with the transform tool (Ctrl / Cmd + T). Hold Alt + Shift and rasterize like the image below. In Photoshop CC only hold Alt to rasterize all sides together. Blend mode change to Screen with the opacity of 50%.


Right-click on the layer and select Blending Options and on Underlying Layer hold Alt and move the slider to right. (44/188)
Leave a Reply