Make skin look perfect in one-click with these AI-powered Photoshop actions.

Adjusting objects: Align
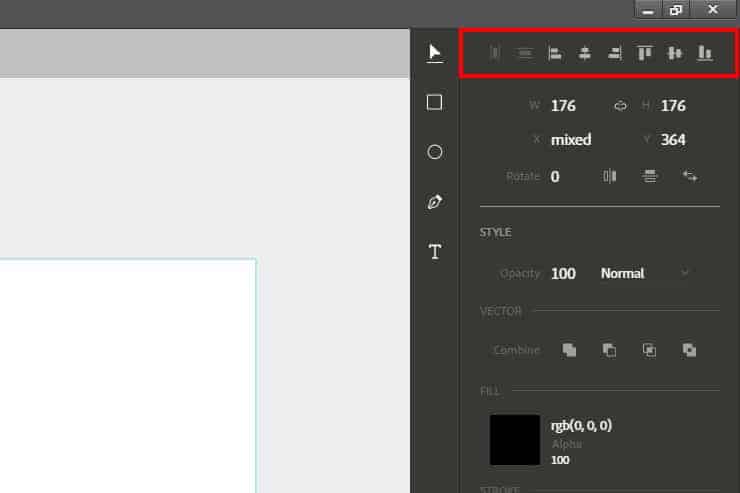
You can align objects through the Arrange tab or the align panel on the right. Two or more objects are required to be selected. To select multiple objects hold Shift and click on them.
Adjusting objects: Positioning and size
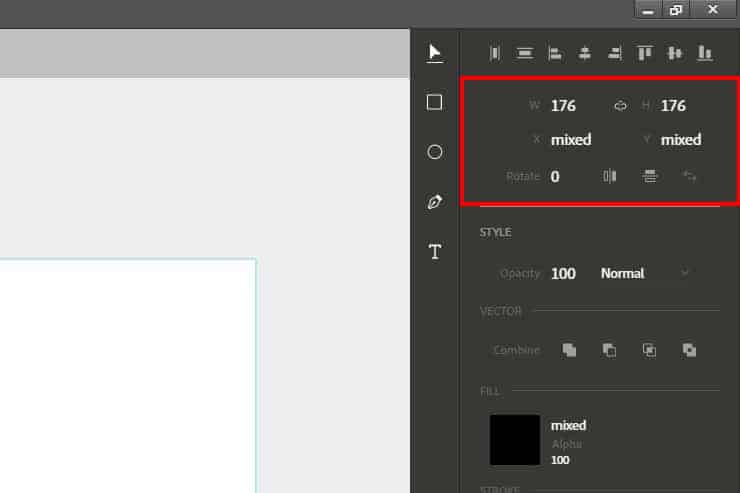
For a more precise sizing and positioning we'll use the panel below the first one. In Design Space we set the values in pixels. W stands for Width and H for Height, we can lock them together to keep the ratio when we change one field. The fields below shows the position of the object on the canvas. Then there's the option to rotate the objects, alternatively you can rotate objects on the canvas by having them selected and hovering the corners and lastly we have the options to change position between objects.
Styling objects: Vector
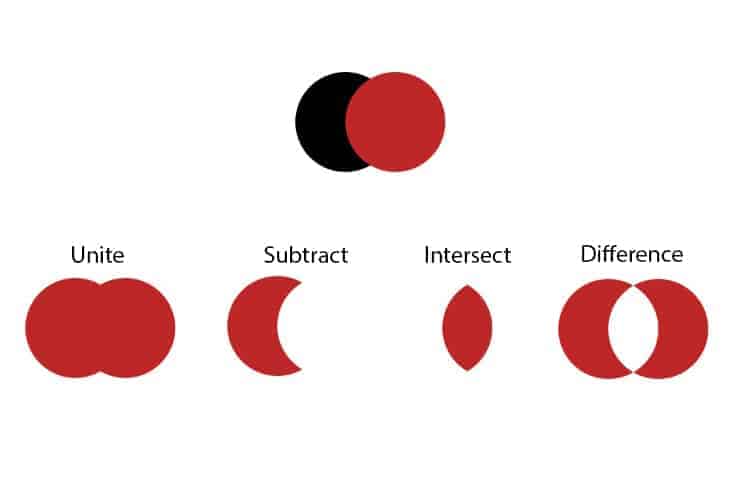
Okay, now let's move on to styling. The first thing we can modify is the Opacity and the layer mode and after that there's the Vector section, which you might find familiar if you worked with Adobe Illustrator. What it does is, it allows us to modify a shape or combine it with other shapes. The options we have are Unite, Subtract,Intersect and Difference, below you can see the result of using each option with two shapes. Both shapes have to be selected for this to work.
Styling objects: Fill
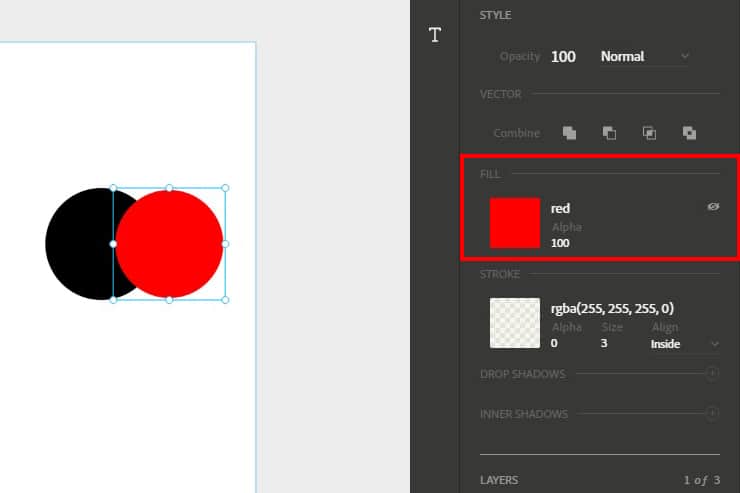
Fill can be assigned by either picking a color from the color picker that appears when you click the square or by setting it through the input field, which accepts Hexadecimal colors (#000000), RBG ( rgb(255, 0, 0)) and even common names such as "red". Check these pages for more information: 1,2. The Alpha field is similar to Opacity but it will only affect the fill.
Styling objects: Stroke
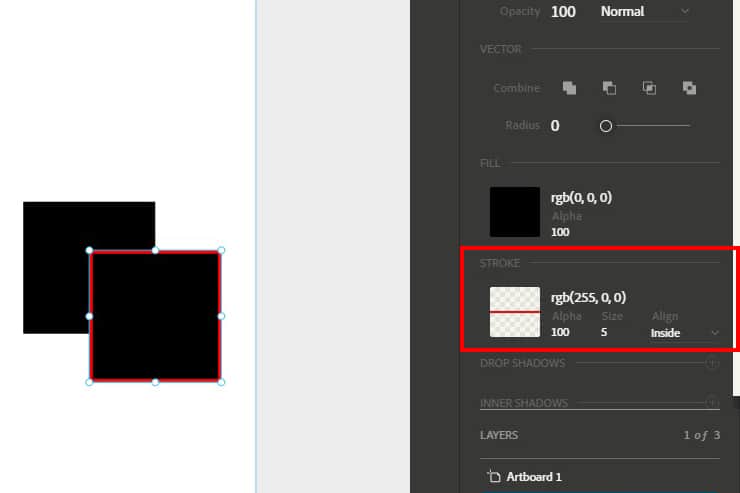
Stroke has what Fill has and two more fields, we can specify the size of the stroke and it's alignment, we can set it on the inside, on the outside or on the center.
Styling objects: Shadows
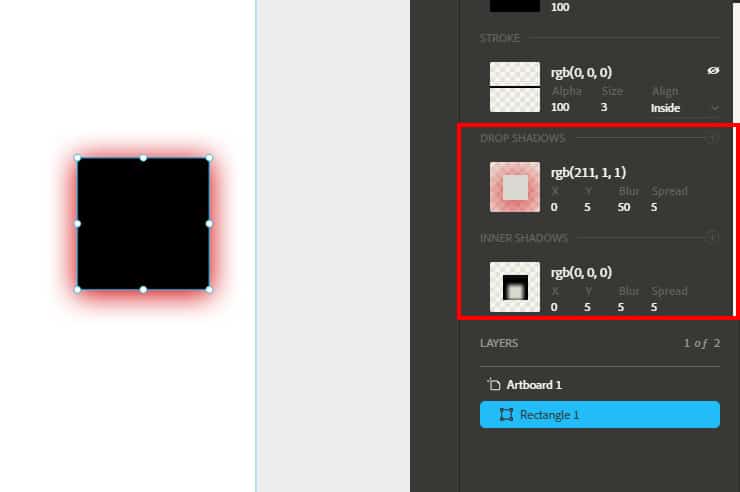
Lastly, we can add shadows on the outside and on the inside of an object. We can set the color, which makes it more of a outer glow, it's positioning (X,Y), Blur and Spread. These two sections are activated by clicking on the + sign.
Styling objects: Text styling
When it comes to text the styling is pretty simple, we have the Typeface field to select the font and the rest of the fields that comes with it, like weight, size or letter.


6 comments on “A Guide on Design Space in Adobe Photoshop CC 2015”
pooh
Your tutorial is professional. It help me.
https://www.graphicexpertsbd.com/
I know this site gives quality depending content and other information, is there any other website which provides these stuff in quality?
Thank you a lot for sharing this with all folks you really realize what you're speaking approximately! Bookmarked. Please additionally visit my website =). We could have a link change contract between us
It's very effortless to find out any topic on net as compared to textbooks, as I found this piece of writing at this web site.
How 2 do oil paint with thiss