Step 9
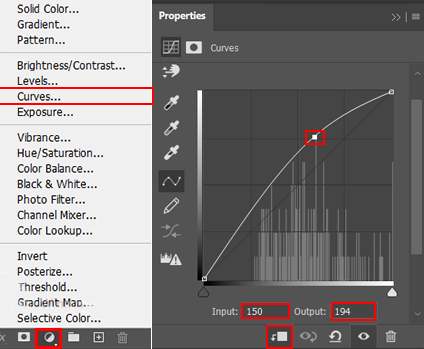
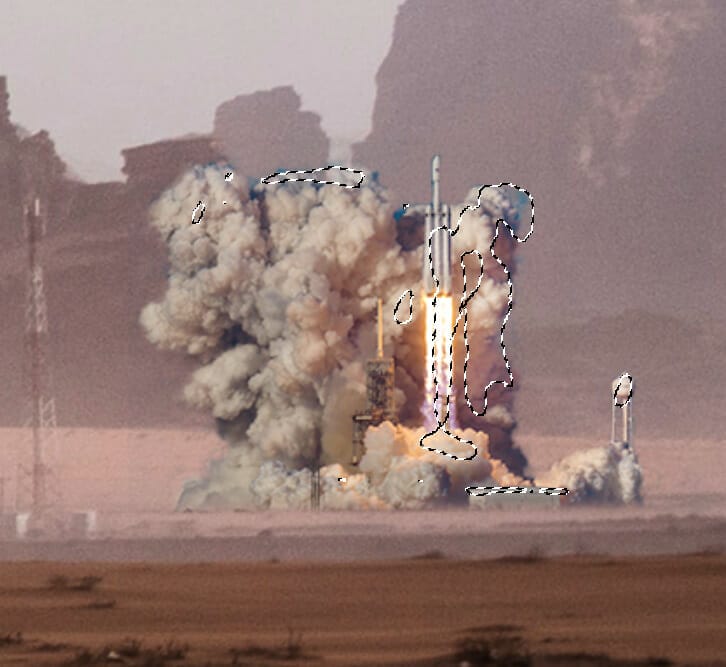
Add Adjustment Layer “Exposure”

Step 10
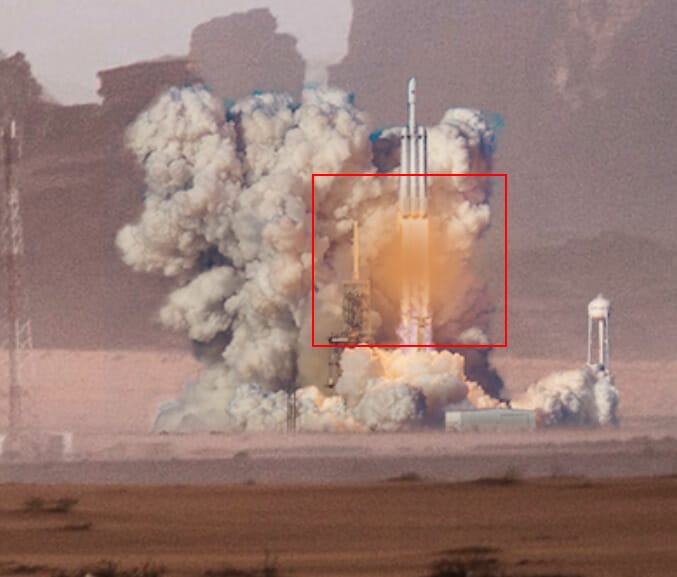
Now lets add some glow effect on rocket. First create a three layers and change blend mode to Linear Dodge (Add). Then use Brush Tool(B) Soft Round with foreground color code #e4b470 and paint on rocket with small size on first layer. Then repeat the same process on other layers. For second layer use color #b0642c and for third #f68430. Opacity to all three layers is 18%.

Step 11
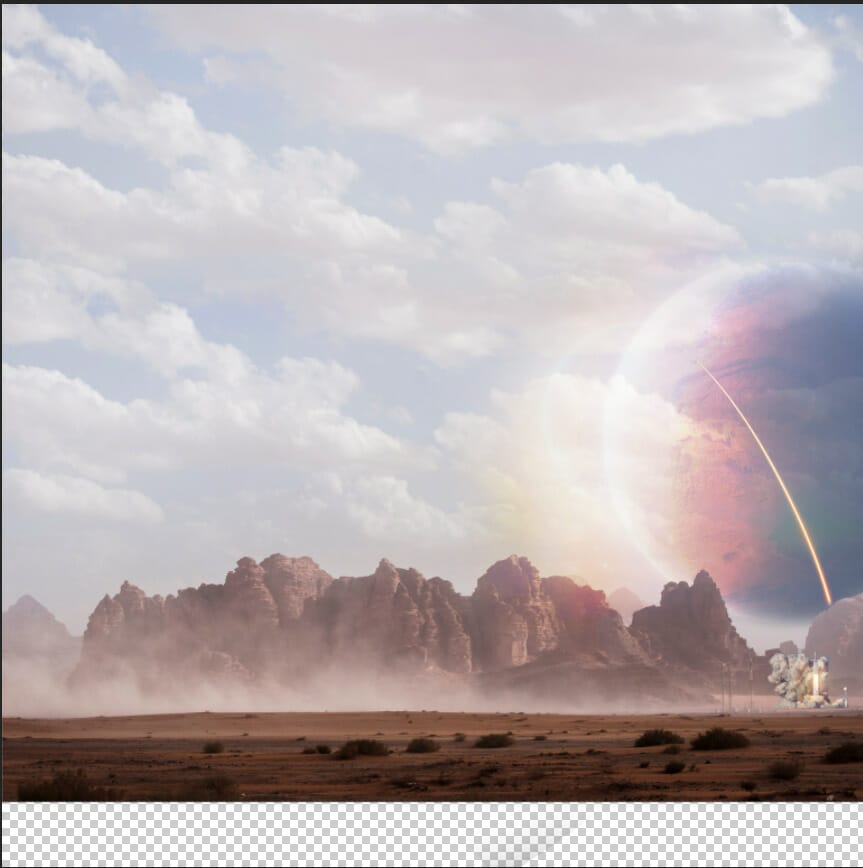
Go to open Planet. File > Open and select Planet. Use Rectangular Marquee Tool(M). With the Rectangular Marquee tool, drag over the area you want to select. Hold down Shift as you drag to constrain the marquee to(release the mouse button before you release Shift to keep the selection shape constrained).

After the selection area has been created, simply copy (Ctrl / Cmd + C) and Paste (Ctrl / Cmd + V) it to our work canvas. Then position the image with the transform tool (Ctrl / Cmd + T). In Photoshop CC only hold Alt to resterize al sides together.
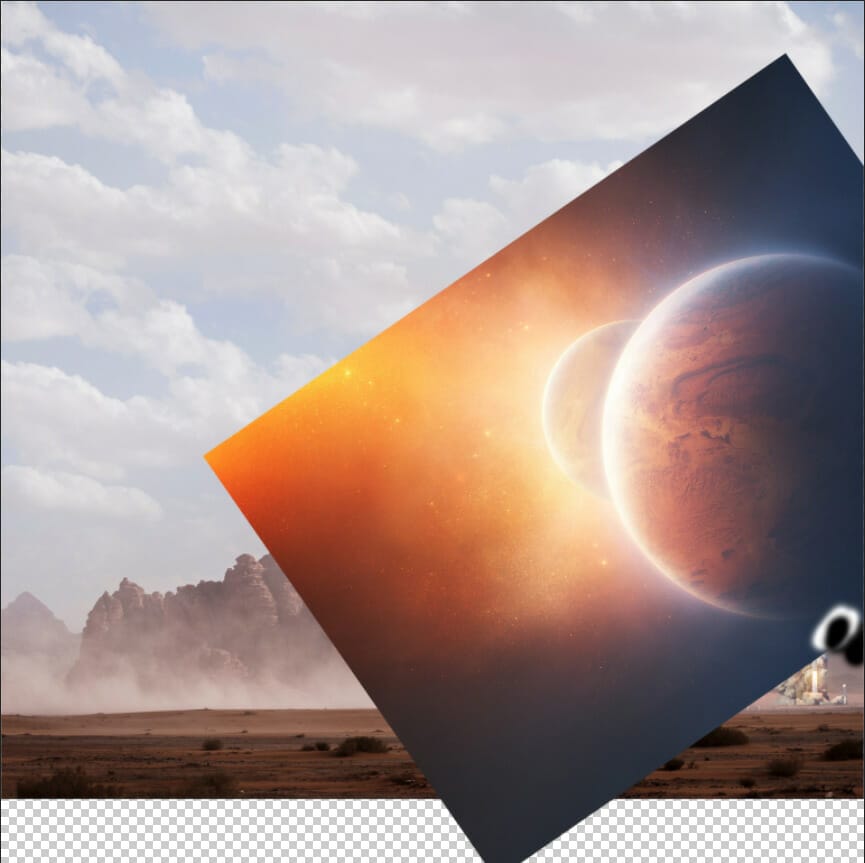
Create a layer mask and use Soft Round Brush with foreground color black and delete some parts. Blend mode change to Hard Light with Opacity 70%.

Step 12
Place Rocket 2 Go to File > Place and select Rocket 2. Then place it to our work canvas and position the image with the transform tool (Ctrl / Cmd + T). Hold Alt + Shift and rasterize like the image below. In Photoshop CC only hold Alt to rasterize all sides together.

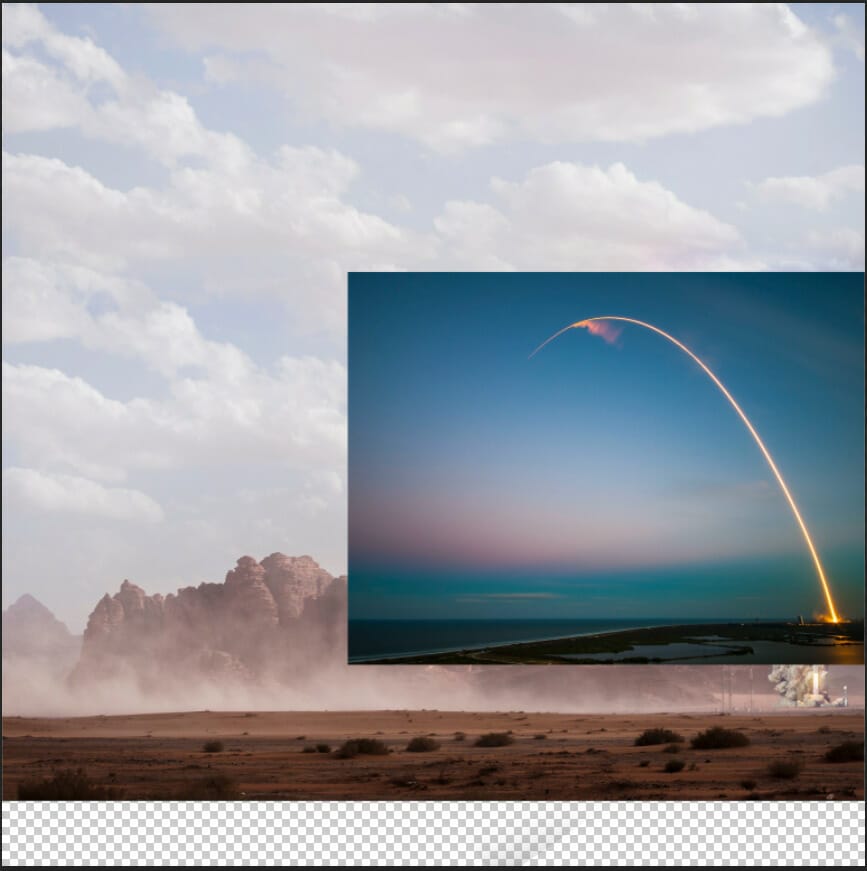
Blend mode change to Lighten.
Step 13
Add Adjustment Layer “Levels”

Step 14
Next, place Galaxy Go to File > Place and select Galaxy. Then place it to our work canvas and position the image with the transform tool (Ctrl / Cmd + T). Hold Alt + Shift and rasterize like the image below. In Photoshop CC only hold Alt to rasterize all sides together.

Create a layer mask and use Soft Round Brush with foreground color black and delete some parts. Blend mode change to Soft Light.


Step 15
Add Adjustment Layer “Curves” and press Ctrl/Cmd + I to invert. Then use Brush Tool(B) Soft Round with foreground color white and paint highlight parts.


Step 16
Next, place Moon Go to File > Place and select Moon. Then place it to our work canvas and position the image with the transform tool (Ctrl / Cmd + T). Hold Alt + Shift and rasterize like the image below. In Photoshop CC only hold Alt to rasterize all sides together.


Leave a Reply