
“The tiger’s world is not only amoral but peculiarly consequence-free, and this-the atavistic certainty that there is nothing more lethal than itself-is the apex predator’s greatest weakness.” In this Photoshop tutorial we will learn how to create a nature scene of a tiger in leaves. First, we added background floral and apply the gaussian blur effect. Next, added ring and particles brush. Then start selecting and cutting the tiger, after apply some adjustment layers for the tiger. Next, add butterflies and rays and light layers. For the final touch added Camera Raw Filter.
Preview of Final Image

Tutorial Resources
Step 1
Now, let’s start by creating a new image file, go to the Menu bar and click File > New, and then input the following values on their respective fields
- Preset: Custom
- Width: 3080px
- Height: 3080px
- Resolution: 300px
- Color Mode: RGB Color 8 bit
- Background Contents: Transparent

Step 2
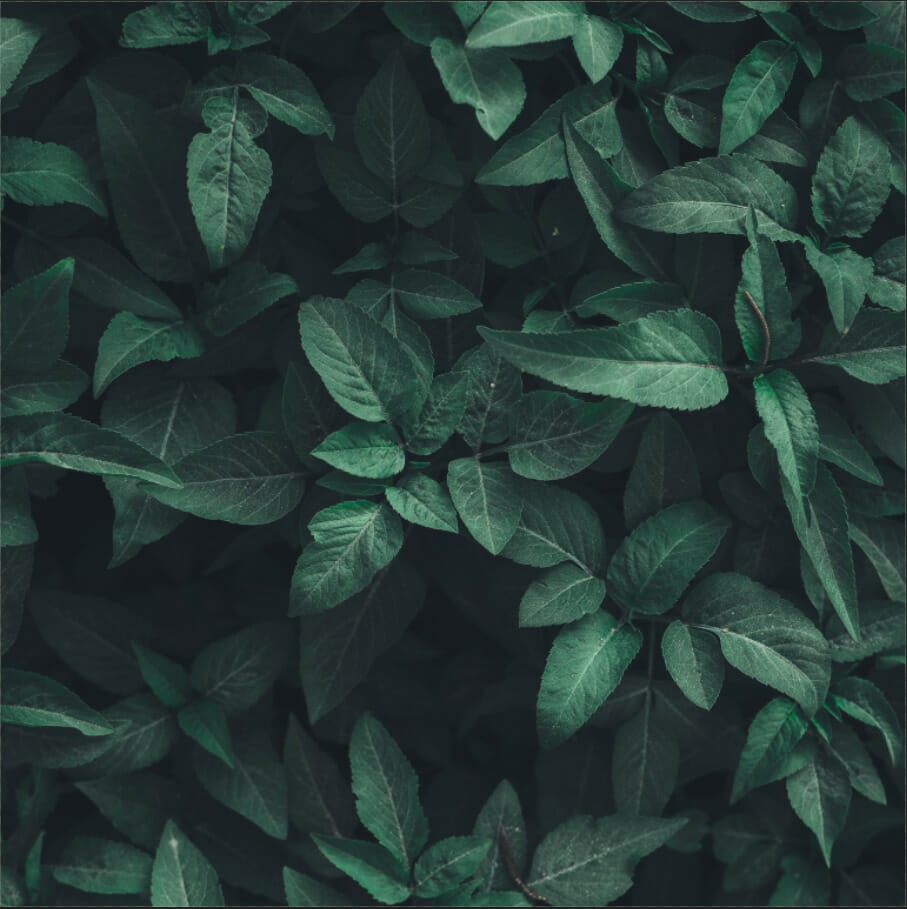
Now, place Background floral photo Go to File > Place and select background. Then place it on our work canvas. Then position the image with the transform tool (Ctrl / Cmd + T). Hold Alt + Shift and rasterize like the image below. In Photoshop CC only hold Alt to rasterize all sides together.

Convert it to Smart Object
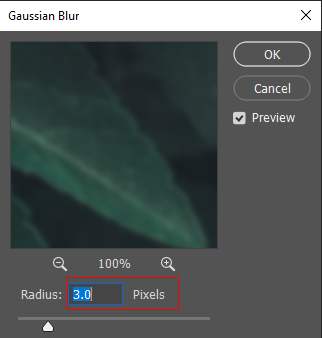
Then go to Filter > Blur > Gaussian Blur and set the radius to 3px.

Step 3
Add Adjustment Layer “Color Balance”

Step 4
Add Adjustment Layer “Curves”

Step 5
Now create a new layer and use the Soft Round brush tool with foreground color gray #808080 and start painting like in the image below. Blend mode change to Color Dodge.
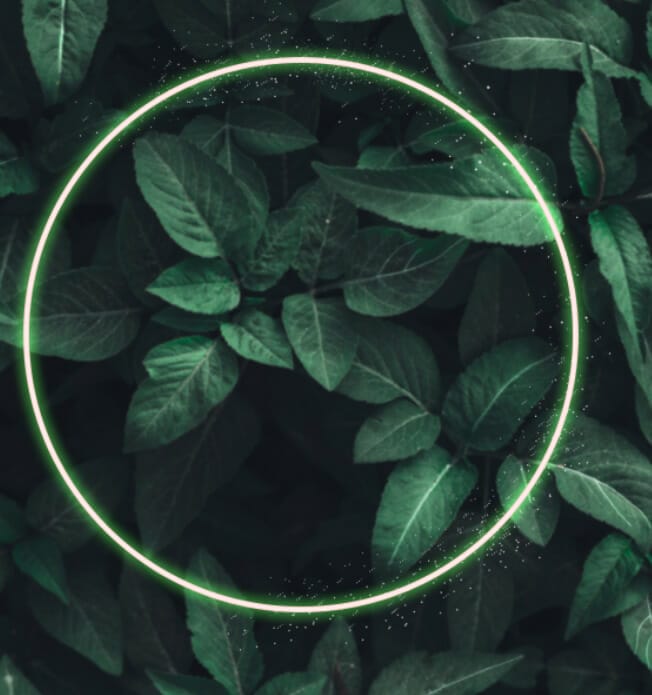
Step 6
Click “U” on the keyboard and select “Ellipse Tool”. For fill set none, stroke set 20px with white color and make circle. Width 1866 Height 1866.

Right-click on the layer and select Blending Options. We now get a Layer Style options window. 1. Inner Glow

2. Outer Glow


Step 7
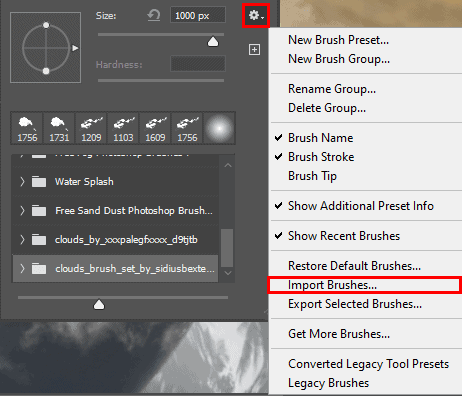
Next, we add Stars but first, we need to import brushes. Select a Brush Tool(B) and right-click on the background. Now click on the gear icon and Import Brushes (Select a downloaded brush).

Now we can paint some stars…
Step 8
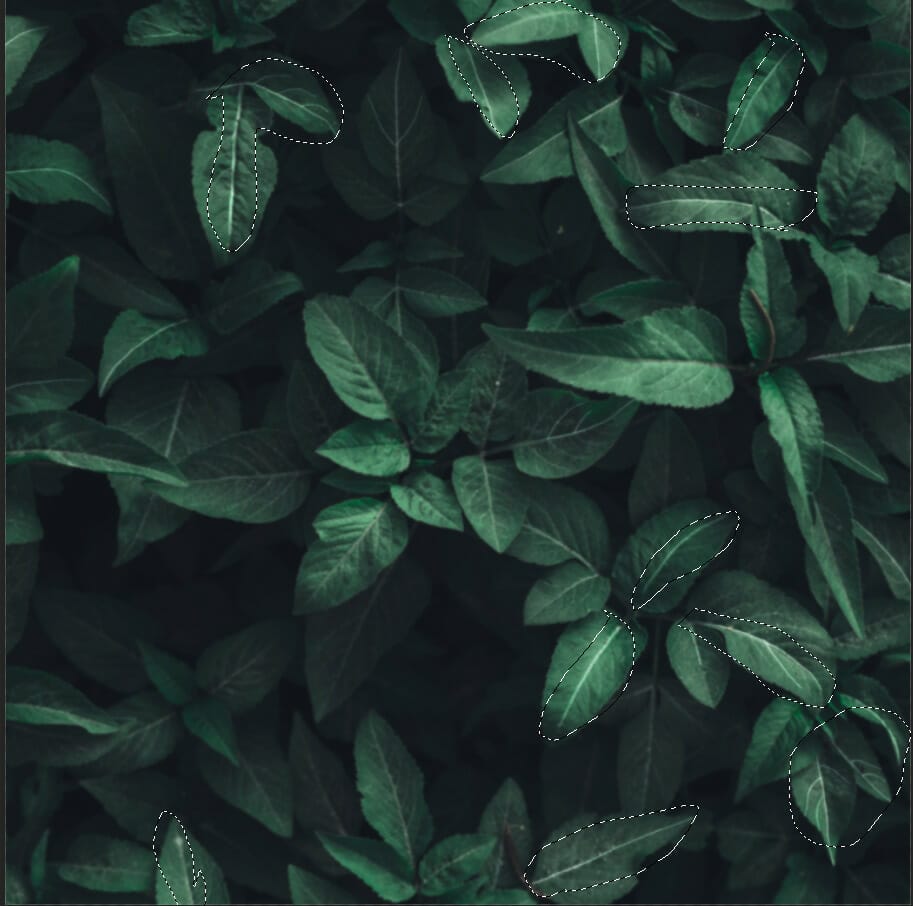
Next, we will open Tiger. After you open the image, use the Quick Selection Tool(W) and start selecting. After the selection area has been created, simply copy (Ctrl / Cmd + C) and Paste (Ctrl / Cmd + V) it to our work canvas. Then position the image with the transform tool (Ctrl / Cmd + T). Hold Alt + Shift and resterize like the image below. In Photoshop CC only hold Alt to resterize all sides together.
3 responses to “Create a Tiger Eclipse Portrait Photo Manipulation in Photoshop”
-

Pity the link to the png file does not work, looks a great tutorial
-
💯
-
Good outcome. The color grading at the end should have been done with other layers. Using a lut and then camera raw is too much. You need to merge the layers to use camera raw so it is better to stick with adjustment layers.
Leave a Reply to AnonymousCancel reply