To do this we will first create a new layer and fill it with black. Than we will add some noise (Filter > Noise > Add Noise).
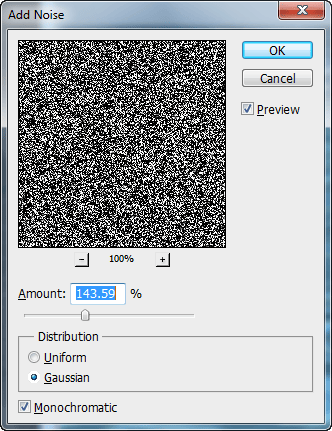
Step 51
You can see the result of the noise filter below. In the further steps we will further increase the contrast.
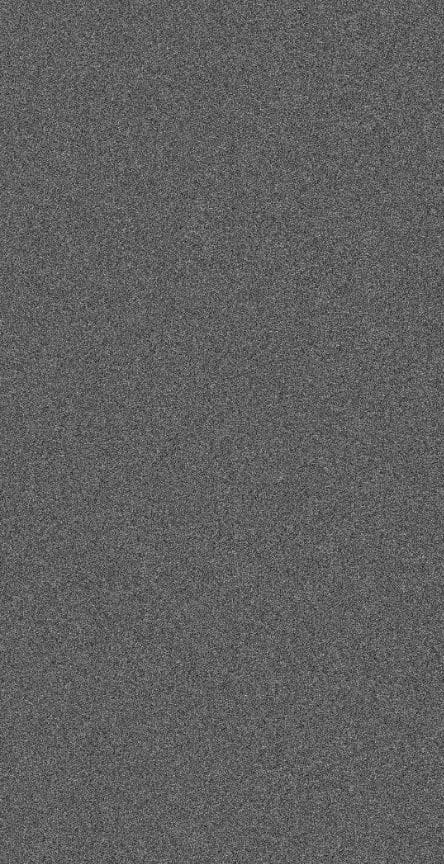
Step 52
Add a 5 px Gaussian Blur (more blur means bigger debris) to the debris layer.
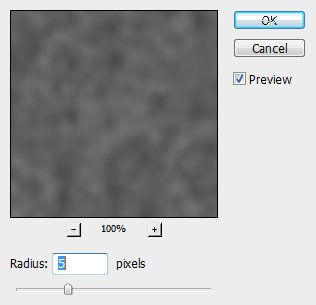
Step 53
Add a Curves Adjustment to make the white debris pop and darken the rest (drag the left and the right slider towards the middle until you obtain something like a star field).

Step 54
Change the debris layer blend mode to Color Dodge and voila, you have debris. Now you should add a layer mask (Layer > Layer Mask > Reveal All) and with a black round soft brush hide some of the debris and try to achieve randomness. Remember to show more debris in the lighted areas and hide it more in the dark areas. And of course don’t let the debris floating above water level.
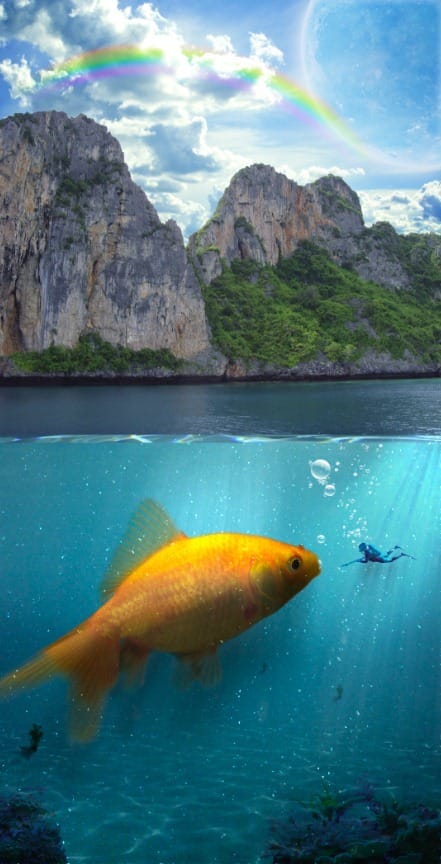
Step 55
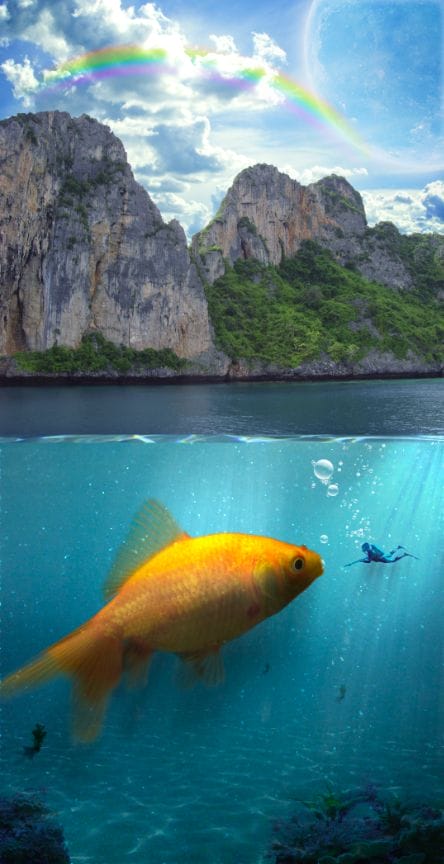
After you’re done masking the first layer of debris you can repeat the steps 34 to 36 to create additional debris layers. To achieve larger debris simply increase the amount of Gaussian Blur you apply at step 35. After you’re done adding the debris layers right click on each debris layer and choose Convert To Smart Object. Then apply a 2-4px Gaussian Blur.
Step 56
In Smart Filters Layer mask (not the Layer Mask) use a black round soft brush to hide some of the blurring effect. All in all try to achieve randomness.

Step 57
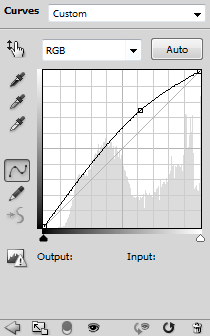
The scene element are all in their place so it’s time for the post processing techniques. Add a Curves Adjustment layer and drag the curve upwards to lighten the scene.
Step 58
Set the default colors (D) and using the Radial Gradient Tool drag from the top of the image towards the bottom to apply the Curves effect only to the upper half of the scene. You can see how my layer mask looks below.

Step 59
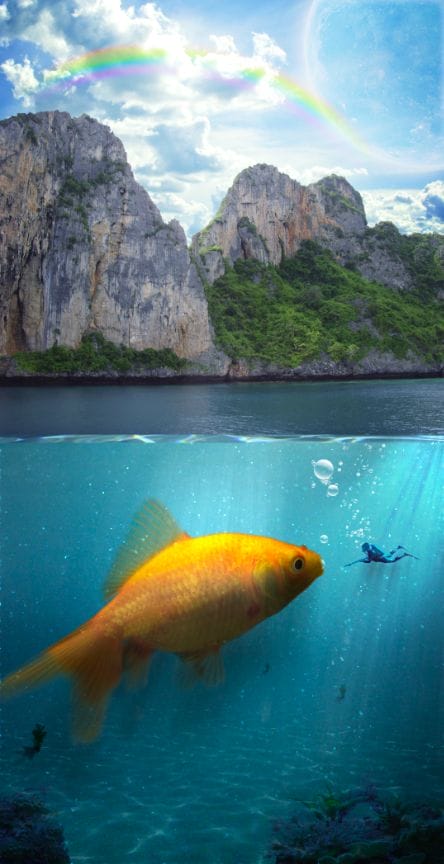
You can see that the above adjustment make the scene looks better. But we will not stop here. Let’s proceed to the next step and further refine our scene.
Step 60
Add a Curves adjustment layer but this time drag the curve downwards to darken the scene.
25 responses to “Create an Underwater Scene of a Giant Goldfish in Photoshop”
-
I hate you!
-Joshua Gragas -
alguno de los tutoriales estan en video para mi es mejor en video gracias
-
I would definitely be interested in getting that set!Thanks for sharing.
-
This is really fantastic. The unlimited access makes it even better
-
Fantastic idea. I especially like the water surface.
-
Either I’m blind and don’t see what happened to the “ripples” layers after Step 25 or there are steps missing. There’s no way they go from the jagged-edged difference render to smooth realistic ripples by just blending the edge in with a brush. Clearly there is more manipulation needed to make that layer looks like it does in Step 26.
-
What’s the point of having the already-completed project available for download? I can’t access DeviantArt and would love it if the zip file just contained the images and brushes so that I can actually DO the project. Thanks
-
hi
-
Tutorial is great. It helps me so much. Thanks
-
You are awesome.
Thank you so much. -
nice work guys…….. its awesome
-
Hi
I reached the point where i should get a nice ripply light on the bottom of the sea .. i did everything just the way it was illustrated but all i get is this ..
http://i1124.photobucket.com/albums/l567/abdelrahman11/abdelrahmans%20album%202/194081.jpg
what should i do ?-
Don’t you See the next pages
-
-
I like It. Good Job. Thanx
-
You are awesome.
Thank you so much. -
The best tutorials!
-
Sir need can you send pictures in zip file? My email is .
-
What is it>>???
-
-
TRYING to learn the basics, here bro.
The eye was not hidden. I know to check that much.
An explanation WHY something works is how a lot of people learn, not just me. I wasn’t complaining or blaming, just wishing there was more to it.
-
OK I’m ****ing sorry about that bro
-
-
I wish you could say WHY certain things are done (so I can understand when I might need to use them in the future) and so I can understand what the outcome is supposed to look like.
For instance… I don’t understand why we need a layer mask in Step 18 and why we are painting in white over the top of it…
Since it doesn’t seem to want to let me do it as stated (I get an error, “Could not use the brush tool because the target layer is hidden”), I have no idea what the outcome is supposed to be and can’t figure out how to get to the next step without just skipping Step 18.
-
your fault for not knowing the basics. Dont blame the tutorial bro. You can’t paint because your layer is hidden. Click on the EYE icon. Layer mask is like a mask to show\hide what is visible on the layer.
-
-
This is so beautiful but please tell me, do I really have to pay for those images? :(
-
no you dont because sxc is a free site
-
-
wow…an amazing photoshop tutorial about create a rainbow.


Leave a Reply