Make skin look perfect in one-click with these AI-powered Photoshop actions.
Step 35
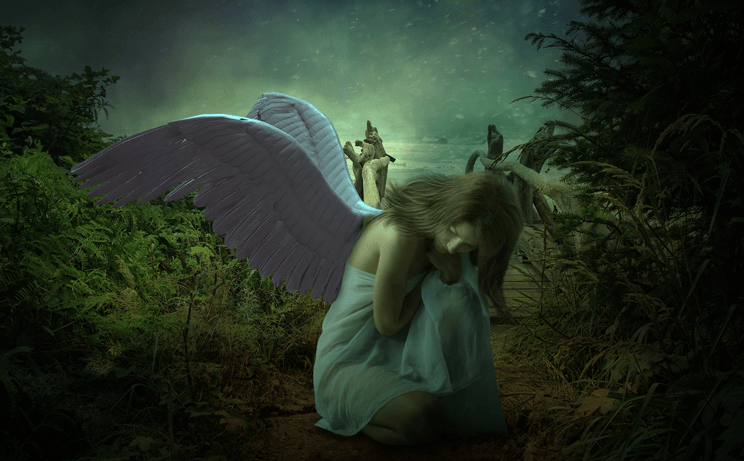
Here are the results after applying color balance and solid color adjustment layer.
Step 36
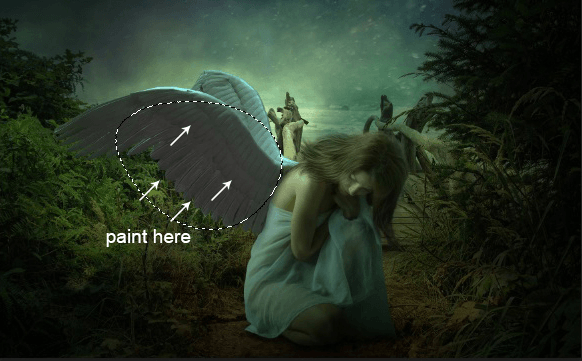
On the layer mask of the Color Balance adjustment layer paint with soft round black brush as shown in the image below.
Step 37
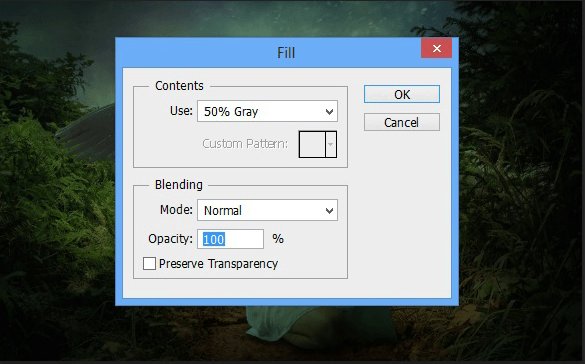
Create a new layer above all the layers and then go to Edit>Fill.Set the setting as shown in the image below.
Step 38
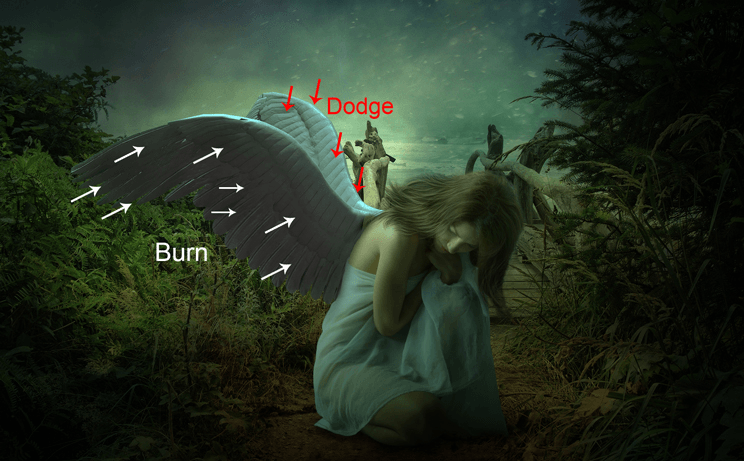
Then change the blend mode of this layer to overlay.Then pick the Dodge/Burn tool by pressing (O) on keyboard,set the exposure to 9% and range to shadow.Then Dodge and Burn as shown in the image.
Step 39
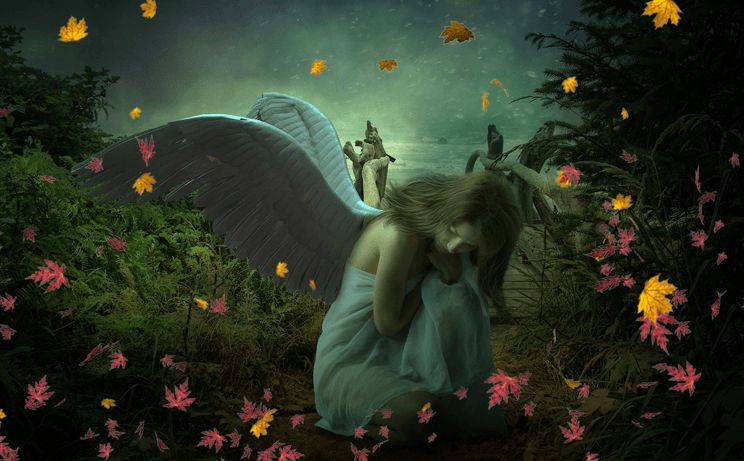
Place the leaves to the main document.Feel free to arrange the leaves as you want.I have used two leaves image in two layers to arrange the leaves as shown in the image below.
Step 40
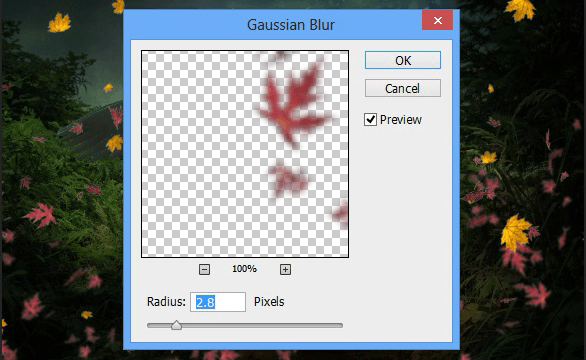
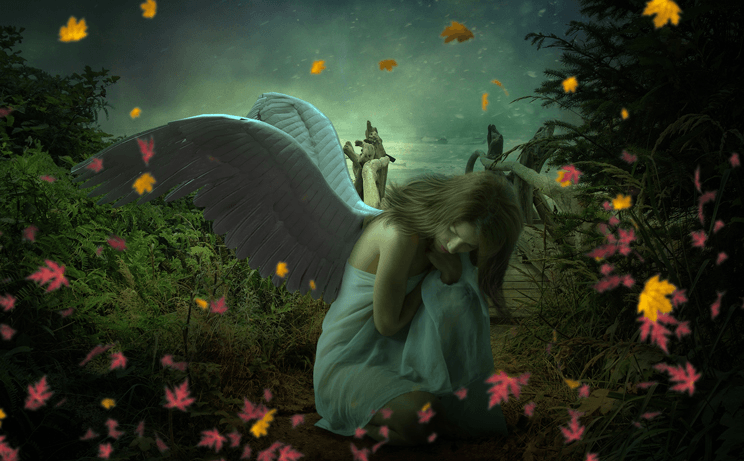
Then, Select Filter>Blur>Gaussian Blur and set the radius to 2.8 pixels.
Here are the results.
Step 41
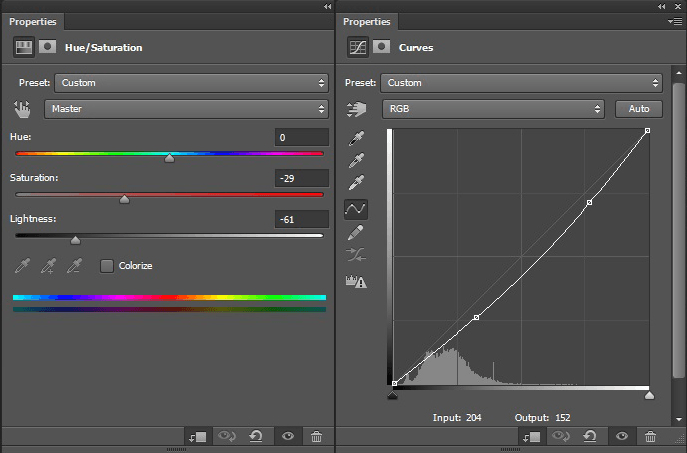
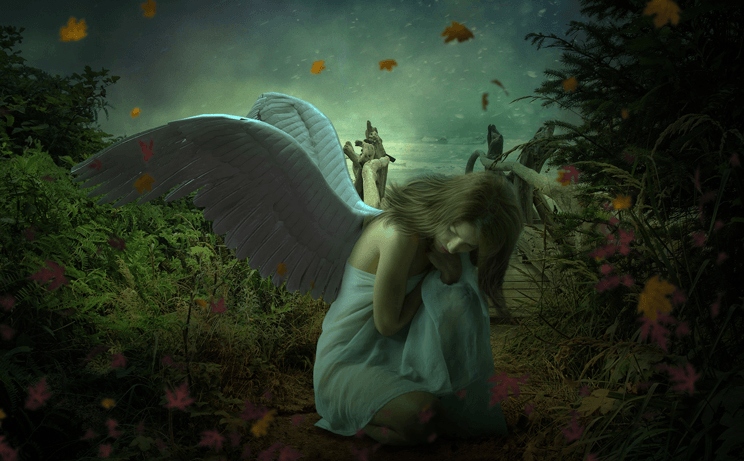
Now group the leaves layer and then name it Leaves.Then apply Hue/Saturation and Curves adjustment layer to leaves group and clip it to Leaves group.
Here are the results.
Step 42
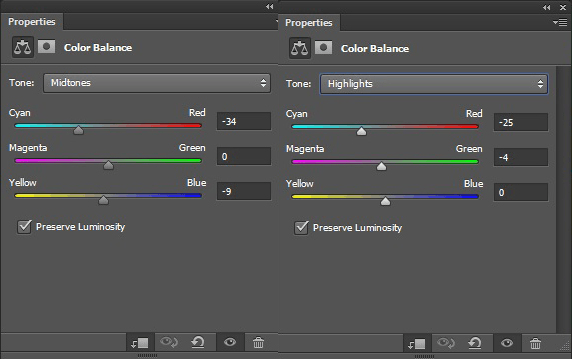
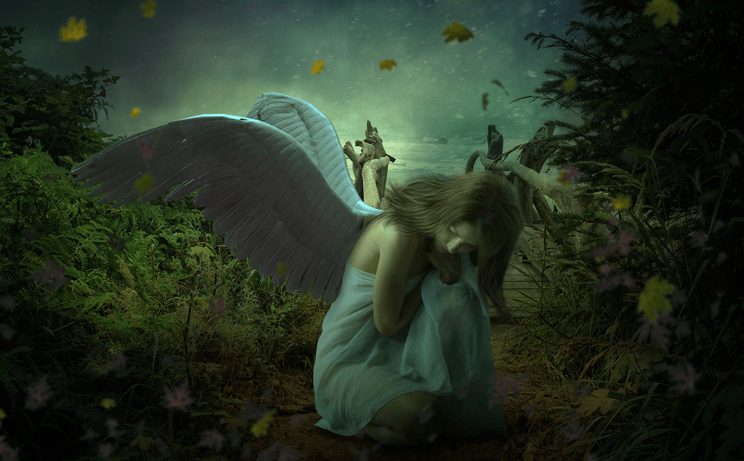
Add a Color Balance adjustment layer to the leaves group to match color of the leaves to the scene and clip it to group.
Here are the results.
Step 43
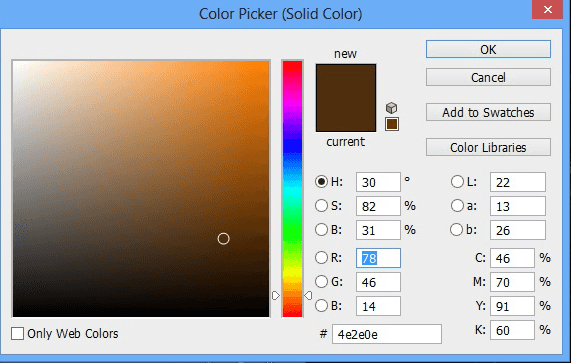
Create a new layer and pick the brush tool.Choose the color #45260e then paint some lights as shown in the image.Name this layer lights.
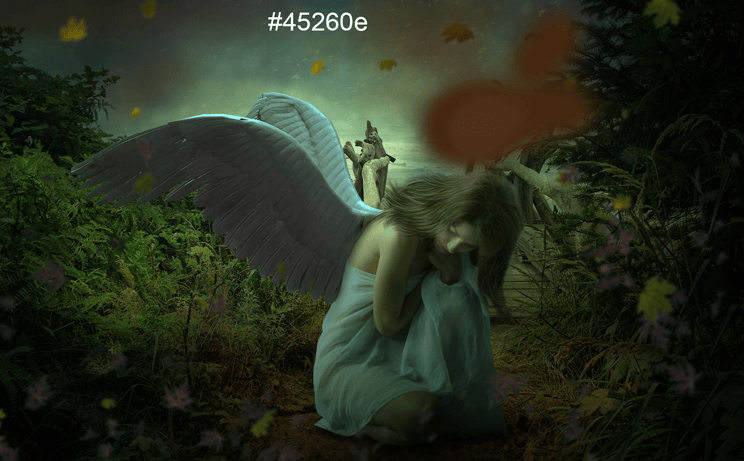
Set the blend mode to color dodge.
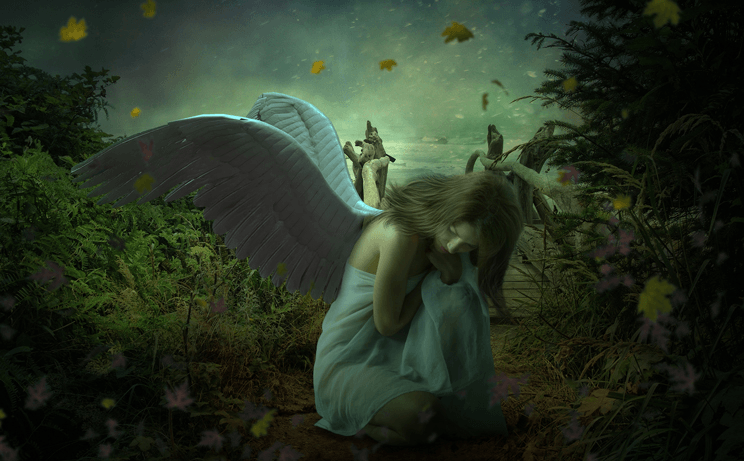
Step 44
Paint more lights to the scene.So, again create a new layer and paint with same color in previous step.Name this layer light 2.
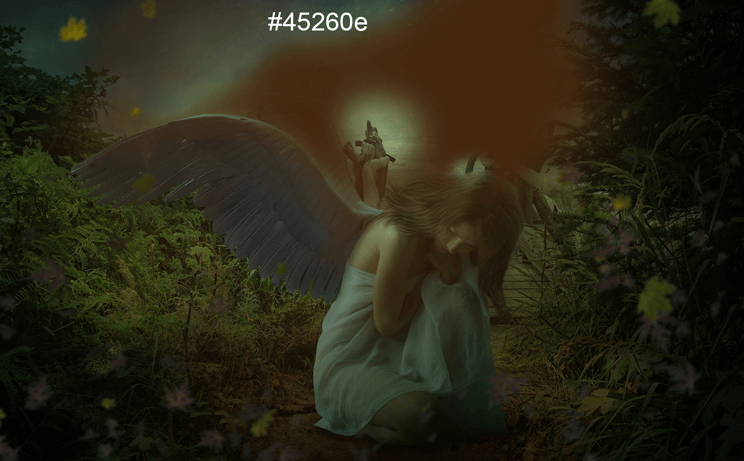
Then set the blend mode to color dodge and reduce the opacity to 60%.Group lights layer and name that group Lights.
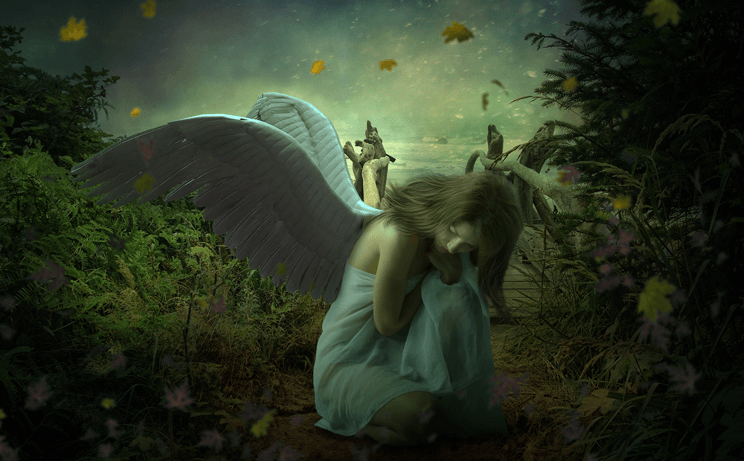
Step 45
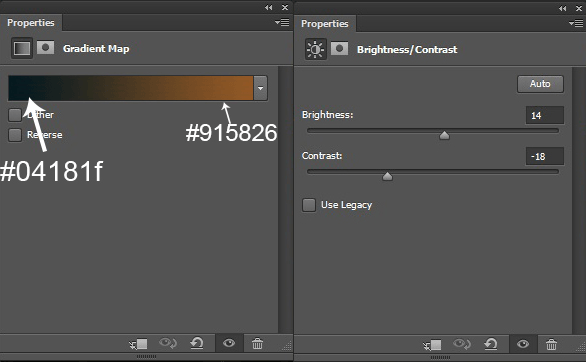
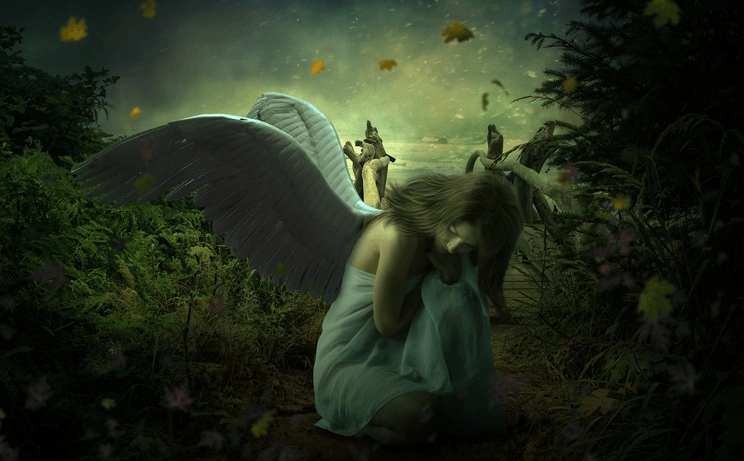
It's time to add the final adjustment layers.From this step, we will apply six adjustment layer without clipping.So,add Gradient Map and Brightness/Contrast adjustment layer.Change the blend mode of the Gradient Map Adjustment layer to soft light and reduce the opacity to 58%.
Here are the results.
Step 46
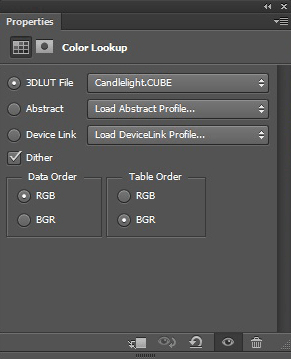
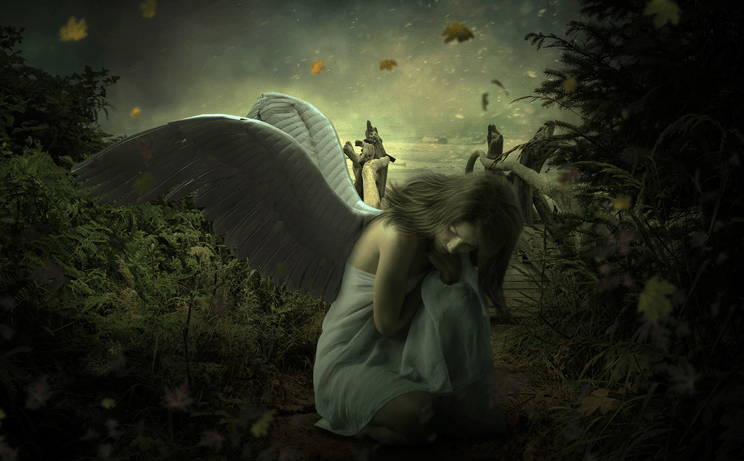
Add a Color Look up adjustment layer then set the blend mode to color and reduce the opacity to 47%.
Here are the results.
Step 47
Now, add a Solid Color adjustment layer then change the blend mode to soft light and reduce the opacity to 56%.


13 comments on “How to Create a Beautiful and Emotional Angel Photo Manipulation in Photoshop”
very nice thank you for sharing your photoshop tutorial
I was excited to start this tutorial but "Wing by – Wolverine" stock image is missing
Fixed!
The wings stock photo is no longer available.
Nice tuts! Thank you for sharing!
Awesome
Cool tutorial, it's especially a good review on adjustment layers.
nice
Nice Work
Great tutorial!
Enjoyed thatl
Nice
nice work!