Luminar AI lets you turn your ideas into reality with powerful, intelligent AI. Download the photo editor and see how you can completely transform your photos in a few clicks.
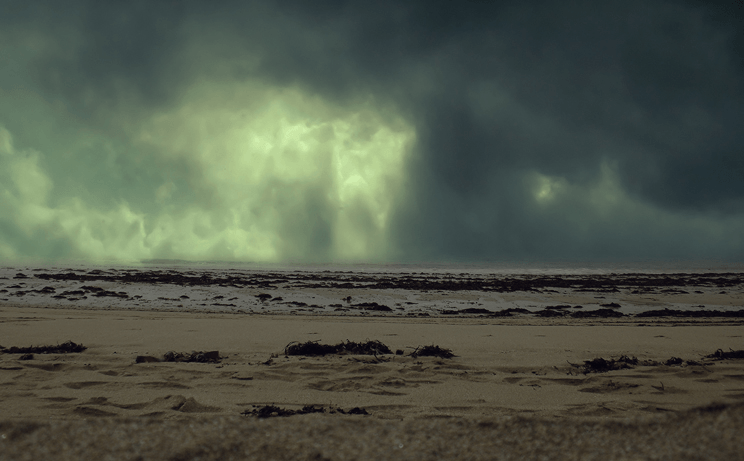
Step 7
Now, place the nebula image above the base layer. Now activate transform tool(Ctrl/Cmd+T or Edit > Free Transform) and then transform the image the as shown in the image below.
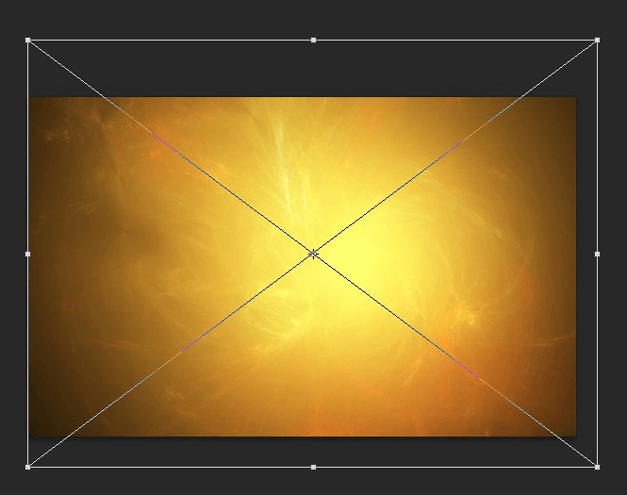
Then change the blend mode to soft light and reduce the opacity to 65%.Here are the results.You can see that we have created a vignette effect.We will add more vignette effect to the scene at the end of this tutorial.
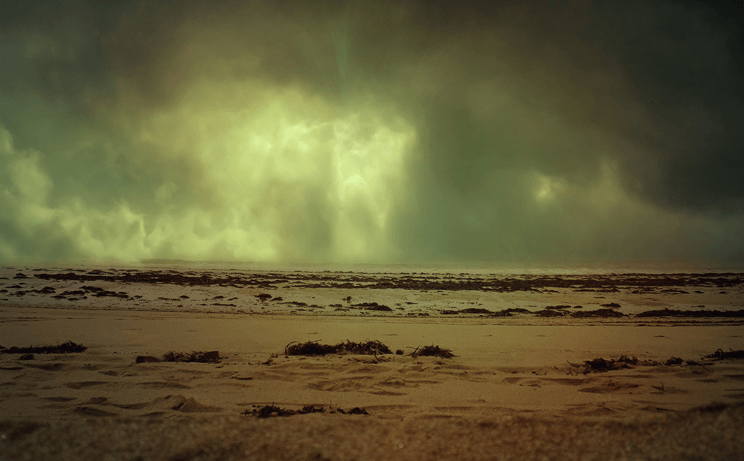
Step 8
Place the Rain texture above the nebula layer.
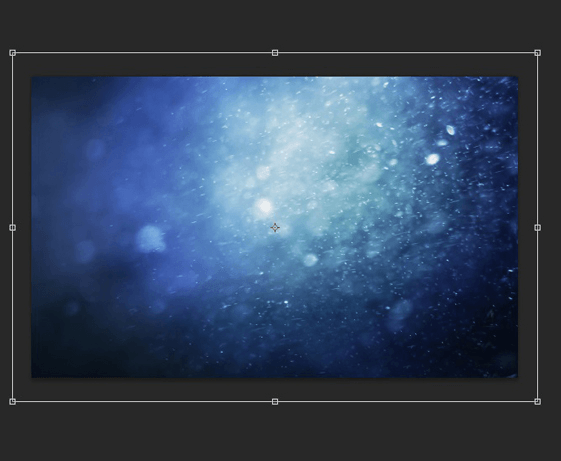
Step 9
Add a layer mask to the rain texture and paint with soft round black brush on layer mask to hide the unwanted part.You can see the result on layer mask as well as on the main canvas.
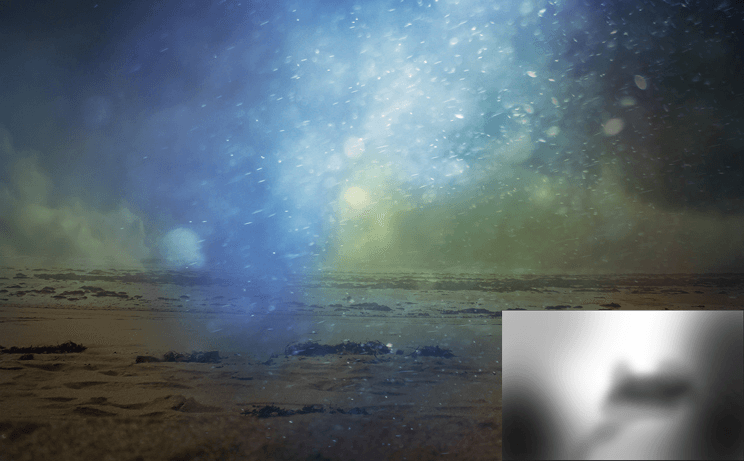
Change the blend mode to soft light. Here are the results

Step 10
Place the beach image to the canvas and activate the transform tool then scale it as shown in the image.Then change the blend mode of beach to Multiply.
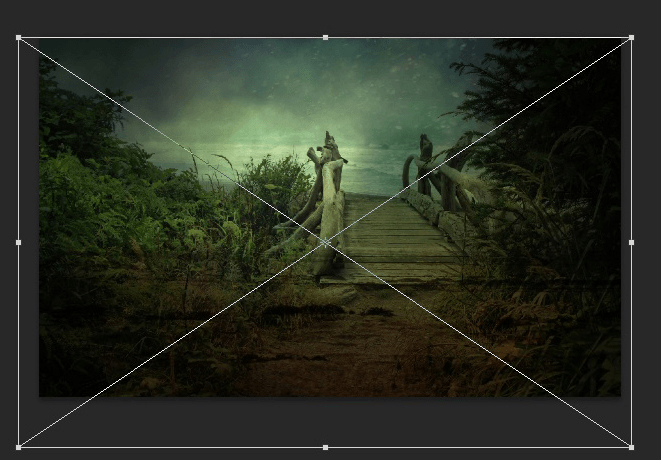
Step 11
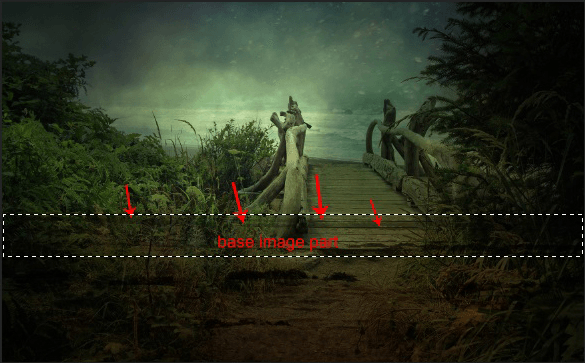
As you can see the arrows and selected part indicating the base image part and we have to hide these parts to blend base image properly to the scene.
To do this, again select the layer mask of the base image and paint with soft round black brush to hide it.You can see the results on layer mask and the overall results.
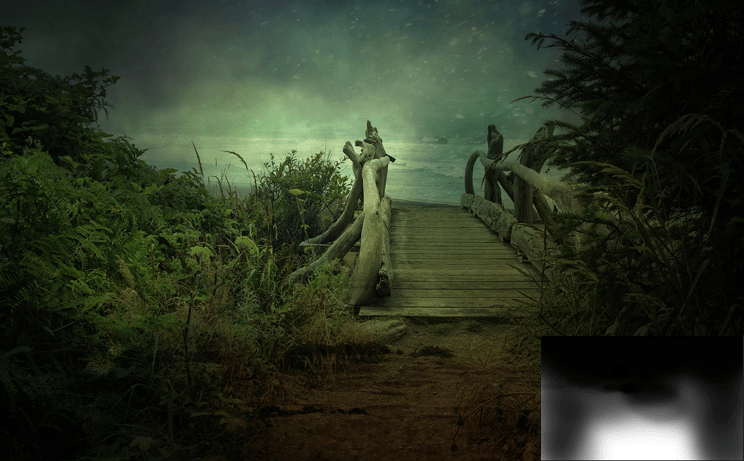
Step 12
Now,Create a new layer by pressing (Ctrl+Shift+N) on keyboard then pick the soft round brush reduce the opacity and flow to 30%.Choose the color #0d2c2e and paint as shown in the image below.
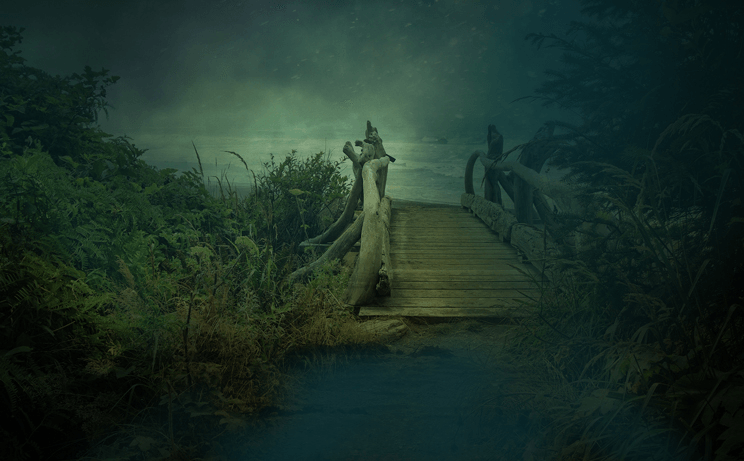
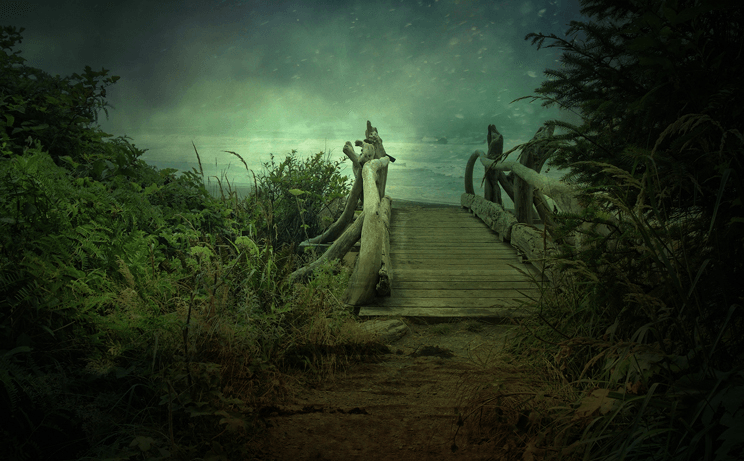
Then change the blend mode to color dodge.You can see the results.Before heading forward,select all the layers we have created so far by holding shift key select the top layer then select the bottom layer and then group them by pressing CMD/CTRL+G. Name that group base.
Step 13
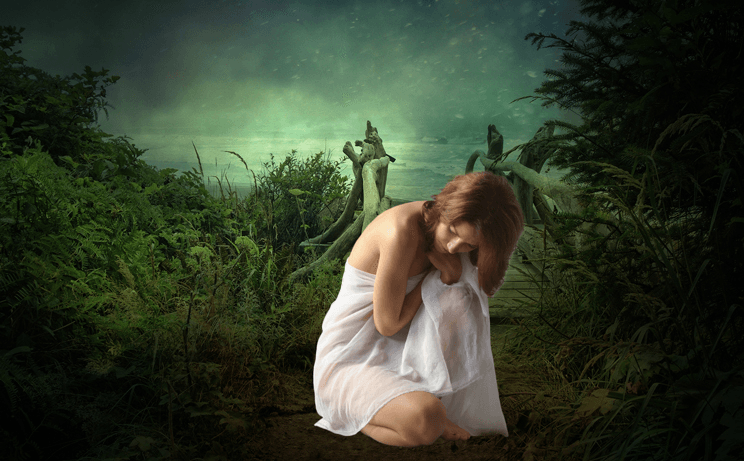
Extract the model using your favourite selection tool then place it to the main canvas.
Step 14
Now create a new layer(Ctrl+Shift+N) below the model layer and pick soft round black brush set the opacity and flow to 30% then paint some shadows(see the arrows).

Step 15
In this step we will add more shadows for the model.So, duplicate the model layer and select the original layer. Then activate the transform tool(Ctrl/Cmd+T or Edit > Free Transform) and right click on it choose flip vertical. Then again right click on it choose distort and distort the image as shown in the image below.


13 comments on “How to Create a Beautiful and Emotional Angel Photo Manipulation in Photoshop”
very nice thank you for sharing your photoshop tutorial
I was excited to start this tutorial but "Wing by – Wolverine" stock image is missing
Fixed!
The wings stock photo is no longer available.
Nice tuts! Thank you for sharing!
Awesome
Cool tutorial, it's especially a good review on adjustment layers.
nice
Nice Work
Great tutorial!
Enjoyed thatl
Nice
nice work!