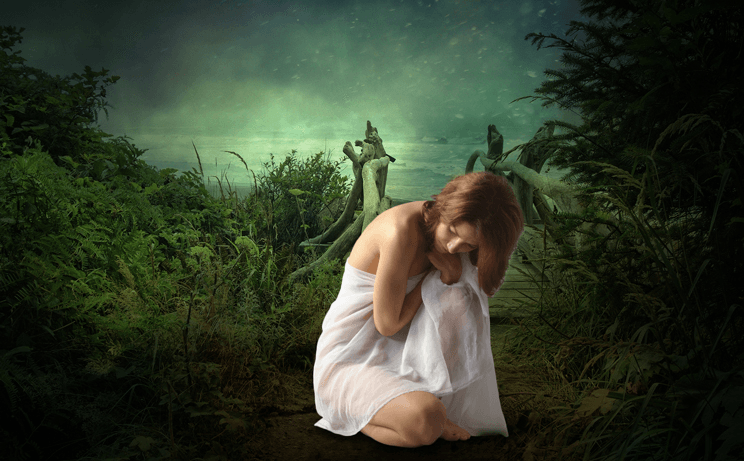
Now,Drag the distorted image as shown in the image.

Step 16
Reduce the lightness of the distorted image by adding Hue/Saturation adjustment layer. Set the setting as shown in the image but don’t forget to clip it.

Then go to Filter>Blur>Gaussian Blur and the set the radius 63.5 . Here are the results

Step 17
Now,Right click on the model duplicated image and choose the blending options. Apply the Color and Gradient Overlay effect to the model. See the image below for the setting.

Here are the results after applying the blending options effects.

Step 18
Now, we will blend the model to the scene.First of all, Reduce the exposure of the model by adding exposure adjustment layer and then match the color of the model to the scene by adding a color balance adjustment layer.See the setting of both adjustment layer below and don’t forget to clip these layers to the model.

Here are the results.

Step 19
We need to hide the exposure adjustment layer effect on model shoulder because lights come from there(see arrows).

Step 20
To do this click on the layer mask of exposure adjustment layer and paint with soft round black brush to hide the effect..

Here are the result so far.

Step 21
Now add a solid color adjustment layer to the model and choose the color #0a5933.Clip it to model layer.

Then change the blend mode to soft light and reduce the opacity to 50%.Here are the results:

Step 22
In this step we will fix the hair. Open the hair stock psd file in Photoshop.Then choose the light layer(bottom) and drag it to the main canvas then name it hair.

Hide the rest of the part by adding a layer mask to the hair then paint with soft round black brush.

Step 23
Now right click on the hair layer and choose blending options.Apply a drop shadow effect and then add a Hue/Saturation adjustment layer then clip it to hair.

As you can see we have blended the hair to the scene.Now select all the layer and group them.Name that group Model.

Step 24
Add more hair to the model and this time select the top light layer in PSD files of hair stocks.Then Place it as shown in the image.Name it Hair 2.
13 responses to “How to Create a Beautiful and Emotional Angel Photo Manipulation in Photoshop”
-
very nice thank you for sharing your photoshop tutorial
-
I was excited to start this tutorial but “Wing by – Wolverine” stock image is missing
-
Fixed!
-
-
The wings stock photo is no longer available.
-
Nice tuts! Thank you for sharing!
-
Awesome
-
Cool tutorial, it’s especially a good review on adjustment layers.
-
nice
-
Nice Work
-
Great tutorial!
-
Enjoyed thatl
-
Nice
-
nice work!


Leave a Reply