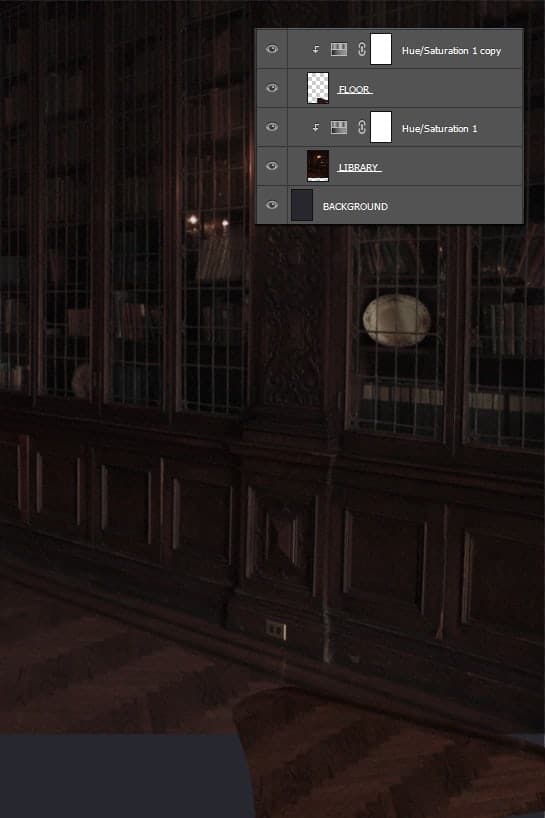
Step 6 – Darkening the Room
To make the whole room bit more mystical you’ll make it darker in this step. Add new adjustment layer Curves on the top of all layers and set it as shown below.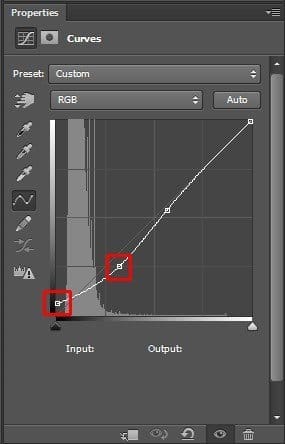
Step 7 – Adding Woman
Download stock photo of a woman listed in the beginning of this tutorial and drag it into your photo manipulation. Place it on the top of all layers and name it WOMAN.Press Ctrl+T to activate the Free Transform tool and resize the photo on proper size. Hold Shift again while doing it to remain constant proportions of the image.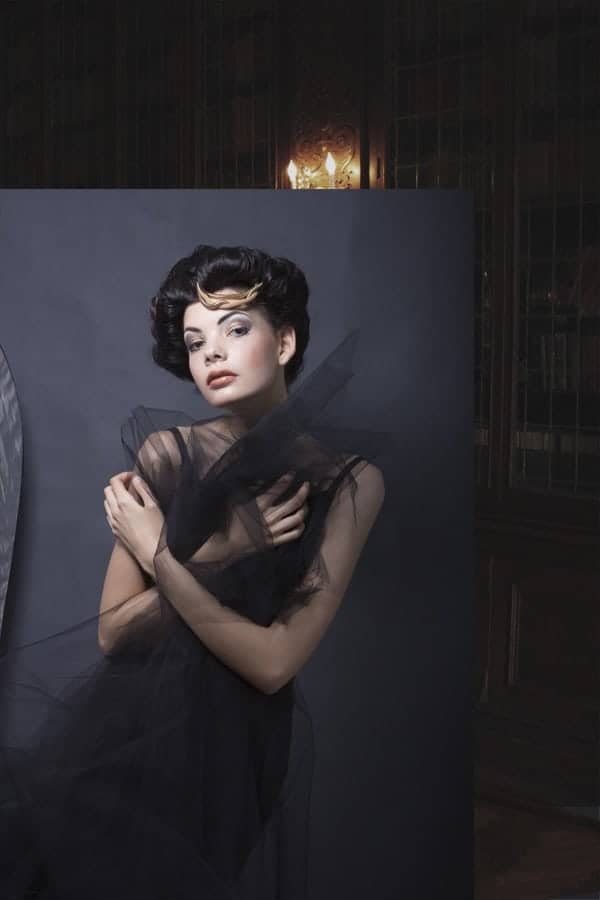
Step 8 – Blending the Woman
You need to blend the woman better with the rest of the image. You’ll take care of some blending in this step.Add new layer mask to the layer WOMAN. Grab the Brush Tool (B). Set the Hardness of the brush on 50% and the Opacity on 100%. Pick black color and start painting over the grey background to make it disappear. (Be sure the layer mask is active by clicking on it.)You should get something similar to the picture below. You don’t need to be very precise around woman’s hair. It will be covered with another hair in following steps.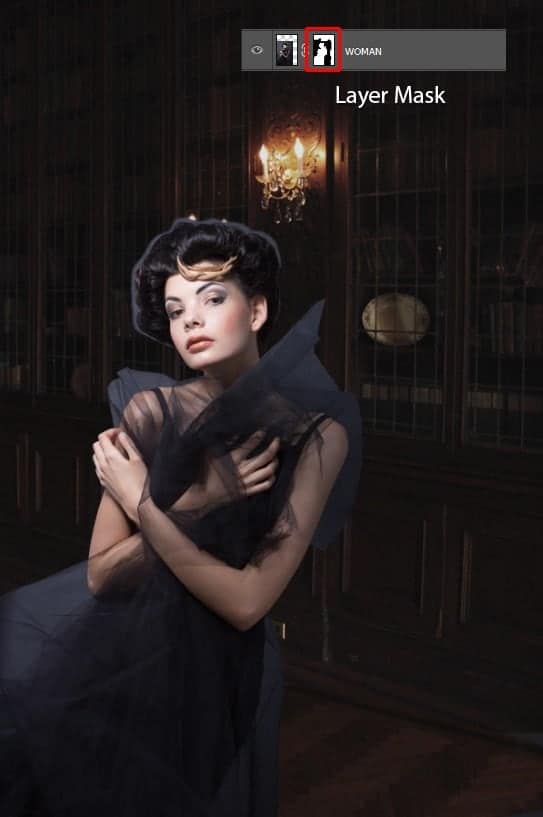
Step 9 – Adding Skirt
Download photo of the skirt listed in the beginning of the tutorial and drag it into your photo manipulation. Place it on the top of all layers and name it SKIRT. Luckily this photo has already the background cut out so you don’t need to worry about it.Press Ctrl+T on you keyboard to activate the Free Transform Tool and rotate the skirt the same direction as shown on the following image.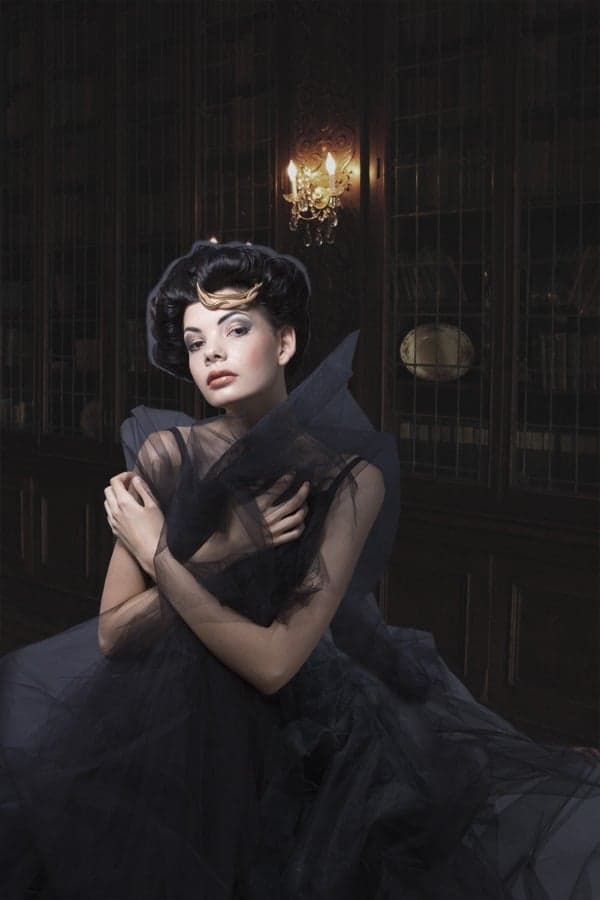
Step 10 – Creating the Bun
In this step you’ll build the bun. Download set of hair photos listed in the beginning of this tutorial. Follow the diagram below to place each of the numbered photos to create big surreal bun. You’ll blend each part of hair in next step.Place all layers on the top of current layers.
Step 11 – Blending the Bun
Now it’s time to blend each part of hair properly with the rest of the bun. Go layer by layer, add layer mask to each and then with black brush paint over the edges of the hair you want to hide. Use the same setting of the brush as before – set its Hardness on 50% and Opacity on 100%.Take a look at the following image to get the idea of what you should blend.8 responses to “How to Create Dramatic Light in Your Fantasy Photo Manipulation”
-
?
-
just awesome work can you share advanced technique for masking …….. i will be grateful to you .
-
Thanks for this article. I’d also like to convey that it can always be hard if you find yourself in school and starting out to initiate a long history of credit. There are many college students who are only trying to live and have long or good credit history can often be a difficult thing to have. fkdkedacegcggegc
-
I loved your post.Much thanks again. feedfkdbfdgc
-
спасибо! красиво!
-
Done and published here http://annewipf.deviantart.com/art/In-the-Library-491408093 Thank you!
-
Hi, these sunray brushes can’t be downloaded for free? So what to do next? Thnxs.
-
beautiful work!


Leave a Reply