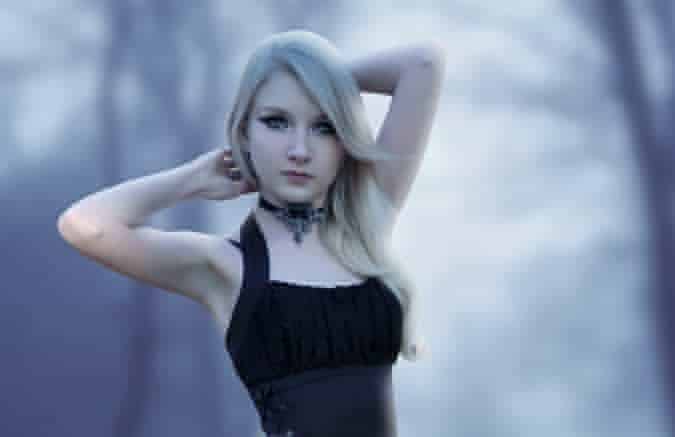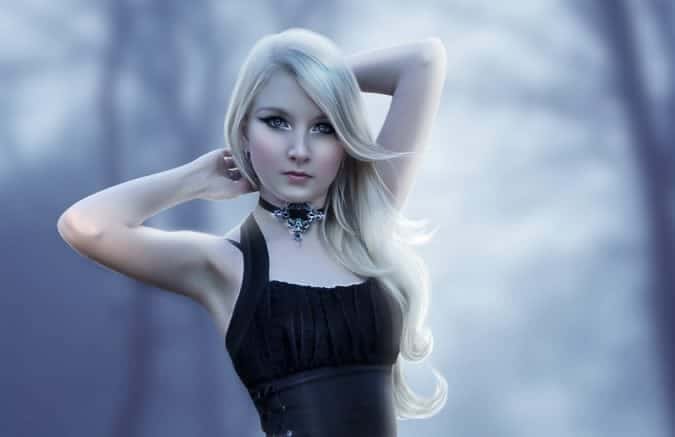
Step 10
This is how it should look like.
Step 11
Using a Graphics tablet I painted with white some edges on her arms and shoulder. Also, paint with light pink color on her cheeks and decrease the fill and/or opacity depending on your desire.
Step 12
Most artists use dodging and burning for the model’s face, body, and clothes, but I use a normal brush to make shadows and highlights. Create a new layer (Ctrl+Shift+N) and name it shadows/highlights. Select your brush tool (or press B). Hardness should be 0% and sizes depend on the area you’re working on with opacity 30% and Flow 20%. Tip: To be faster play with the brush size with “[” and “]” and the hardness with “shift+[” and “shift+]” We will be using black to make the shadows and white for the highlights. Set the layer blending mode to soft light. To make some areas pop-out more (like the cheeks, hair, etc…) make another blank layer, use a white brush, and set the blending mode of the layer to overlay. You can always play with opacity and fill to get your desired result.
Step 13
Add more volume to the hair of the model by using hair brushes or painting.
Step 14
Now bring in the wing, place it below the model’s layer and position it as desired or as shown. Since in this case, the wings are a png file, you won’t need to cut them out or fix any edges. Now for the second wing; keep your selection on the first one and press Ctrl+J (this will duplicate your layer). Press Ctrl+T then right click> Flip Horizontal and press Enter. Position it to the other side as on the image below.
Step 15
Merge both wings into one layer when you’re happy with the final position. Name the layer “wings”. Tip: To merge multiple layers, select them by pressing Ctrl, then press Ctrl+E to merge them together. Add a color balance layer mask to the wings layer: -23 -15 +50 Select the wings layer and go to Layer>Layer style>Inner shadow and apply the values shown below.
Step 16
Create a new layer and name it “wings shadow”. This should be between the model’s layer and the wings layer. Select a black brush hardness 0% and paint to apply her shadow on the wing. If it was too tough play with the opacity and/or fill.15 responses to “How to Create an Emotional Photo Manipulation of an Angel”
-
beautiful art!
-
Claer tutorial , fabulous ,thanks for sharing .
-
thank you very much for share . It’s really amazing !!
-
its magnetic and so authentic learned many things from here. the model made is so beautiful.
its amazing. -
Hey plz make a vdo of this tutorial on youtube
-
Thnx for the feedback Allicia. If you hover over the tab cealld Match Reports there is a drop down menu from there for each week’s reports. I’ll add a link to the front page also.
-
Actually its hard to make new image combining several images and also creative too. You have done well.
-
Your image works beautifully with the mask Nancy! Thanks for sharing these useful information….
-
Wings are not available :((
Pls fix -
Very very creative tutorial and good instruction about photo manipulation.
-
Wings are not available :c
-
Hydrothunderr / hey man. ive been using this xyz too. but i was wondering what video caunpritg software you used. i wanted to contribute back to culino with a video in 4.1. great video by the way!
-
-
Really nice tutorial… It was a long time not using PS, this was perfect to
come back in the flow with it! Thank you! -
Nice Tutorial maam.. “Like”
-
Model’s picture not available pn 8-19-2012


Leave a Reply