Turn any photo into a dot grid artwork with these Photoshop actions. You'll get great results with dots that change size. They get larger in brighter areas and smaller in darker areas. Free download available.
Step 13
We will create three plans on our background. Place "Solidified lava 2" stock to your file. Mask it. Click on white canvas next to layer thumbnail and use hard round, small size brush. It will be second plan.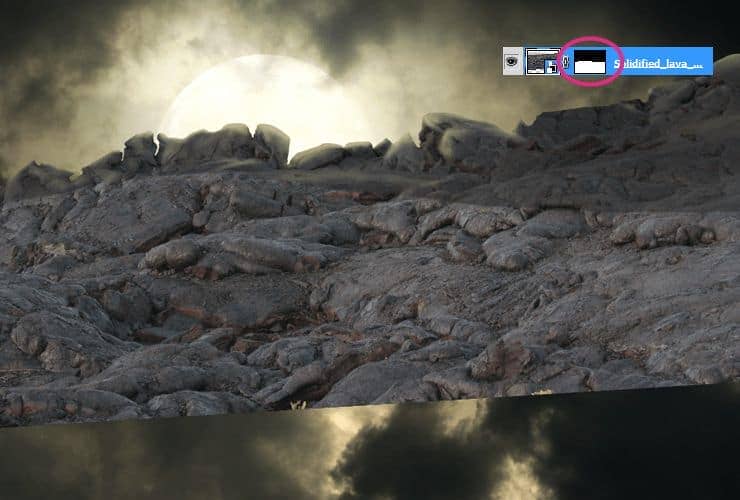
Step 14
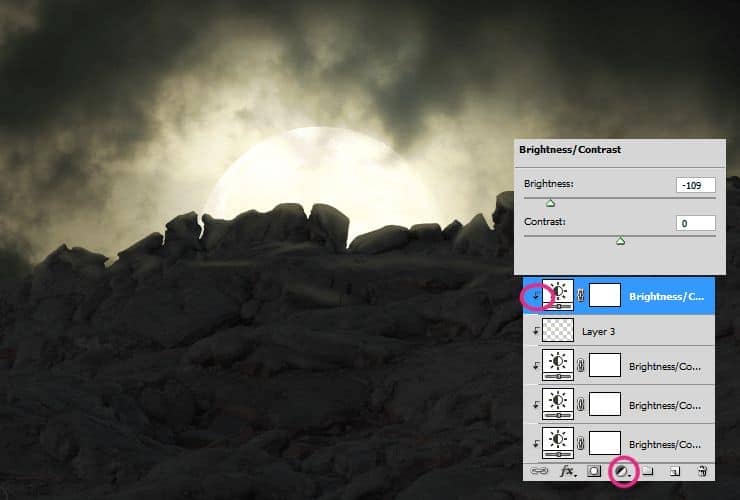
Add Brightness/Contrast adjustment layer. Layer > New Adjustment layer > Brightness/Contrast or use marked shortcut. Then make it a clipping mask (Alt+Ctrl+G, Layer > Create Clipping Mask).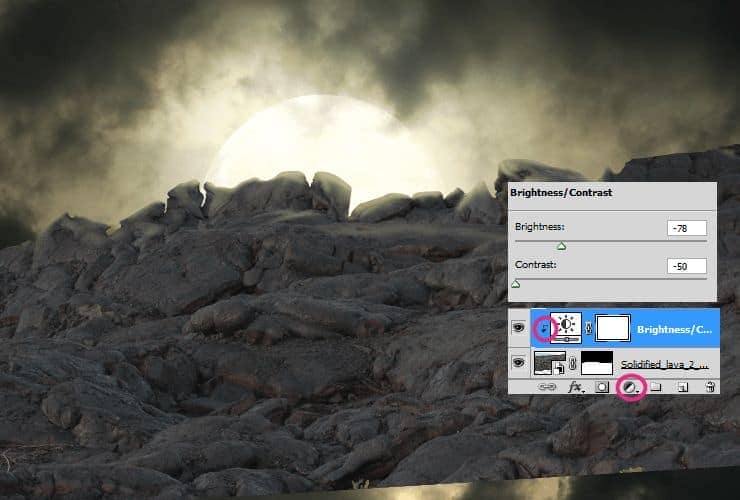
Step 15
Add new layer. Then make it a clipping mask (Alt+Ctrl+G, Layer > Create Clipping Mask). Use soft round brush for make lights on rocks. Pick #f0e8ae color. Draw more lights, where moonlight goes. Use pressure opacity brush.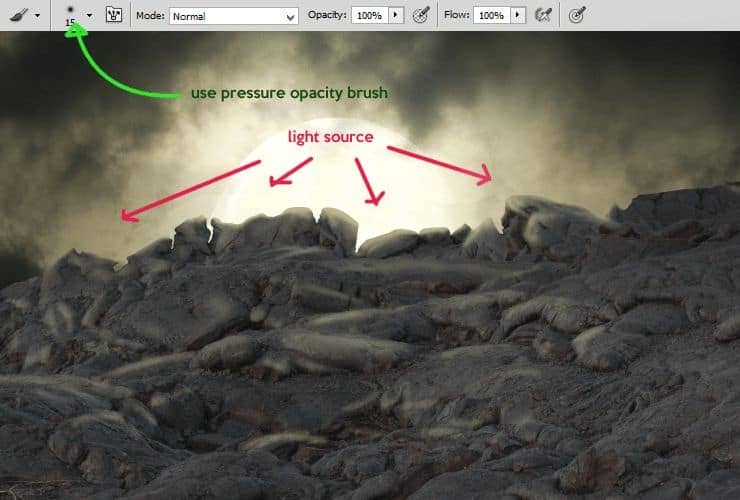
Step 16
Add new layer. In your color picker set black and white. Go to Filter > Render > Clouds.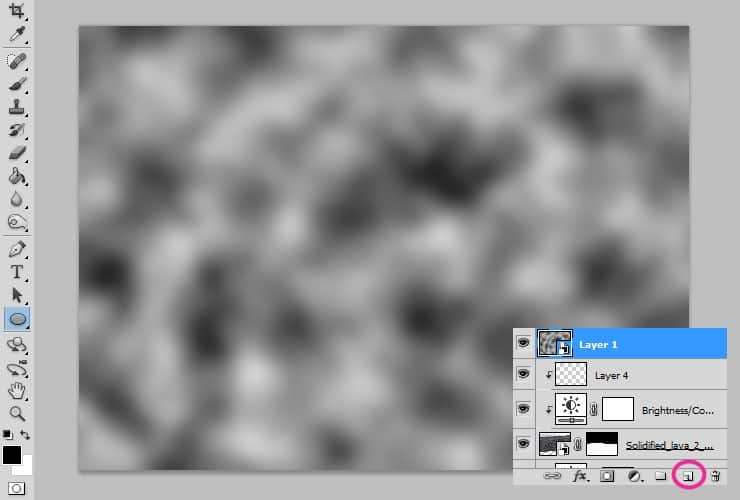
Step 17
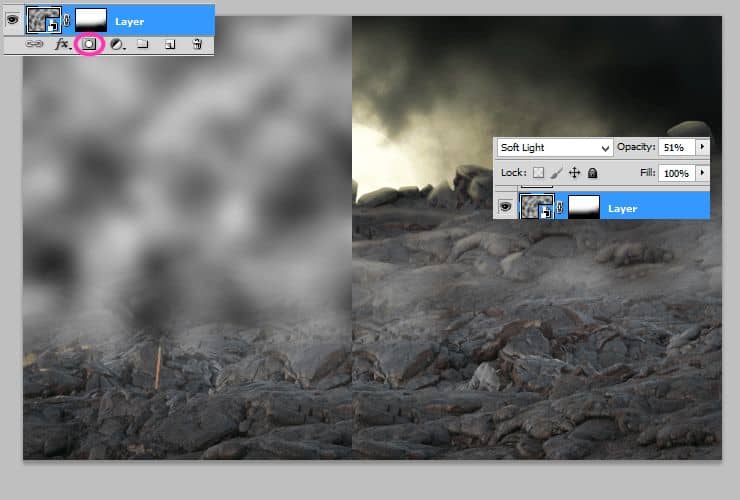
Click on mask shortcut for adding layer mask. Click on white canvas next to layer thumbnail. Choose big (around 800px) soft round brush and erase top half of the layer.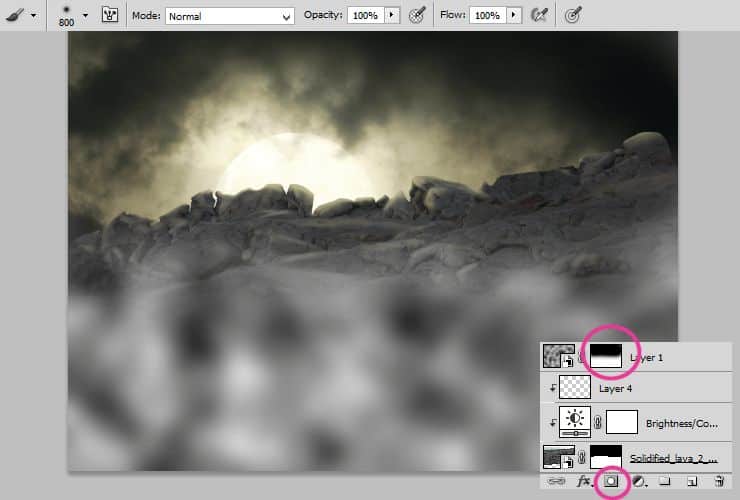
Step 18
Change blending mode of this layer to Screen and decrease its opacity to around 50%.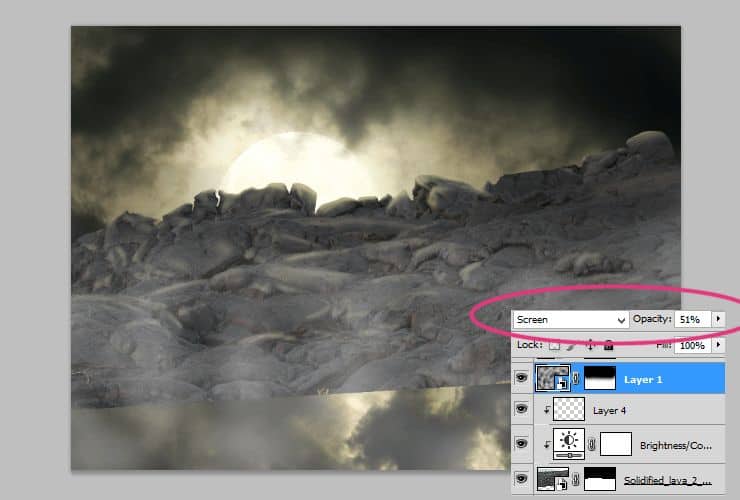
Step 19
Again, place "Solidified lava 2" stock to your file. Mask it. Click on white canvas next to layer thumbnail and use soft round, small size brush.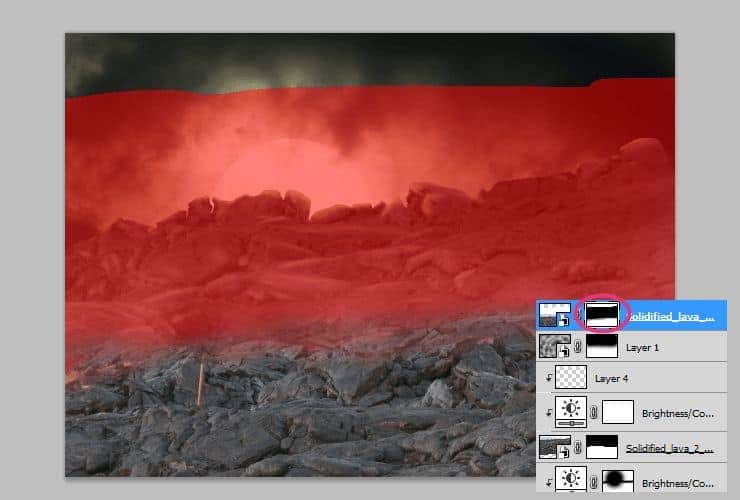
Step 20
Add Brightness/Contrast adjustment layer. Layer > New Adjustment layer > Brightness/Contrast or use marked shortcut. Then make it a clipping mask (Alt+Ctrl+G, Layer > Create Clipping Mask).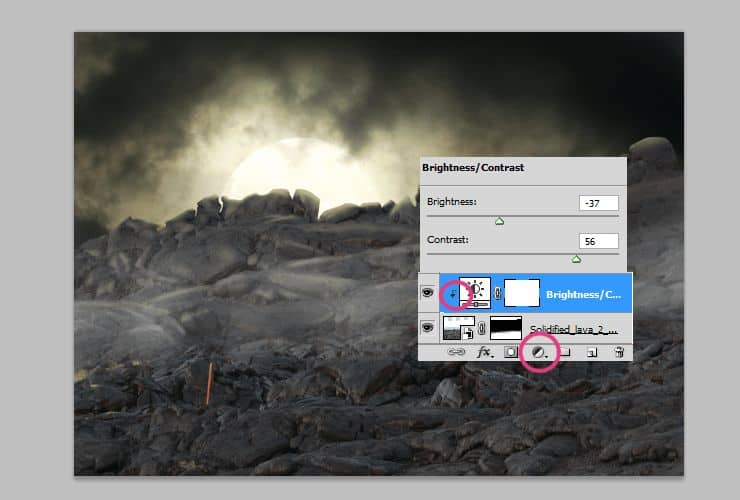
Step 21
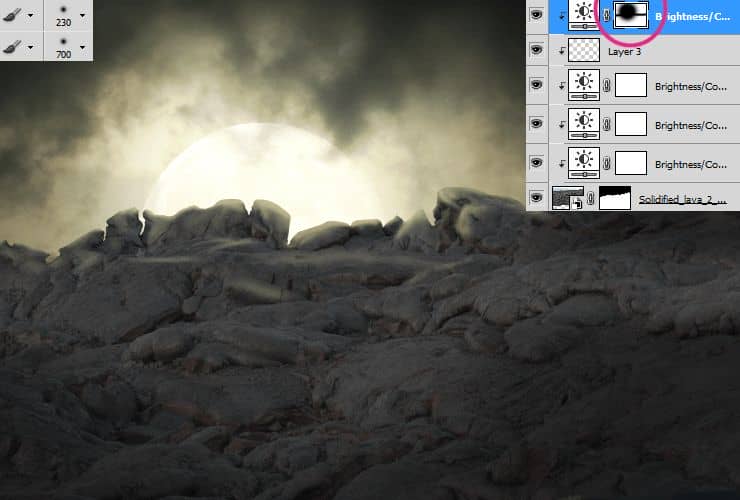
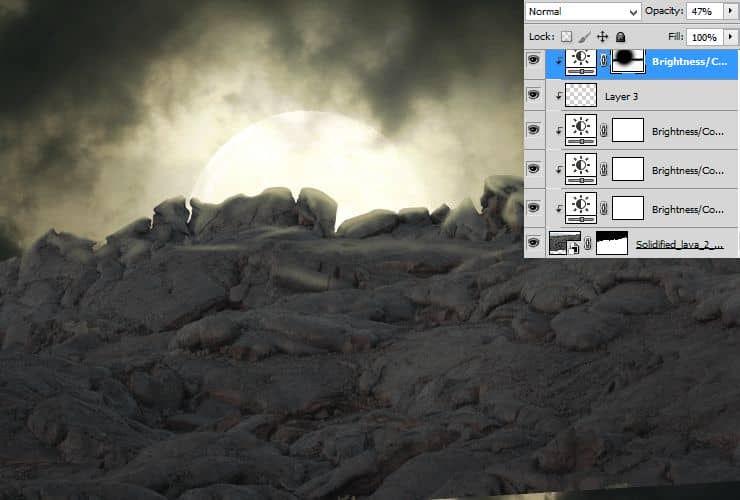
Now, by using big soft round brush (ex. 600px.) mask center of created adjustment layer. Click on white canvas next to layer thumbnail. Rocks on first plan will be darker.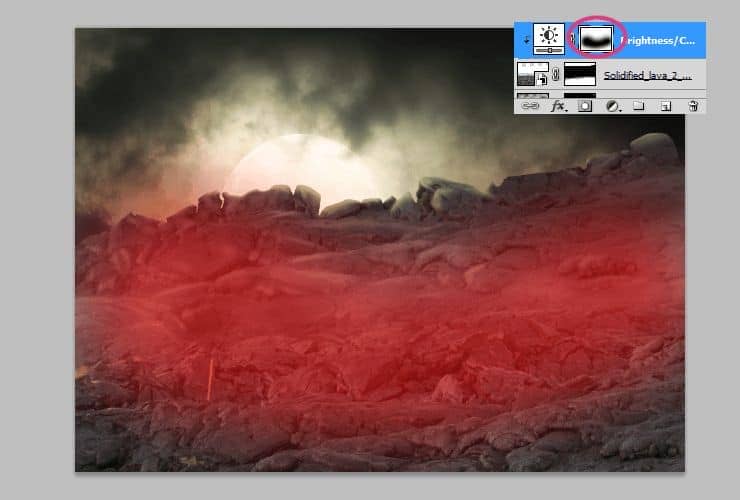
Step 22
If you like dramatic effect, you can add new layer. In your color picker set black and white. Go to Filter > Render > Clouds.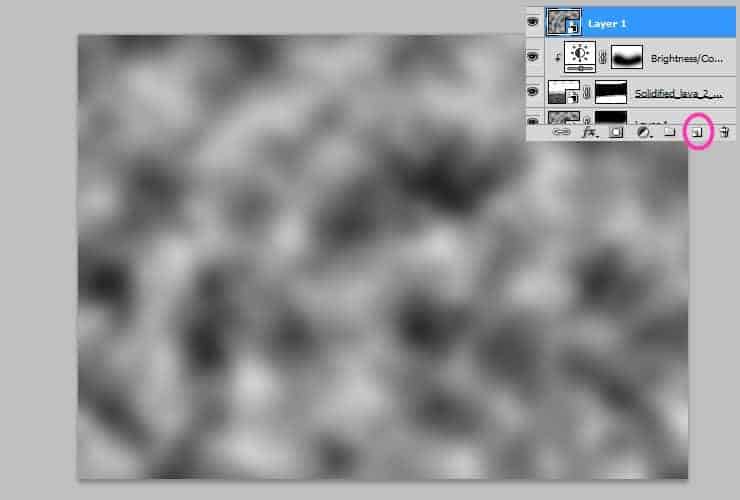
Step 23
Add Brightness/Contrast adjustment layer. Layer > New Adjustment layer > Brightness/Contrast or use marked shortcut. You'll make whole background darker.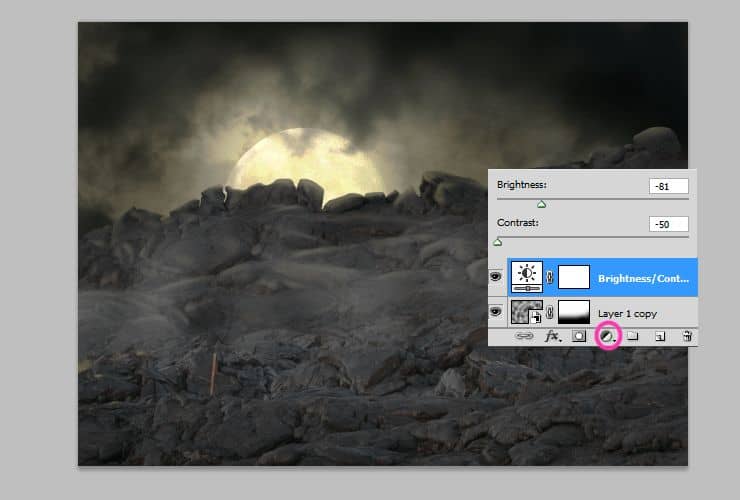
Step 24
Next, add Color Balance adjustment layer. Layer > New Adjustment layer > Color Balance or use marked shortcut.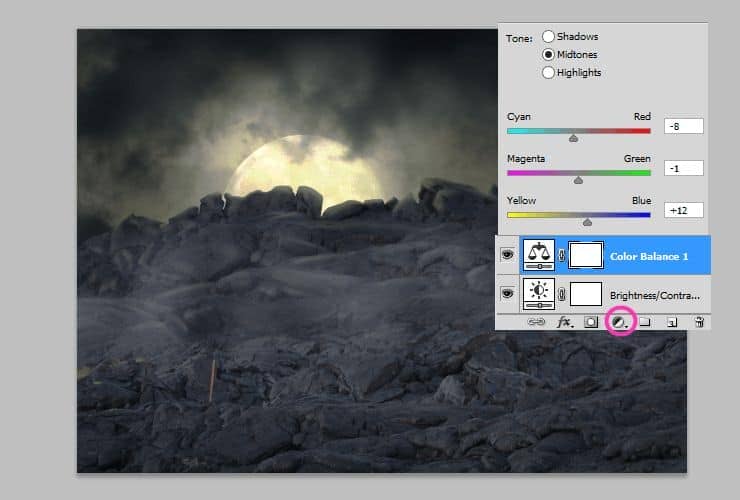
Step 25
Place "skeleton skulls" stock to your image. Click on white canvas next to layer thumbnail and use hard round, small size brush. Mask parts of skulls which don't fit to rocks.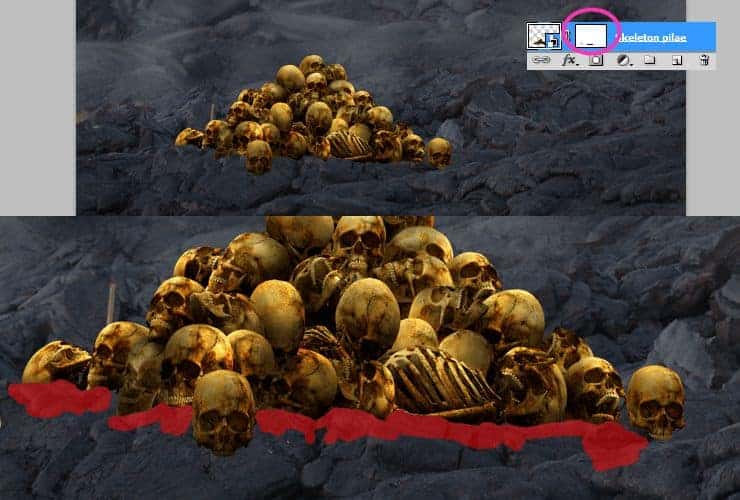
Step 26
Below this layer, add new blank layer (Layer > New > Layer..., Shift + ctrl + N or shortcut). Pick small soft round brush, set its opacity to around 60% and draw with black color shadows strictly below skulls.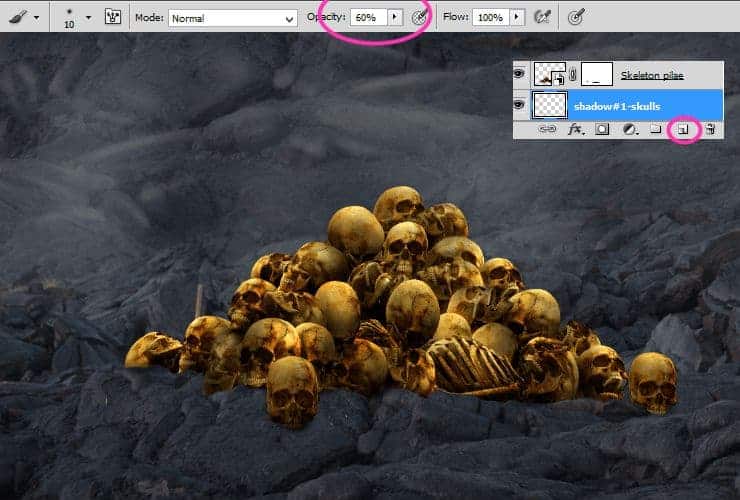
Step 27
Again add new blank layer below shadows (Layer > New > Layer..., Shift + ctrl + N or shortcut). Pick bigger soft round brush, set its opacity to 100% and draw more and bigger shadows.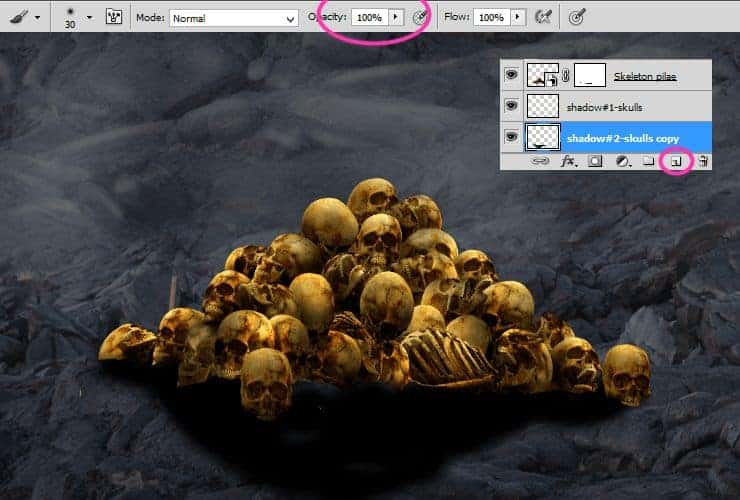
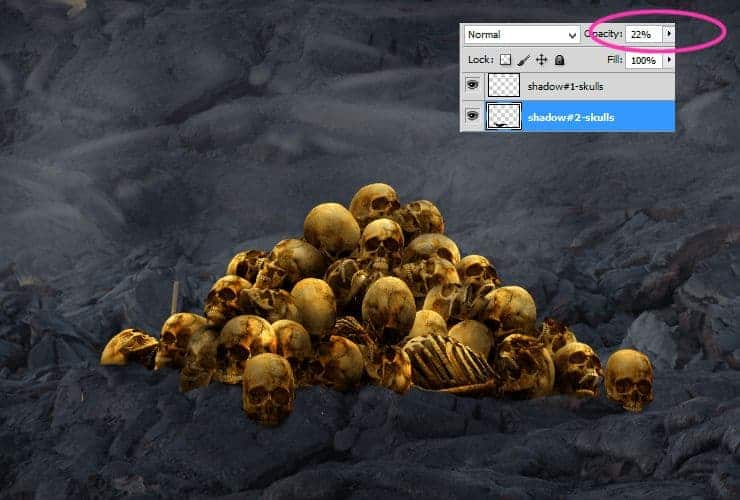
Step 28
Add Brightness/Contrast adjustment layer. Layer > New Adjustment layer > Brightness/Contrast or use marked shortcut. Then make it a clipping mask (Alt+Ctrl+G, Layer > Create Clipping Mask).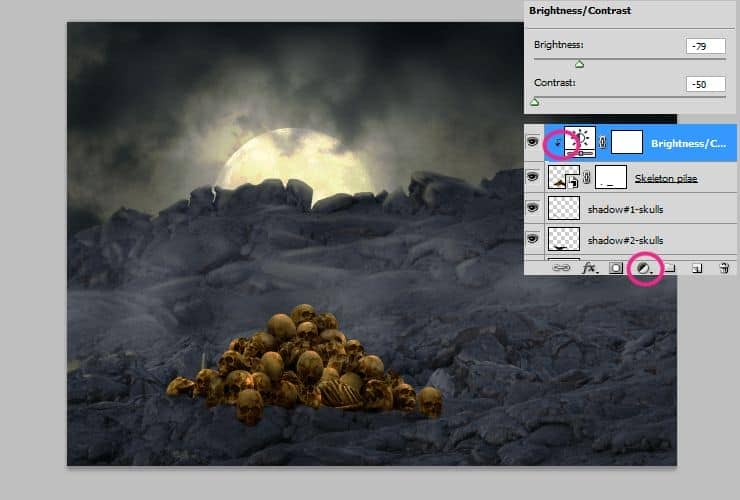
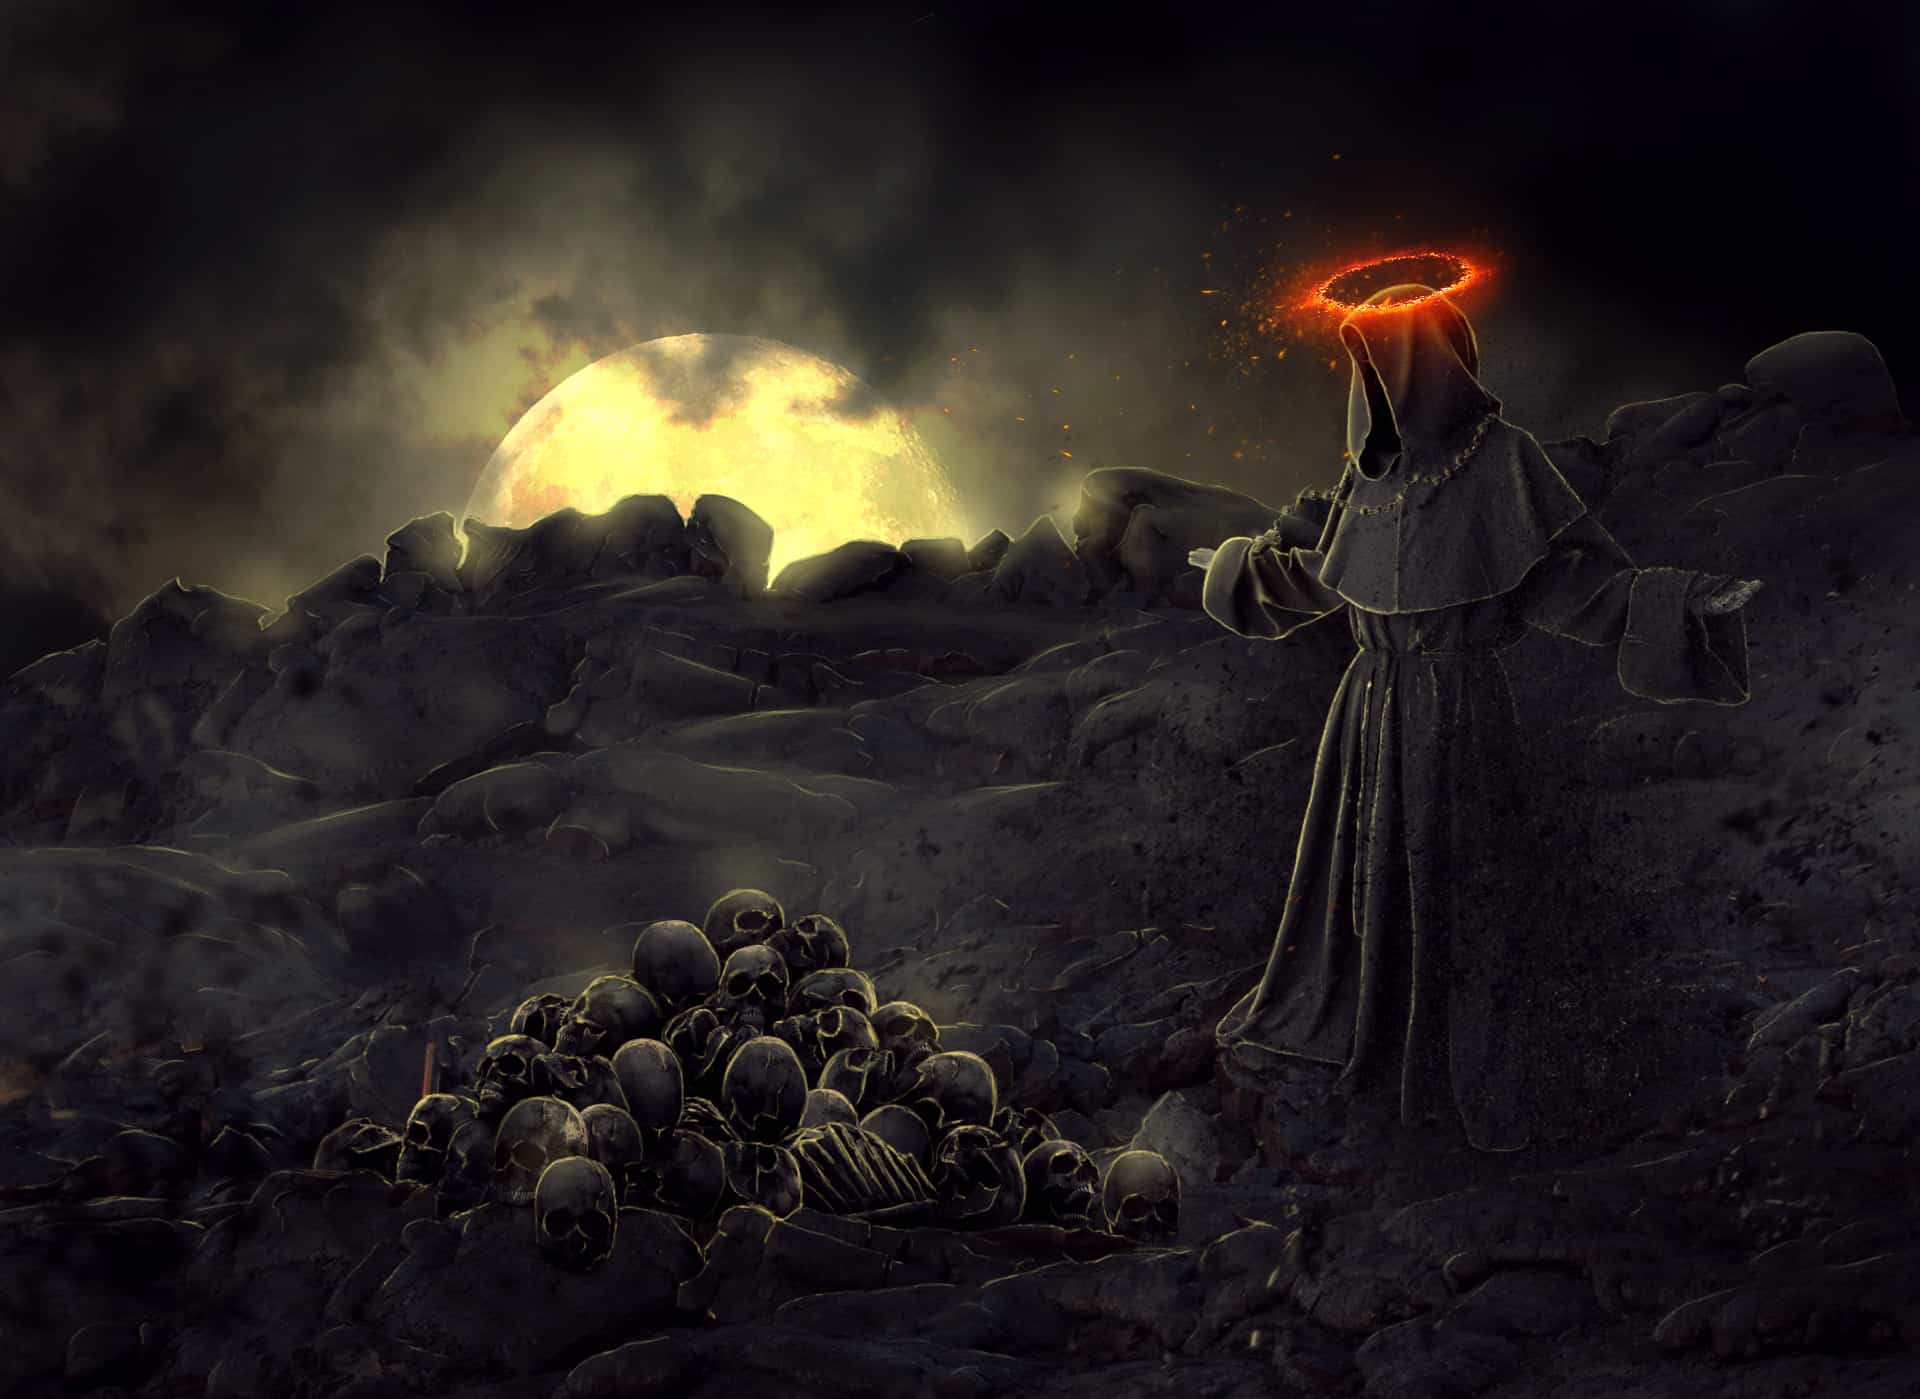

6 comments on “Create a Fantastic Photo Manipulation of a Dark Monk”
what the
This is great! ❤
really nice!!<3
really nice!!<3
would be really great if you could link ALL the different type of stocks, there's no halo ''food 012'' and the lavastone is the wrong image!!
en español