Add a mask to this layer and use a black brush with the hardness about 30% to blend the bottom of the boat with the clouds, and increase the hardness of the brush to 100% to clear a part of the top left:

Step 13
To give the boat more light, I used a Layer Style effect. Double click the boat layer, choose Inner Shadow:


Step 14
I used Curves to darken some parts of the boat where are hidden from the light:

On this layer mask use a soft black brush to erase the dark effect on the higher part where is illuminated by the light:

Step 15
I used a Hue/Saturation adjustment layer to reduce the boat saturation:

Step 16
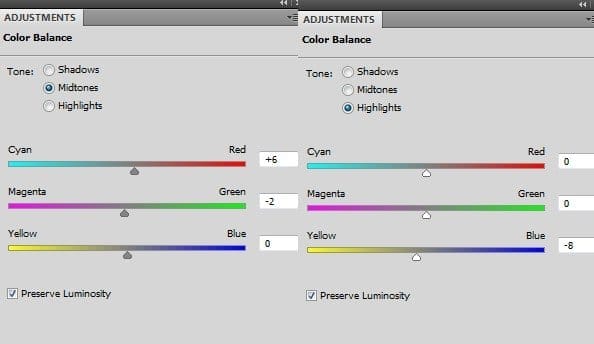
I used Color Balance to match the boat color with the scene:


Step 17
Open the tree image. Use the Lasso Tool (L) to choose the trunk and drag it onto the top left of the boat. Use the Warp Tool (Edit > Transform > Warp) to bend the trunk as shown below:

Use a layer mask to blend this trunk with the boat:

Step 18
Take the leaves part and put it above the trunk and tweak it a little with the Warp Tool to fit the angle of the trunk:


Add a mask to this layer. Use a black brush to remove the unwanted part at the bottom of the leaves:

Step 19
Make the trunk and leaves layers selected and press Cmd/Ctrl+G to create a group for them. Change the mode of this group from Pass Through (default group mode) to Normal 100%. On the top of the layers within this group, use a Hue/Saturation adjustment layer to alter the color of the tree:

Step 20
I used Color Balance to add some yellow to the tree:

Step 21
Make another Hue/Saturation adjustment to reducing the tree saturation:

Step 22
I used Curves to brighten the tree:

On this Curves layer mask use a soft black brush to decrease the light on some parts of the tree to make its contrast suitable for the light in the background:

Step 23
Make a new layer on the top of the group. Use a hard brush with the color #987b47, 4-5 px to paint on the trunk and branches to reduce the contrast of them and make them look more blended with the boat:

Step 24
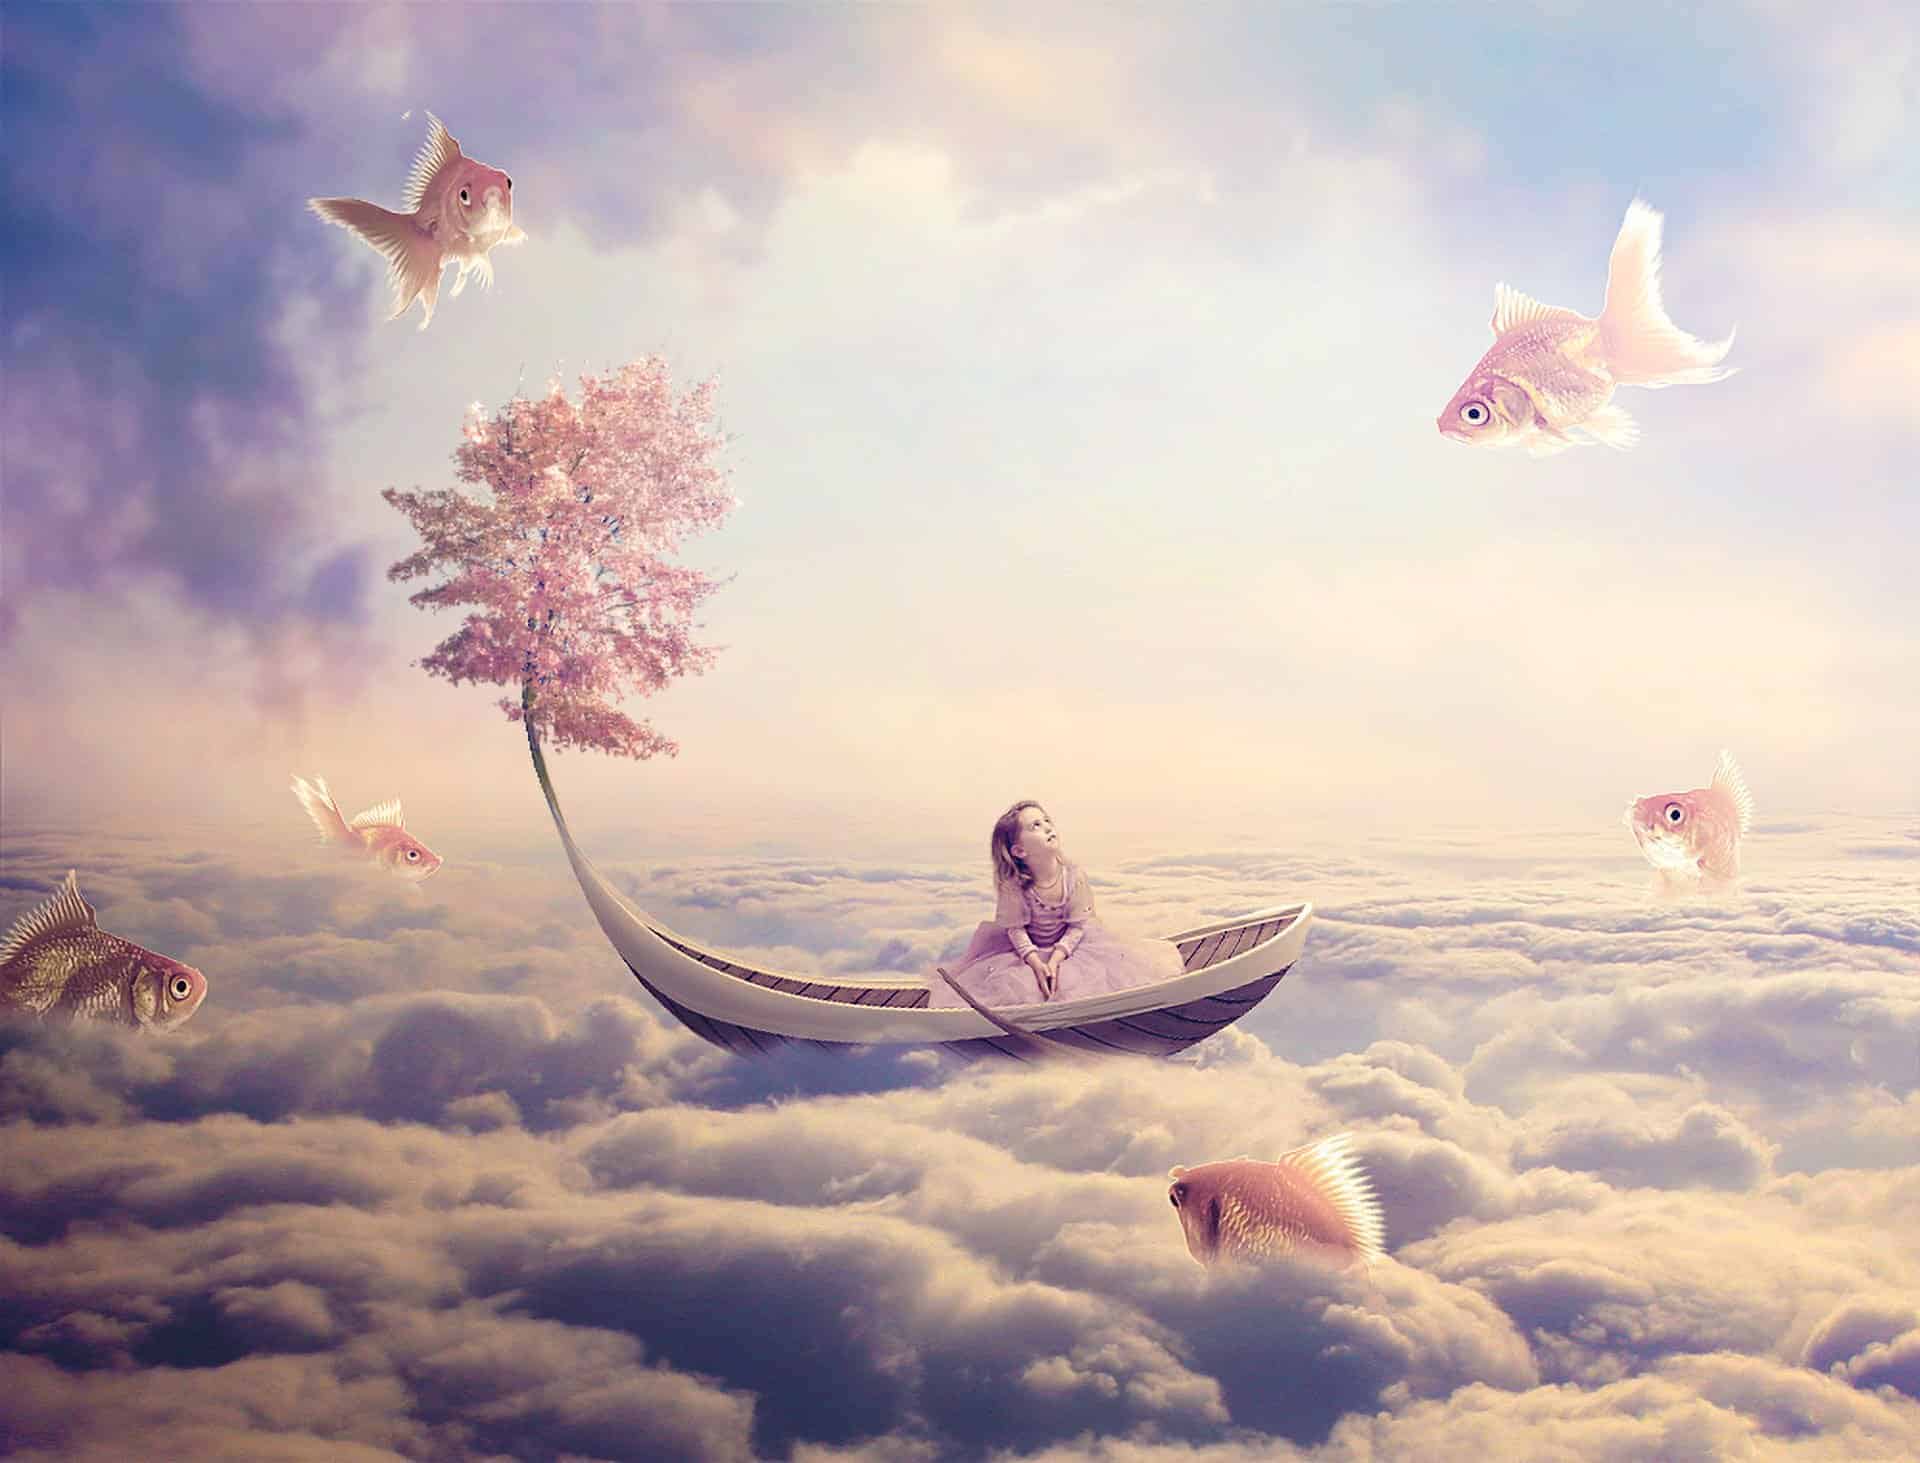
Extract the child from the background and place her in the center of the boat, flip her horizontally (Edit > Transform > Flip Horizontal) to fit the light direction:
17 responses to “Create a Fantasy Fish Scene above the Sky”
-
perfect👍
-
Thank you for this… I learnt a while lot
-
Love this Photoshop Tutorial.
-
Beautiful lesson
-
can someone please tell me the settings at step 5 ?
-
kerrreeeeennn….
-
Very interesting, easy and useful for everyone. Thanks for sharing.
-
I tried before but not properly.. here is the link of my image
I am a photographer and want to do something new like this
-
Has anyone ever tried this? I have CS3 and CS4 can I do this tutorial in either one of these?
-
I think I know, masking already stated to change on evry enterface ie face! Working with layer manupulation can sort your background too.
-
I LIKE this tut! Can’t wait to give it a try!
I wanted to share a link for goldfishes if anyone is interested:http://artistengg.deviantart.com/art/Goldfish-Stock-216387973
Su
-
I just read that this file is to be used only on DeviantArt, so, my apologies!
-
-
Thank you for this tutorial fantanstique I had fun doing:
http://cartes-mireilled.eklablog.com/montage-scene-imaginaire-couleur-pastel-a112633738 -
Nice Tutorial..
-
очень нежная работа!!!!!!
-
I l!ke blending, masking, adjsuting colors using CS4 photoshop too, keep us uptodate then,, I like ambigious pictures u know.
-
do u know any good background changer app?
-


Leave a Reply