Step 18
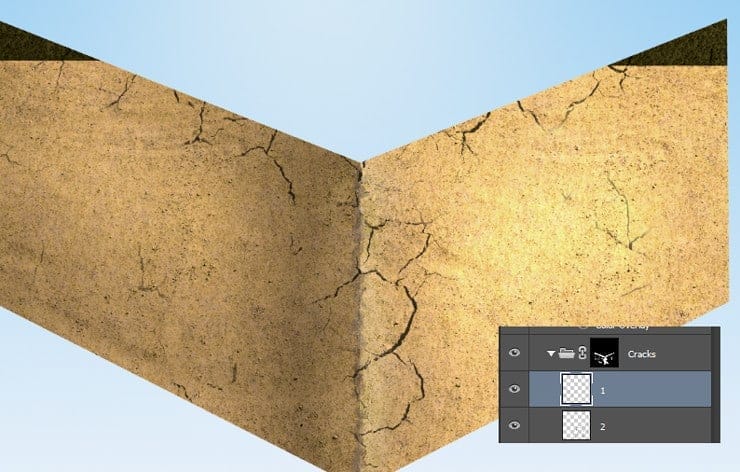
Group the two cracks layer together (Shift-click on each and press Ctrl + G) and add a layer mask to the group (Layer > Layer Mask > Reveal All). Now paint with a black brush in the layer mask to hide the unwanted cracks – you should have something like the image below after you’re done.

Step 19
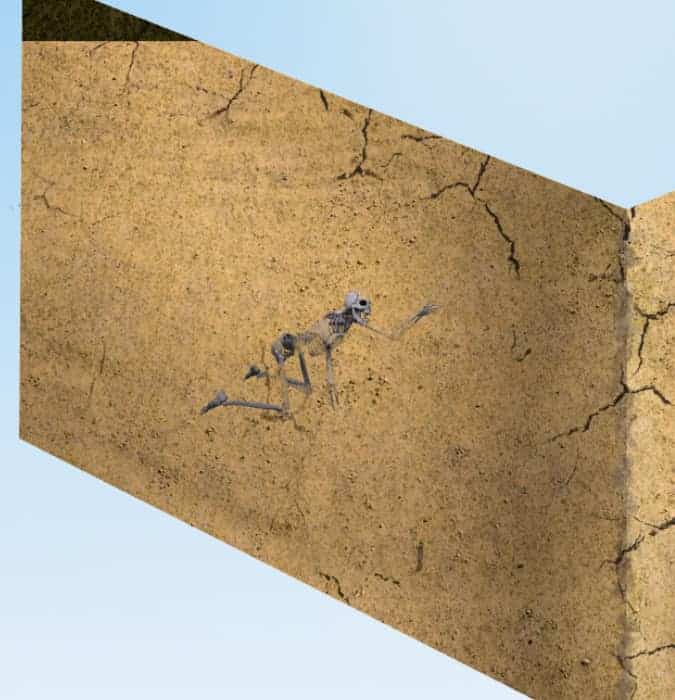
Open the file “Skeleton”. Select all and copy paste in our document. Place the skeleton as shown below and don’t forget to convert it into a smart object.

Step 20
Right click the skeleton layer and choose Blending Options from the drop down menu. Use the settings shown below to make the skeleton look like he’s belonging to the ground.

Step 21
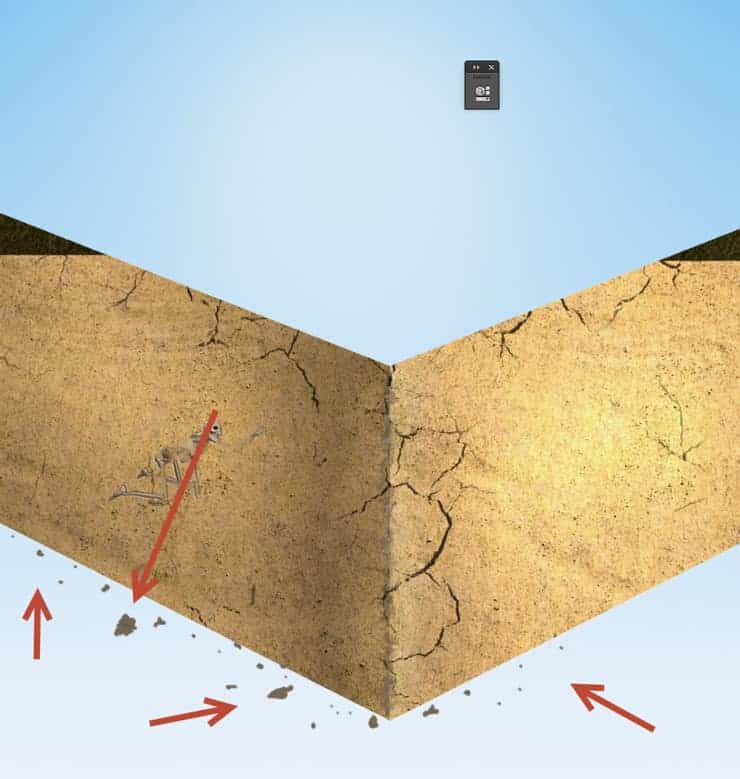
With the standard Chalk brush paint some crumbs around the ground as shown below.

Step 22
Double click the crumbs layer and use the settings shown below to give the crumbs more volume and a 3D look.

Step 23
With the same chalk brush paint with black some subtle details on a new layer over the crumbs.

Step 24
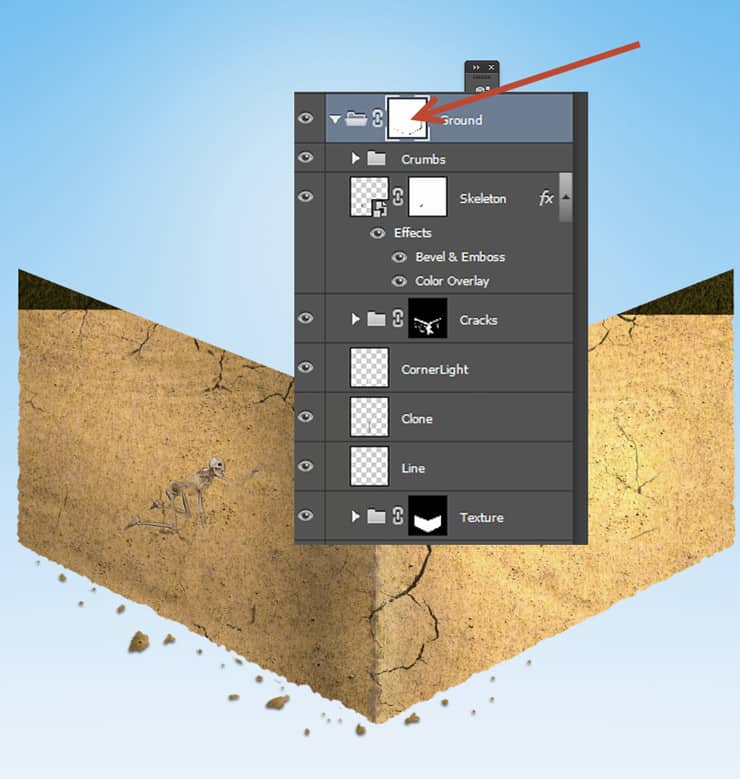
Group all the layers related to the ground together and name the layer “Ground”. Add a layer mask to the group (Layer > Layer Mask > Reveal All) and use the standard chalk brush to nip here and there (paint with black in the layer mask) in order to break the boring straight lines of the ground.

Step 25
Create a new layer and choose the standard round soft brush. Increase the size to 200px and lower the opacity to 50%. Move this layer below the “Ground” layer in the layer palette and paint some shadow as shown below.

Step 26
Open the file “Underwater1”. Select all and copy/paste in our document. Convert the layer into a smart object and place the underwater as shown below.

Step 27
Click on the underwater layer in the layer palette and press Ctrl + G to add it to a group. Add a layer mask to the group (Layer > Layer Mask > Hide All) and use the Pen Tool to create a path as indicated in the layer below. Press Ctrl + Enter to convert the path into a selection.

Step 28
Press D to set the colors to default and while in the layer mask of the group press Alt + Backspace to fill the selection with white and thus reveal the underwater inside the selection. Press Ctrl + D to deselect.
15 responses to “How to Create a Realistic Water Cube in Photoshop”
-
thanks
-
wow
-
hi
-
Well – a floating island… -.-
-
so fantastic (Y)
-
cool with good aesthetic.
-
Amazing tutorial!
-
Hi
-
-
Sorry correct link is here: https://www.photoshoptutorials.ws/photoshop-tutorials/photo-manipulation/create-realistic-water-cube-photoshop/
-
thank you…works perfect now :)
-
-
Do have video?
-
hi dear
-
-
I have the same problem
-
I got the same error…
-
i can’t open up this tut…says it has to many redirects or there is a problem with the server…any other people having the same issue?


Leave a Reply