Luminar AI lets you turn your ideas into reality with powerful, intelligent AI. Download the photo editor and see how you can completely transform your photos in a few clicks.
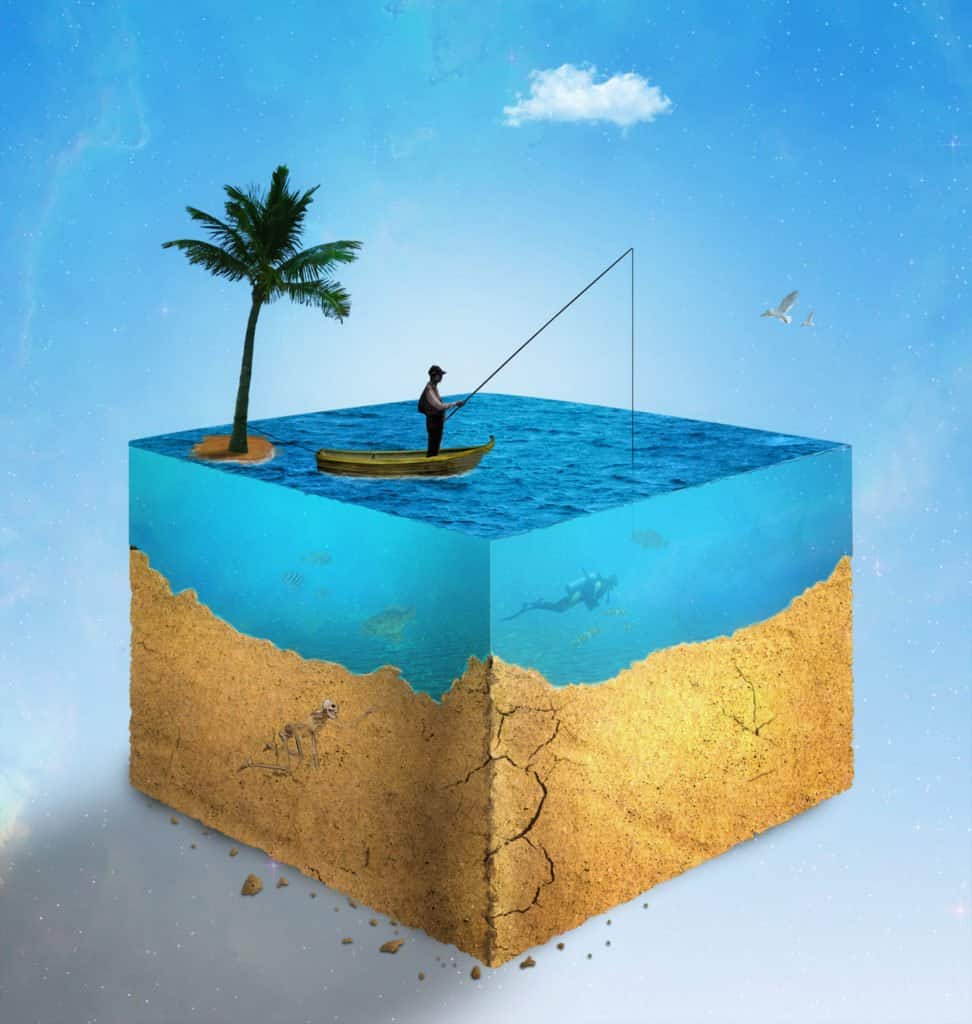
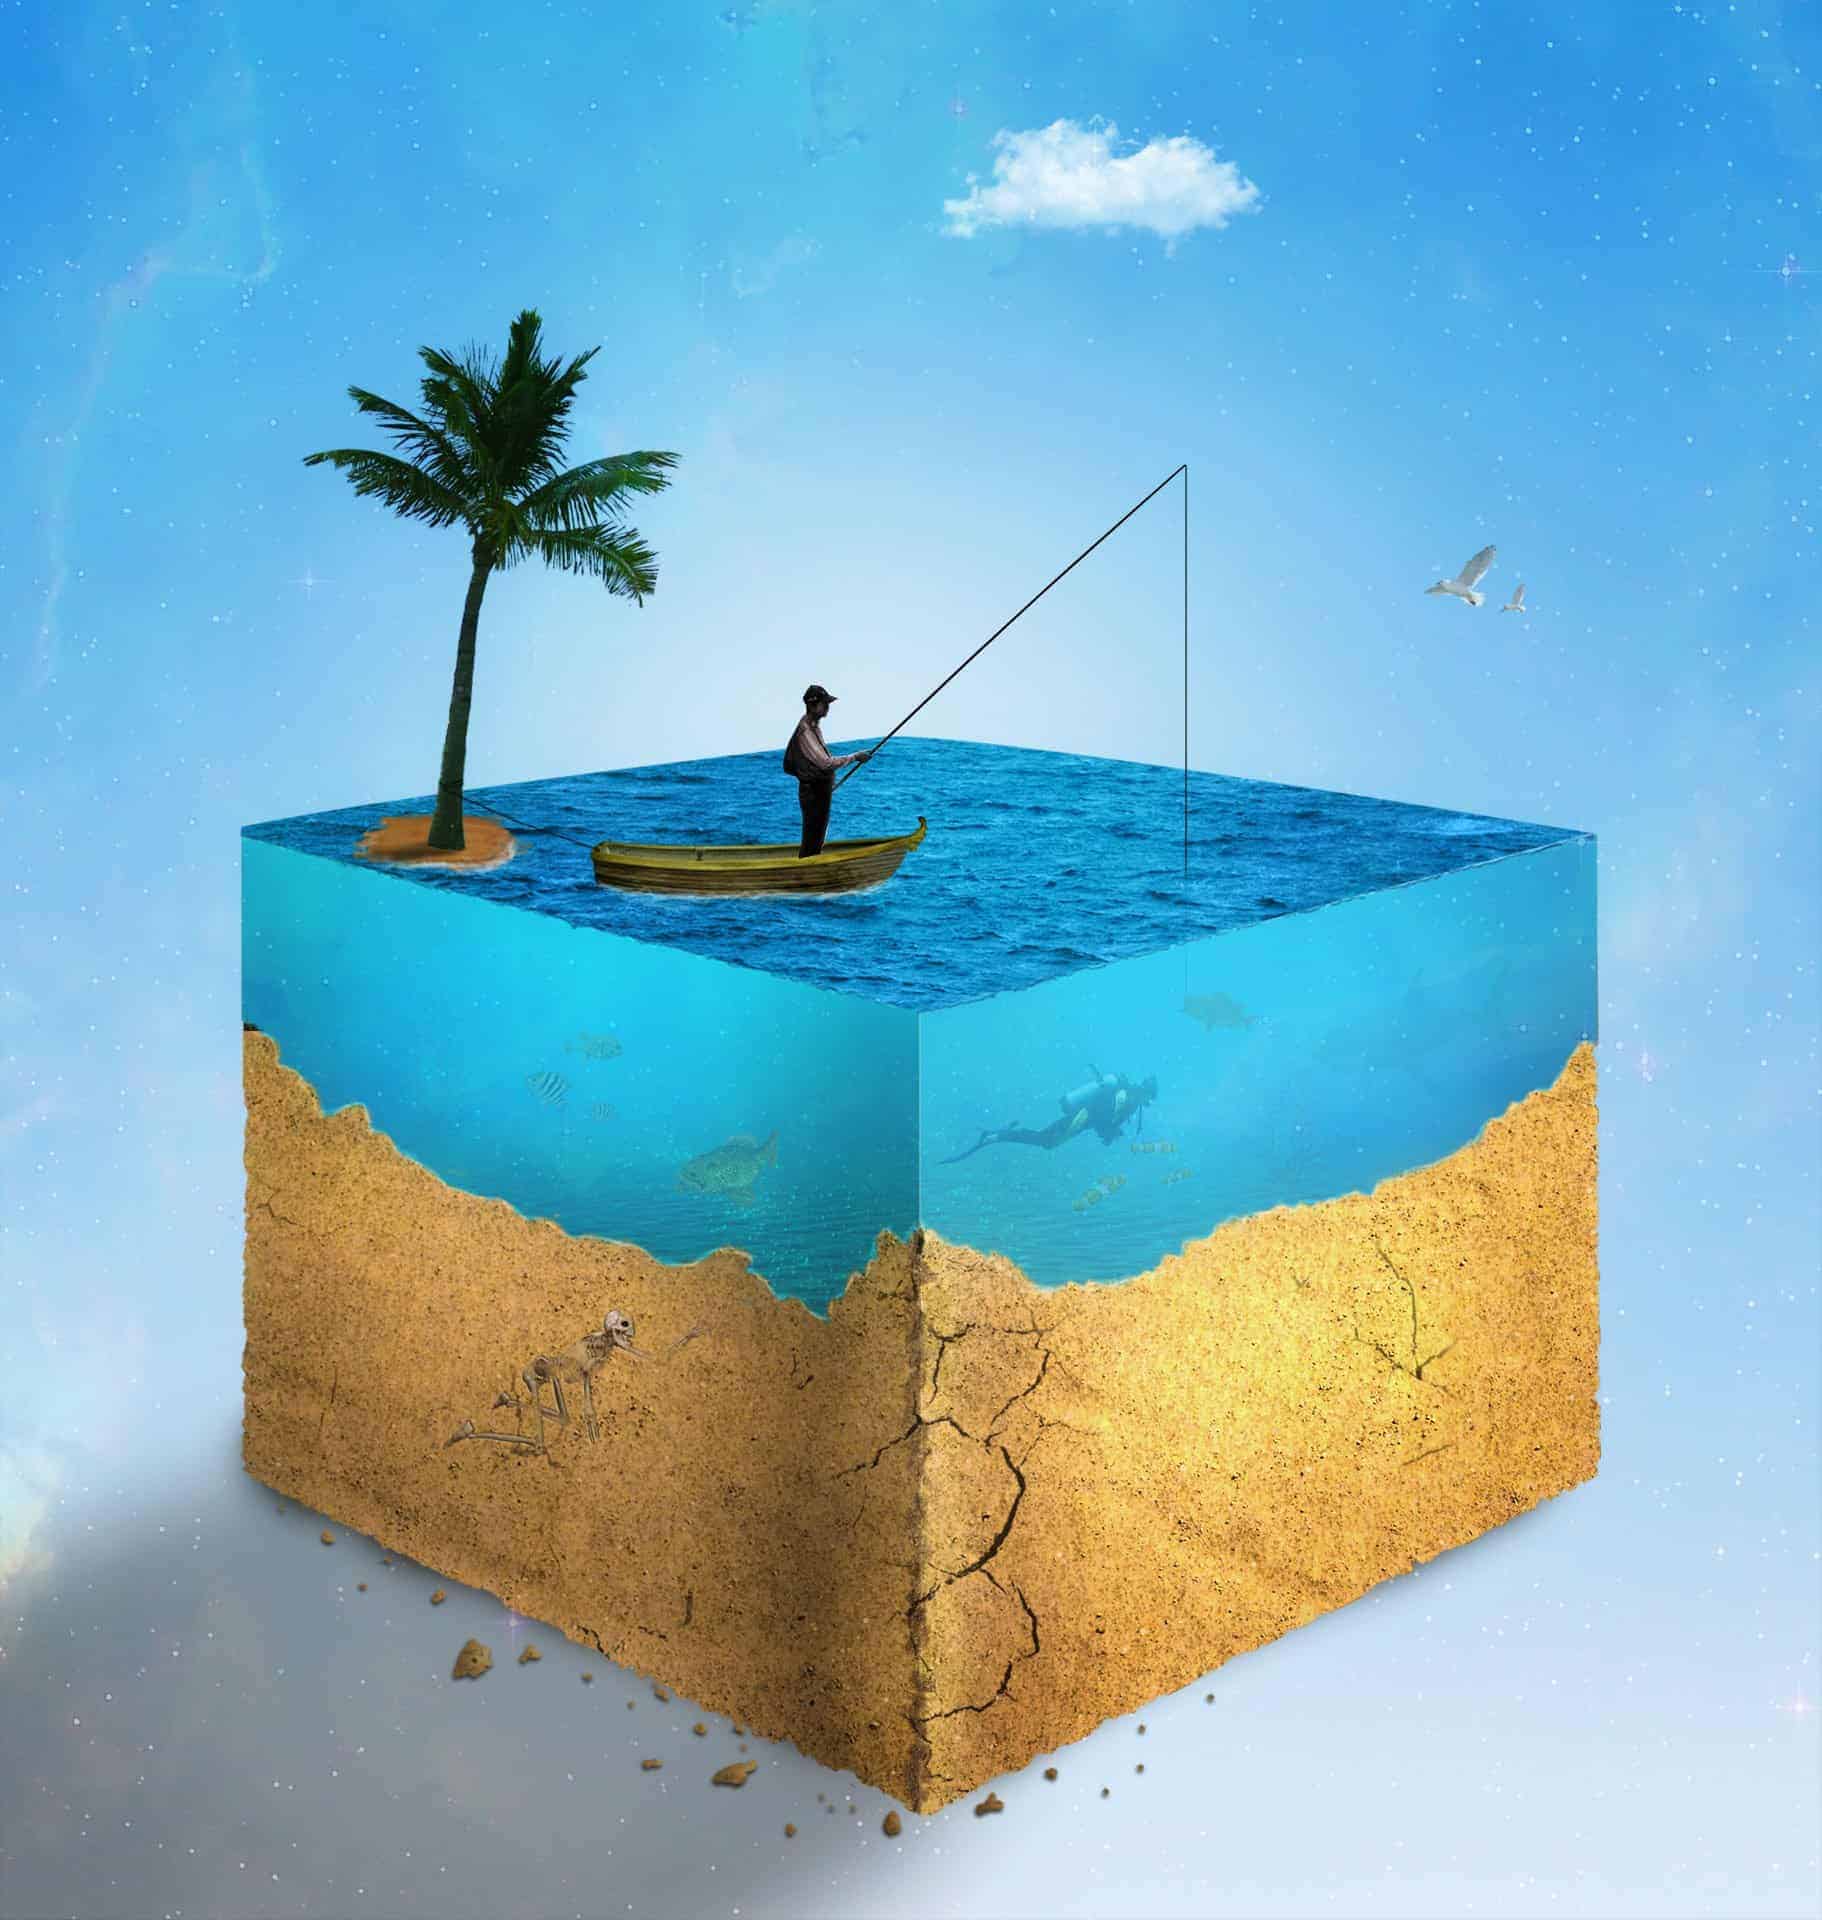
In this tutorial we will use basic and advanced techniques in order to create a realistic water cube. Intermediate Photoshop users should feel right at home but the beginners can also follow it. Let's begin!
You will create a realistic water cube with various fantastic elements scattered here and there. You will need Photoshop CS3 or newer in order to follow this tutorial.
Final Results Preview
Tutorial Resources
- Sand Texture - shadowh3
- Sand Texture2 - Enchantedgal-Stock
- Cracks - freeimages.com
- Skeleton - wolverine041269
- Underwater1 - eddyhaze
- Underwater2 - frostbo
- Underwater3 - EvilHateYouAllStock
- WaterSurface - shudder-stock
- Boat - JinxMim
- Fisherman - freeimages.com
- Small Fish - darkadathea
- Small Fish2 - AngelMoon17
- Shark - wolverine041269
- Diver - freeimages.com
- Underwater Plant - darkadathea
- Birds - LG-Design
- Cloud brush - Ryoku 15
- Palm - digitaltwist
- Nebula - freeimages.com
Step 1
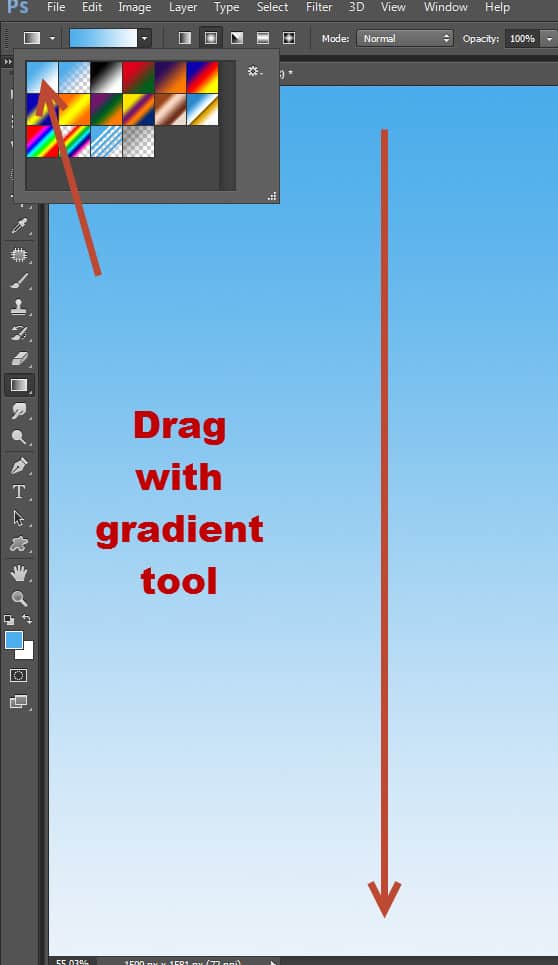
Create a new file 1500x1581 pixels. Set the foreground color to a light blue (#4eaeeb) and the background color to white. Select the Gradient Tool (G) and hold shift while dragging from the upper side of the document to the lower side.
Step 2
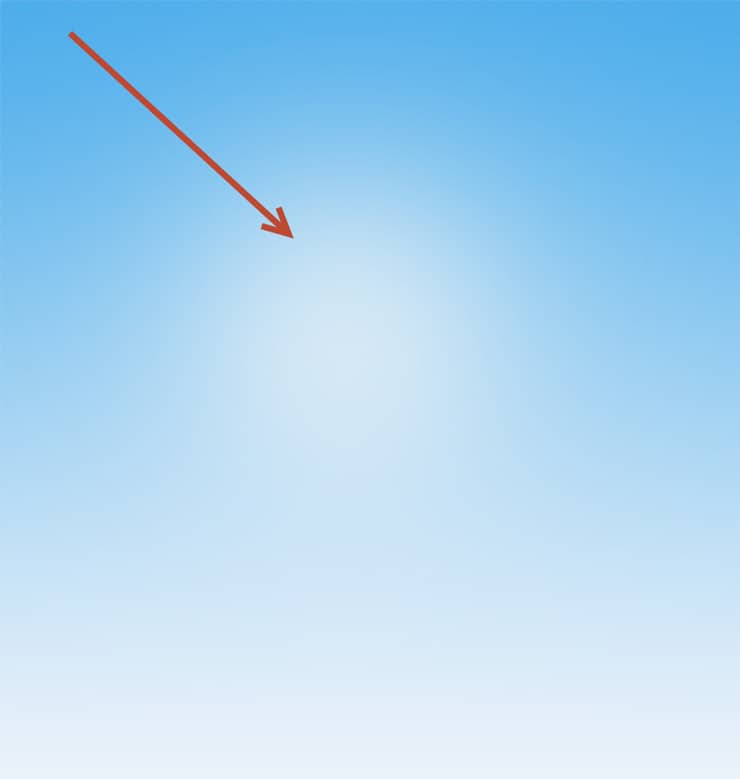
Create a new layer (Ctrl + Shift + Alt + N) and choose the brush tool (B). Increase the size to 300px and lower the opacity to 20%. Select white as foreground color and click once or twice in the middle the document to create a backlight.
Step 3
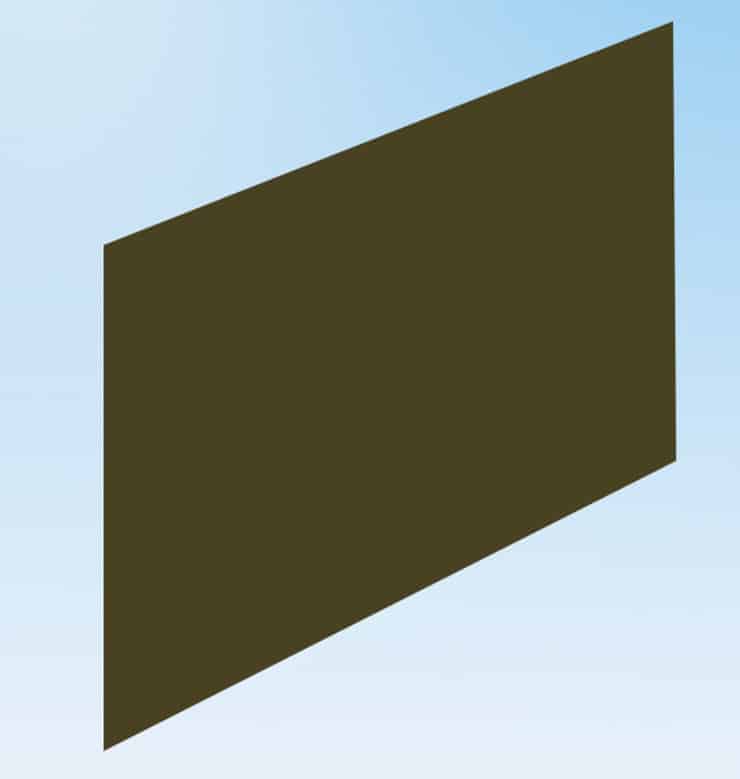
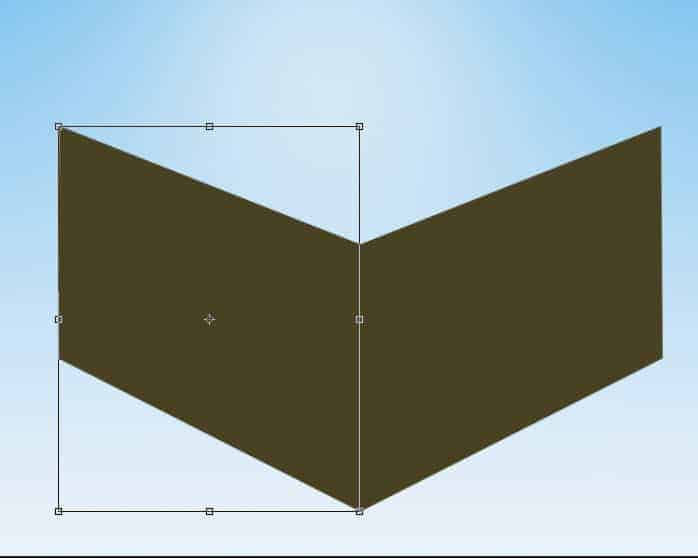
Select the Pen Tool and create a form like shown below. Press Ctrl + Enter to convert the path into a selection and select a dark brown color as foreground (#484222). Create a new layer (Ctrl + Shift + Alt + N) and fill the selection with the foreground color by pressing Alt + Backspace.
Step 4
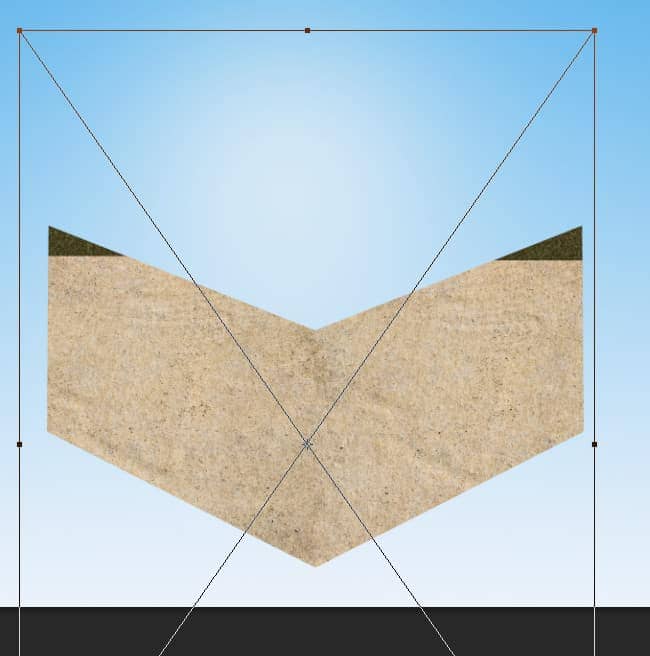
Duplicate the layer we create at step 3 (Ctrl + J) and press Ctrl + T to enter Free Transform. Right click on the layer and from the drop down menu choose Flip Horizontally. Move the duplicated layer to the left until you have the two sides of a cube as shown below.
Step 5
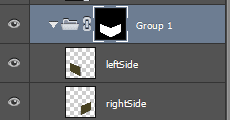
Select both the layers we created at steps 3 and 4 and press Ctrl + G to group them. Add a layer mask to the group (Layer > Layer Mask > Hide All). Now you’ll see that the two layers have disappeared. Hold the Ctrl and Shift key and click on each of the two layers thumbnails. By doing this you will make a selection of the two layers. Release Ctrl and Shift key and press D to set default colors. Click once on the group’s layer mask and press Alt + Backspace to fill the selection with white. Name the group “Texture”.
Step 6
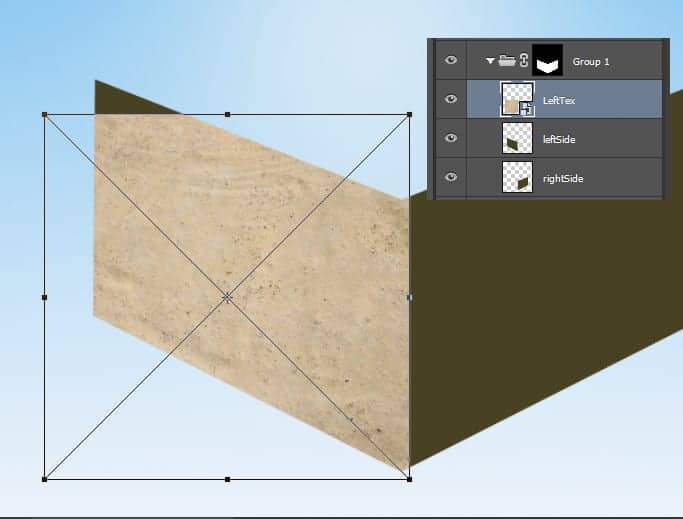
Open the file “Sand Texture”. Select all (Ctrl + A) and copy (Ctrl + C). Go back to our document and paste (Ctrl + V). Convert the pasted layer into a smart object (right click on the layer in the layer palette and from the drop down menu choose Convert To Smart Object) and put the layer inside the group we created at step 5. Resize the texture layer as shown below.
Step 7
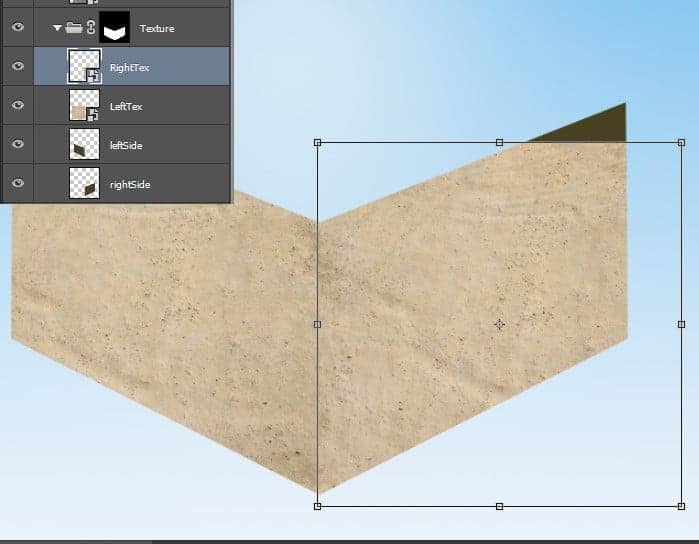
Duplicate the texture layer (Ctrl + J) and move it to the right side.
Step 8
Open the file “Sand Texture2” and copy/paste into our scene. Desaturate the layer (Image > Adjustments > Desaturate) and convert the layer into a smart object and position it as shown below. Change the blending mode to Soft Light. This will give our ground texture a bit more variation.
Step 9
Create a new layer and choose the standard round soft brush. Lower the opacity to 10% and paint with black on the margins of the ground. Create another layer and paste some more shadow on the left side of the ground.

15 comments on “How to Create a Realistic Water Cube in Photoshop”
thanks
wow
hi
Well - a floating island... -.-
so fantastic (Y)
cool with good aesthetic.
Amazing tutorial!
Hi
Sorry correct link is here: https://www.photoshoptutorials.ws/photoshop-tutorials/photo-manipulation/create-realistic-water-cube-photoshop/
thank you...works perfect now :)
Do have video?
hi dear
I have the same problem
I got the same error...
i can't open up this tut...says it has to many redirects or there is a problem with the server...any other people having the same issue?