
Step 7
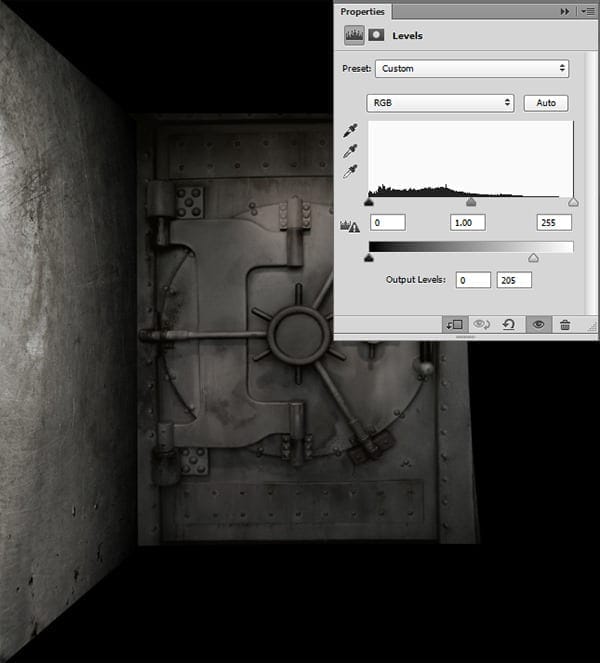
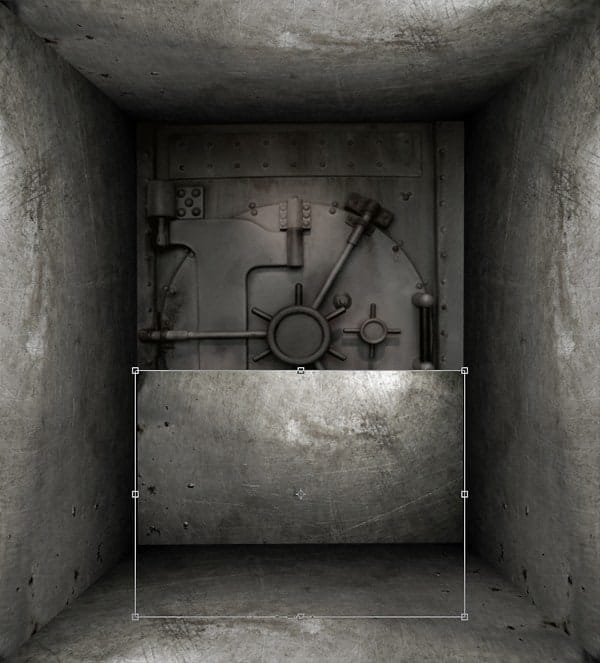
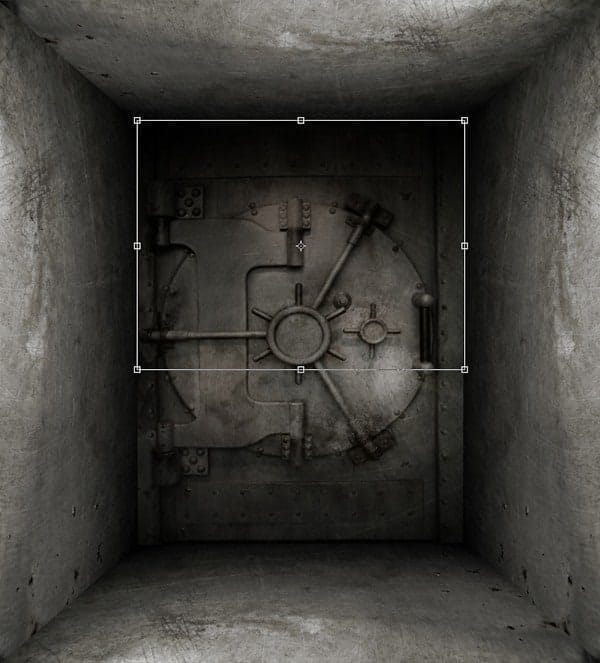
Now you see, the Vault still does not blend well with the Wall. To fix that, Go to > File > Place and select Metal Texture image. This will automatically import the image as a Smart Object into our canvas. Put the Metal texture layer above the Vault layer. Press Ctrl+T and scale the image to fit the width of the Vault. Hold down the Shift key as you drag to maintain its proportion.Now set the layer’s Blending Mode to Soft Light. Duplicate the layer by dragging and droping it into the new layer icon of the Layers panel. Press the Ctrl+T again and put the pivot point to the top center of the bounding box. Then right click and choose Flip Vertically from the menu to cover the top area of the Vault.


Step 8
Let’s turn back on the visibility of Man layer. Click the Add Layer Mask at the bottom of the Layers panel and start painting with soft black brush preset to get rid parts of the body. No need to be precise, as we can fix that up later. The advantage of using the Layer mask is that you can always come back and edit any adjustments you’ve made previously.Now with the adjustment layers, select Hue/Saturation. Set the Hue to +12, and reduce the Saturation to -70. This will give the Man a lot more blended look with the background. When you have configured the settings, make sure a clipping mask is applied to the layer.

Step 9
Now let’s focus on shading the background and add some depth. Load the selection of perspective guide layer by clicking on the layer thumbnail while hold the Ctrl key. Add a new layer above the Vault layer and grab the Gradient Tool (G) on the Tool panel. Press and hold Shift key, then click and drag from the left to right on the left edge side of the Vault. Reduce the Opacity to 39% and set the Blending Mode to Multiply. See the 1st image below. With the same technique, repeat the process on the right and bottom edge of the Vault. As you can see, the bottom area of the Vault is lighter than the other area, so we need to darken it a bit by increase the Opacity to 60%.
8 responses to “Create an Unnerving Surreal 3D Room Scene in Photoshop”
-
mas ariga yada. akun sosmed nya apa??? please reply.
i am your fans.
-
censored
-
He thick!!!!
-
Thank you for the creative lesson. I was interested in joining the parts. to get the camera with the robot, and proved very useful both to make the holes. I do not know how to .thank you. It’s my pic http://j-p-g.net/if/2015/09/17/0842755001442497686.jpg
-
Awesome work. Only drawback is, I don’t have Shutterstock, so I couldn’t get the body.
-
parece del Siglo 22 en una Gran tribulacón
-
Que foto tan Cruel
-
This is CRAZY. Thank you!


Leave a Reply