This tutorial demonstrates techniques to create a vintage style poster in Photoshop. We will also be using Illustrator for some simple operations. This is a fairly straight forward tutorial utilizing Photoshop’s drawing tools and composition techniques.
What you’ll be creating
Hereby we are going to create a cat based vintage poster design in Photoshop with a little help from Illustrator. We will start off by preparing the background using the textures, will create the cat character using the shape tools and add a couple of overlays to give it a vintage touch. I have used Photoshop version CS6 to create this work but any version from CS3 onwards will be fine as well.

Tutorial Resources
- Old paper stock – ftourini
- Old paper texture 2 – Snowys-stock
- Emerald green scratch paper texture – mercurycode
- Brown vintage wallpaper – psdgraphics.com
- Folded paper texture – photoshoptutorials.ws
Step 1
We start off by creating an A4 size document (210mm X 297mm). I am settling with 150 ppi for as I am not going for print.

Step 2
Add some texture to the blank canvas. Bring in the old paper texture using the Place command which will import the texture as a smart object. Select File > Place.

Step 4
Scale up the texture to fill the entire canvas like in the below image. Confirm it by hitting Enter/Return when you arrived at it.

Step 5
Now bring in the brown vintage wallpaper using the “Place” command.

Step 6
This texture is huge in dimensions. Lets scale it to approx 47% of its original dimensions.
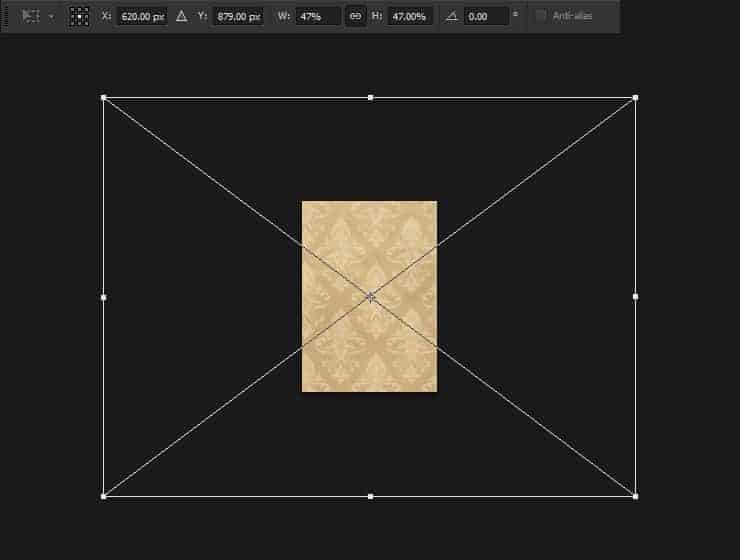
Step 7
Reposition the texture. Align the top left of the texture to the top left of the canvas.
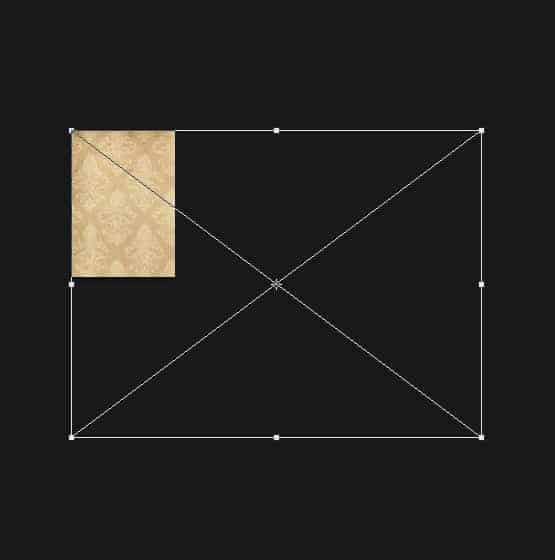
Step 8
In this step, go ahead and import the paper texture once again. Or just duplicate the one you imported a step ago, resize it as you see it below.
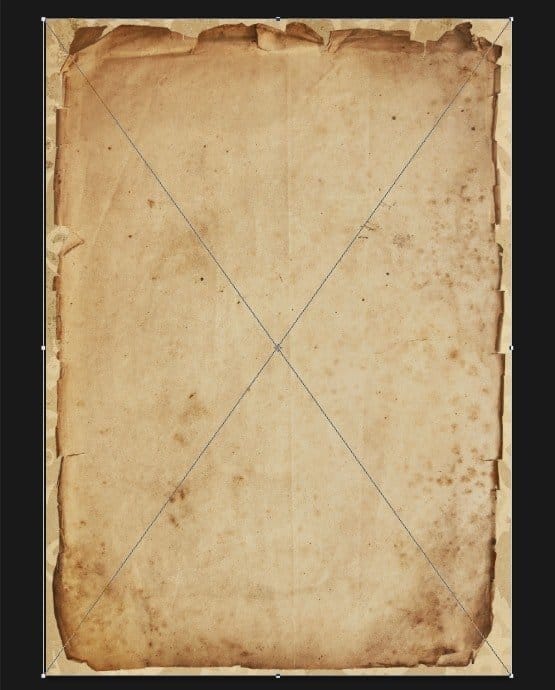
Step 9
CTRL+Click on the layer thumbnail in the layers palette to load selection.

Step 10
Turn off the layer visibility in the layers palette. Now we will use this selection to apply layer mask to the vintage pattern layer.
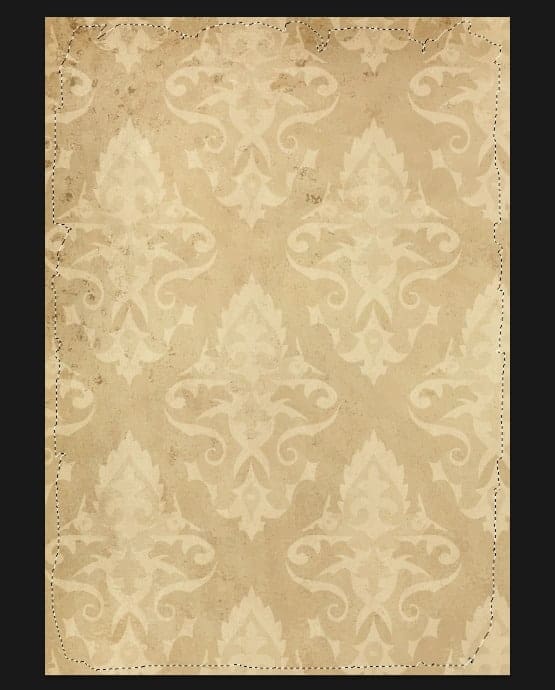
Step 11
With the selection on, click on the vintage pattern layer and click “Add a Mask” located at the bottom of the layers palette. You can see the edge cut nicely.

Step 12
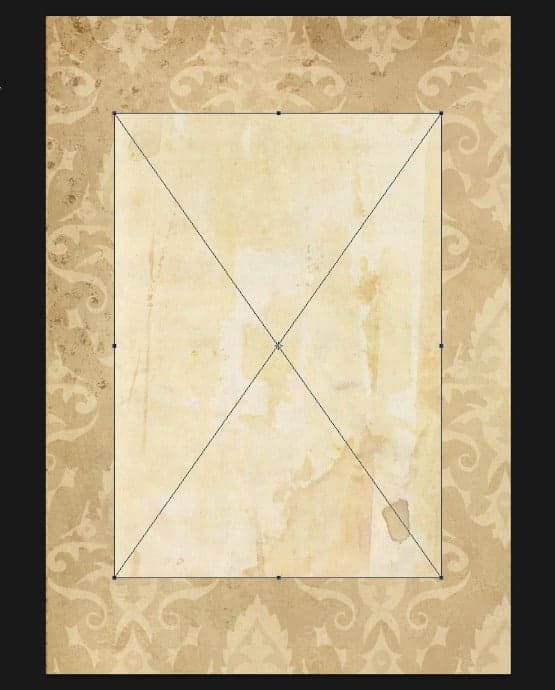
Place this below old paper texture (older_paper_1920_by_snowys_fox-d4vhnoi.jpg) into our document.
Step 13
Scale up the texture until it covers the whole visible area.

Step 14
Rasterize the layer – right click on the layer and choose “Rasterize Layer”
27 responses to “Create a Vintage Style Poster in Photoshop”
-
Really loved the vintage posters. surely going to follow your tutorial and going to make a vintage poster.
-
Great tutorial. I learnt many new things by making this poster.
Thnanks -
Thank you
-
Hello Kitty :) Joking aside, great tutorial Niranth!
-
Pikachu Cecilia!
-
yooooo
-
This is really neat. I like to make posters and your tuts have been very helpful!
-
what about the thin lines along the border. how does one do that
-
thanks, very nice
-
Download link doesn’t work. :(
-
Link fixed thanks for letting me know!
-
-
Thanks, actually turned out a good look……cheers !!
-
took a month to understand
-
This tutorial was very confusing. It was a very unenjoyable experience.
-
I can’t express how confusing this is.
-
Thanks for posting the tutorial about this layout. I like the fact that it looks totally vintage in the end result.
-
very good tutorial….very useful for beginners…
-
Lets have a popsicle
-
my name is Jwana Jesus Lopez
-
hello kids
-
Camila
-
Adorei os pôsteres :)))
-
-
Great tutorial! Can be very useful for any purpose poster.
-
TEACHER
-
copycat of eminem… just less… you know… good
-
-
THANK U FOR ALL THE POSTS
-
Very cool looking cat! Took me a bit to realise you have to do the survey on every page, otherwise it seems like the page isn’t loading :) There are more free old paper textures here too http://www.myfreetextures.com/45-free-old-paper-textures-and-parchment-paper-backgrounds/


Leave a Reply