Step 7
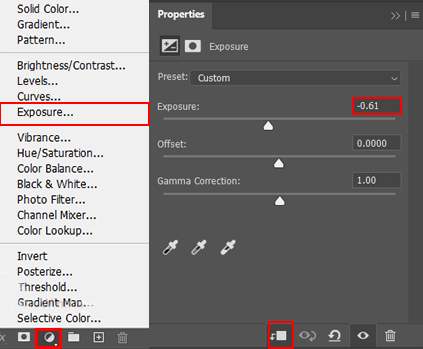
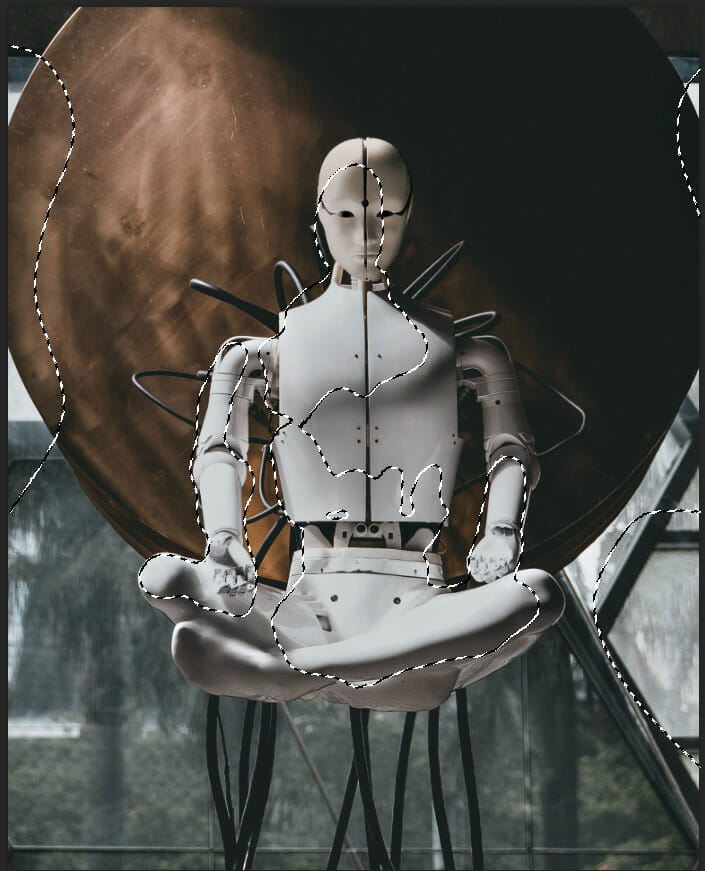
Add Adjustment Layer “Exposure” and press Ctrl/Cmd + I to invert. Then use Brush Tool(B) Soft Round with foreground color white and paint dark parts.
Step 8
Add Adjustment Layer “Color Balance”
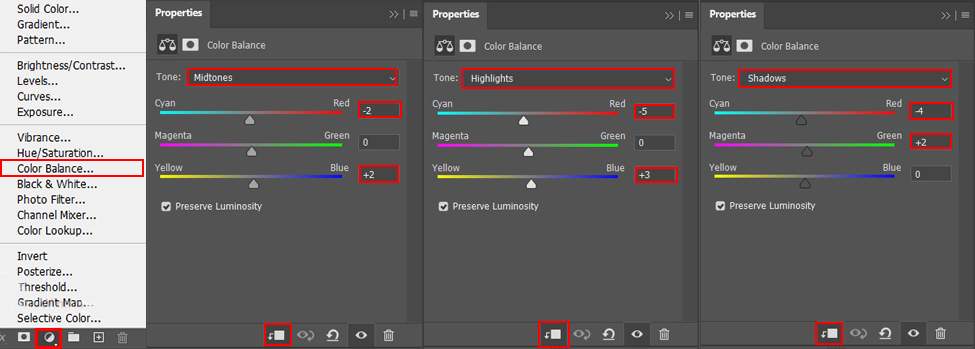
Step 9
Add Adjustment Layer “Selective Color “
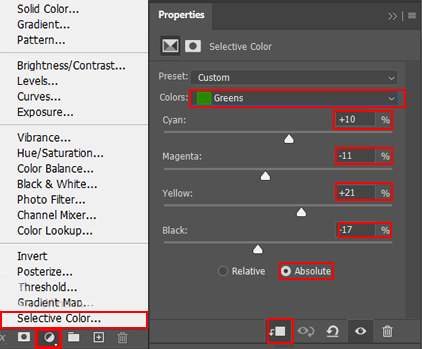
Step 10
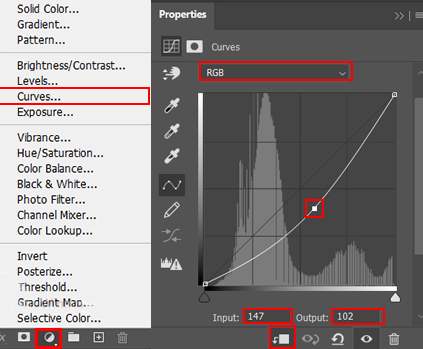
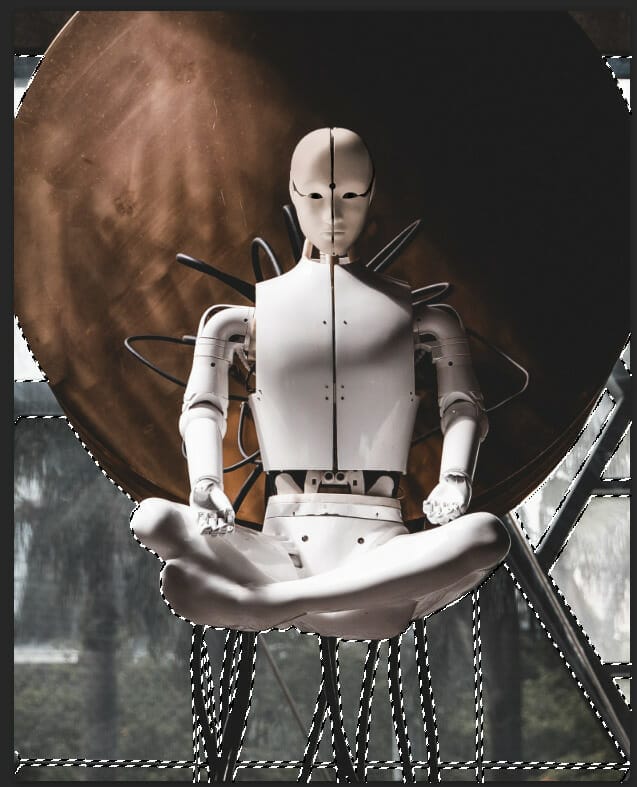
Add Adjustment Layer “Curves” and press Ctrl/Cmd + I to invert. Then use Brush Tool(B) Soft Round with foreground color white and paint highlight parts.
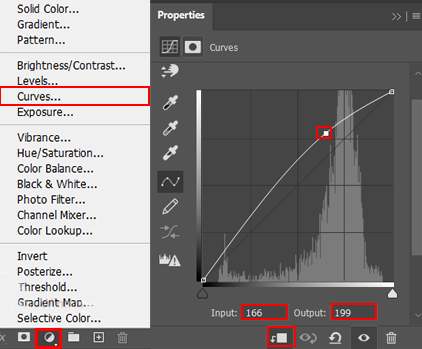
Step 11
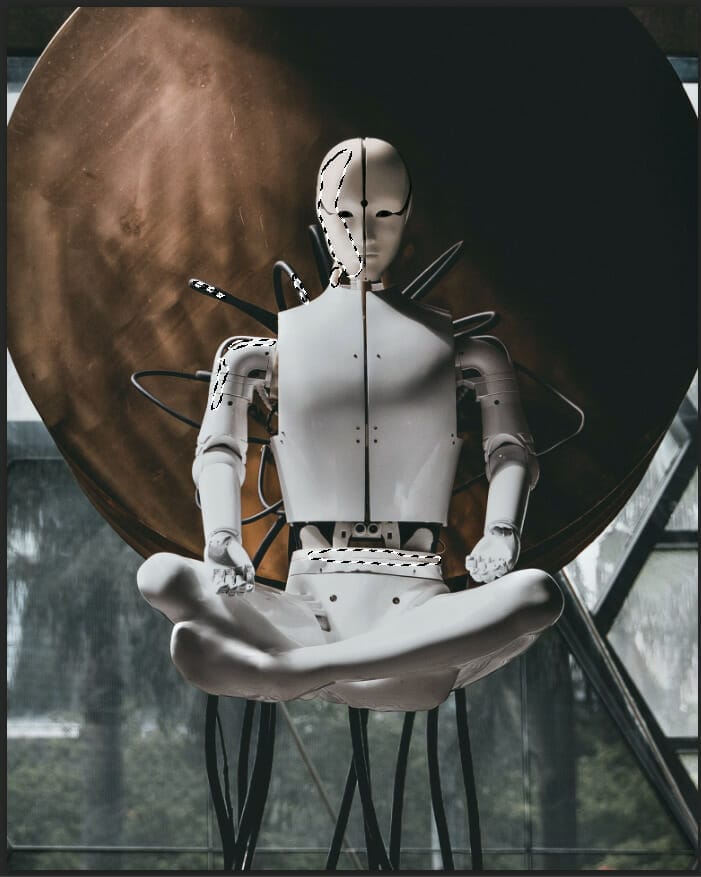
Next, place Texture Go to File > Place and select Texture. Then place it to our work canvas and position the image with the transform tool (Ctrl / Cmd + T). Hold Alt + Shift and rasterize like the image below. In Photoshop CC only hold Alt to rasterize all sides together and Create Clipping Mask.
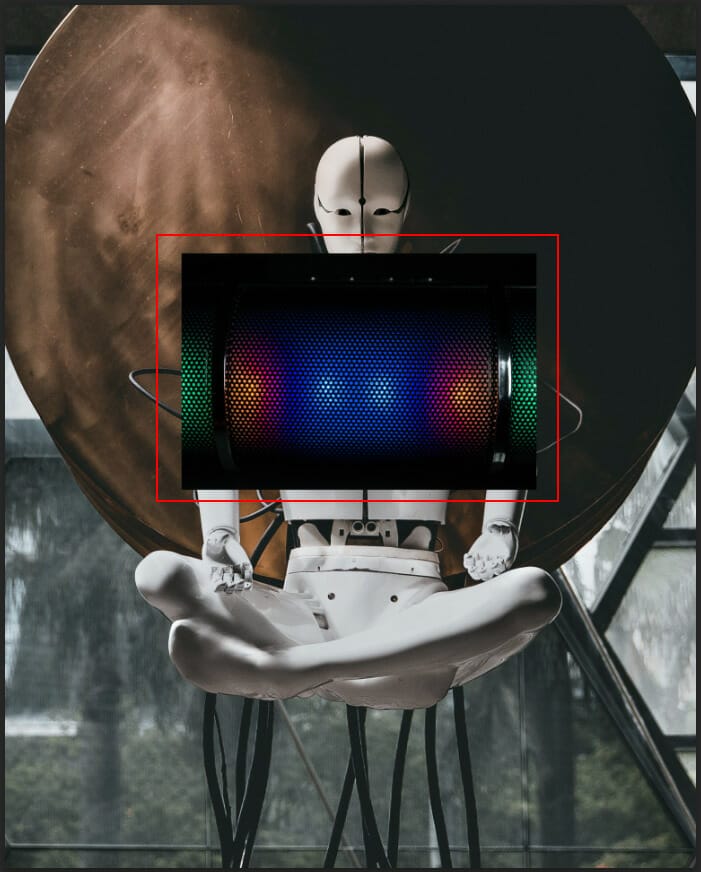
Use Brush Tool (B) Soft Round with foreground color black and paint delete some parts.
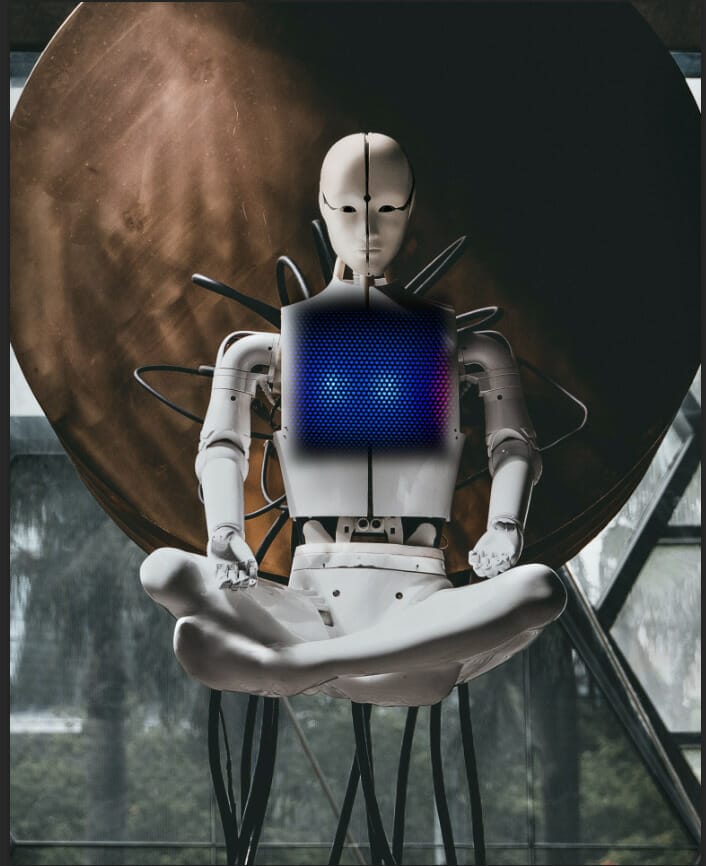
Then Blend mode change to Screen.
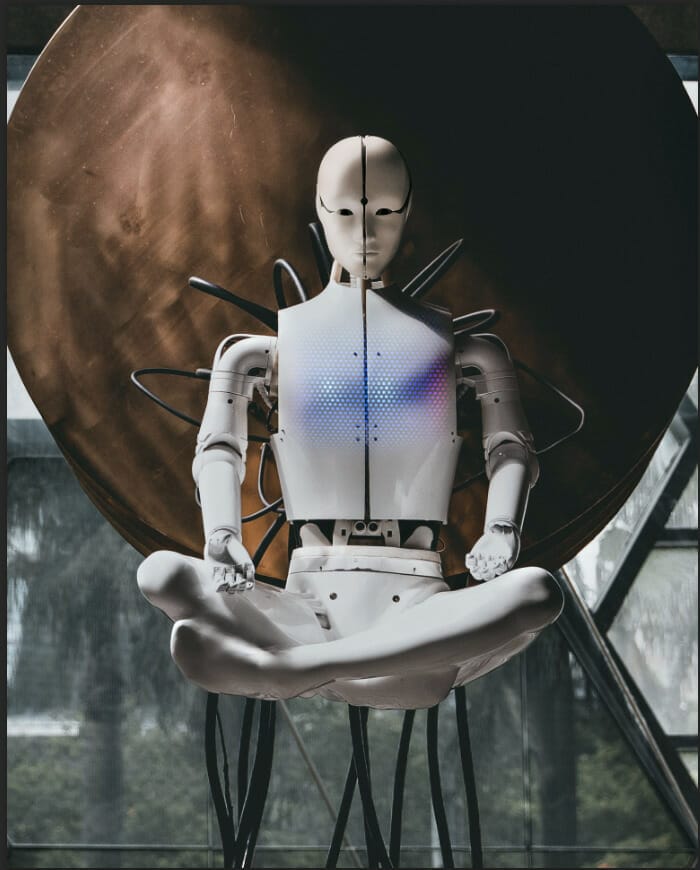
Step 12
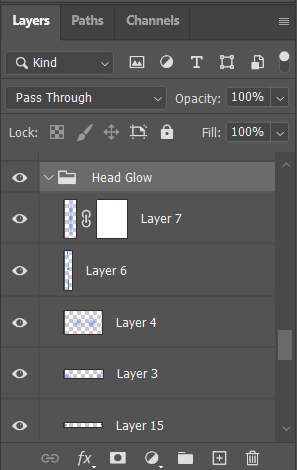
In next step create a Group Ctrl/Cmd + G. Now create a five separate layers, first three layers will be for eyes. On first layer use Brush Tool(B) Soft Round with foreground color red and size of brush 10px.

On second layer paint with blue foreground color. Use Soft Round brush tool.

On third layer we will add little glow. Use Soft Round brush tool with foreground color light blue #1d58b6 and with layer blend mode LinearDodge(Add)

Next, in the middle of the head add blue color. Use Brush Tool(B) Soft Round with foreground color #216be5 and just paint. Blend mode change to Overlay with Opacity 80%.

On last layer create a more glow. Use Foreground color blue #5381cd and paint. Blend mode change to Linear Dodge (Add)

Step 13
Next, create another Group Ctrl/Cmd + G with three layers. First is color, second is shadow and third is glow. Use Lasso tool to select and with soft round brush tool paint it. Foreground color set to blue #216be5
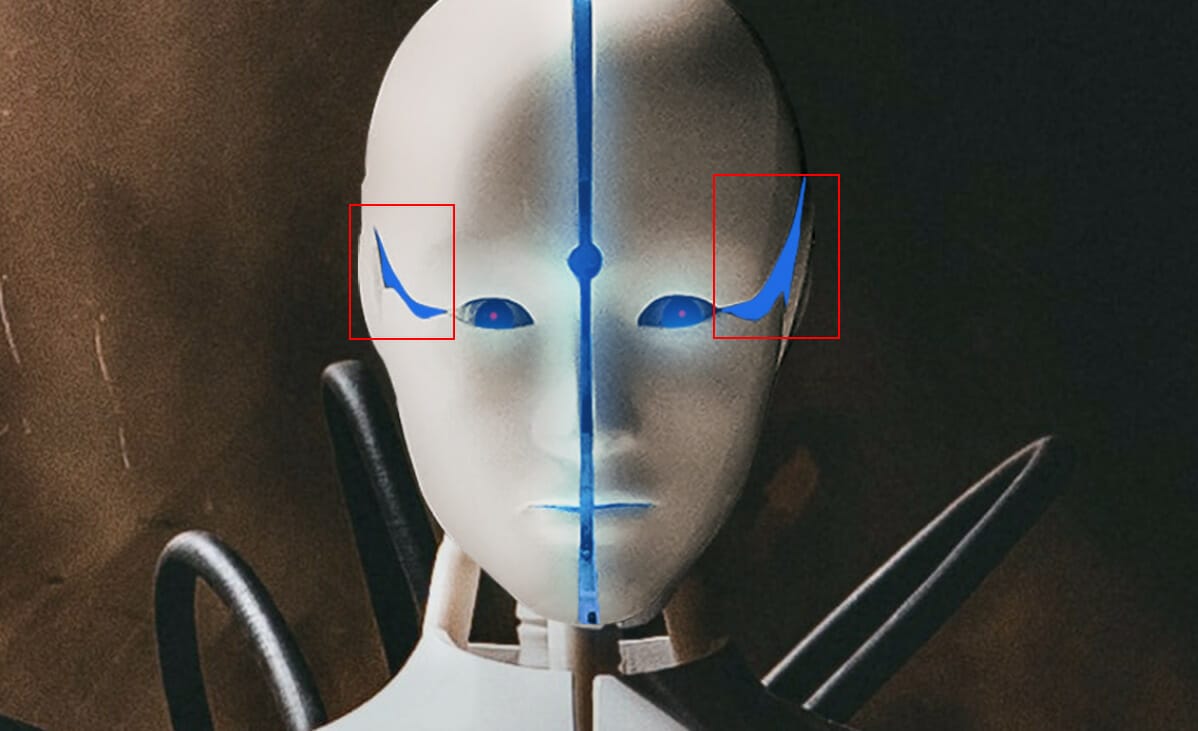
For second layer change blend mode to Multiply and use soft round brush tool with foreground color black. Then paint a little line of shadow.
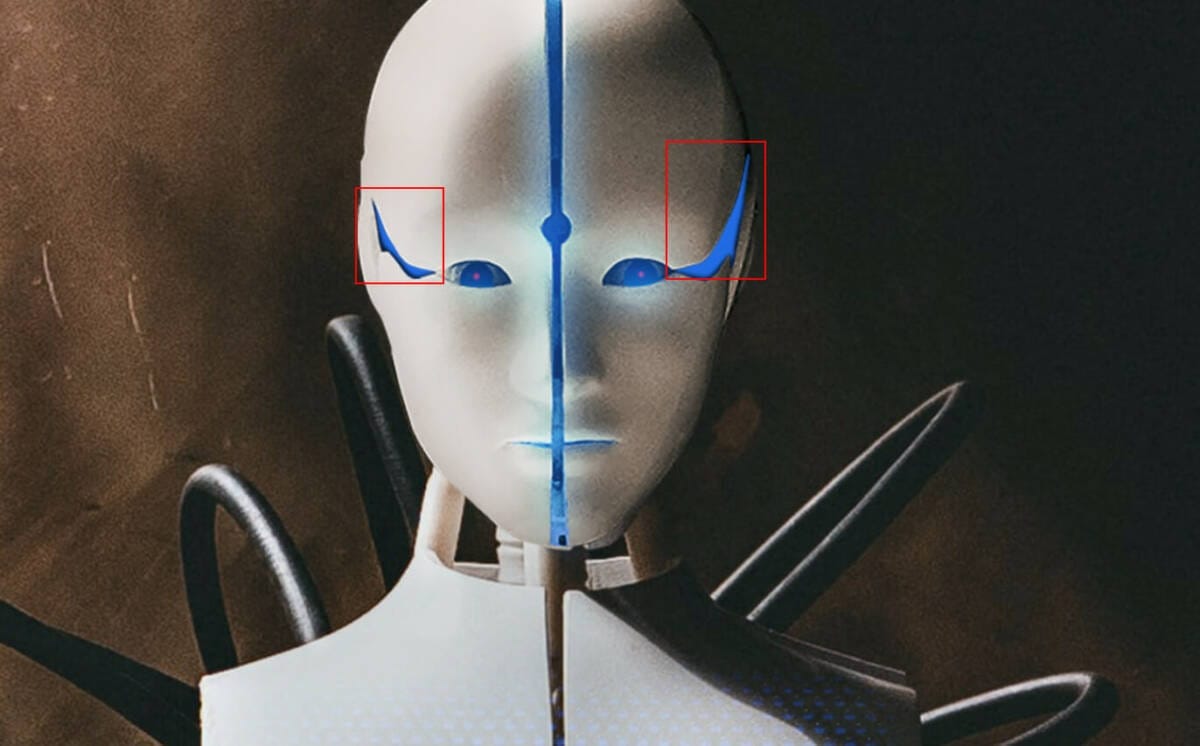
Next, create a glow. Use Soft Round Brush Tool with foreground color blue #2959ac Blend mode of layer change to Linear Dodge (Add).
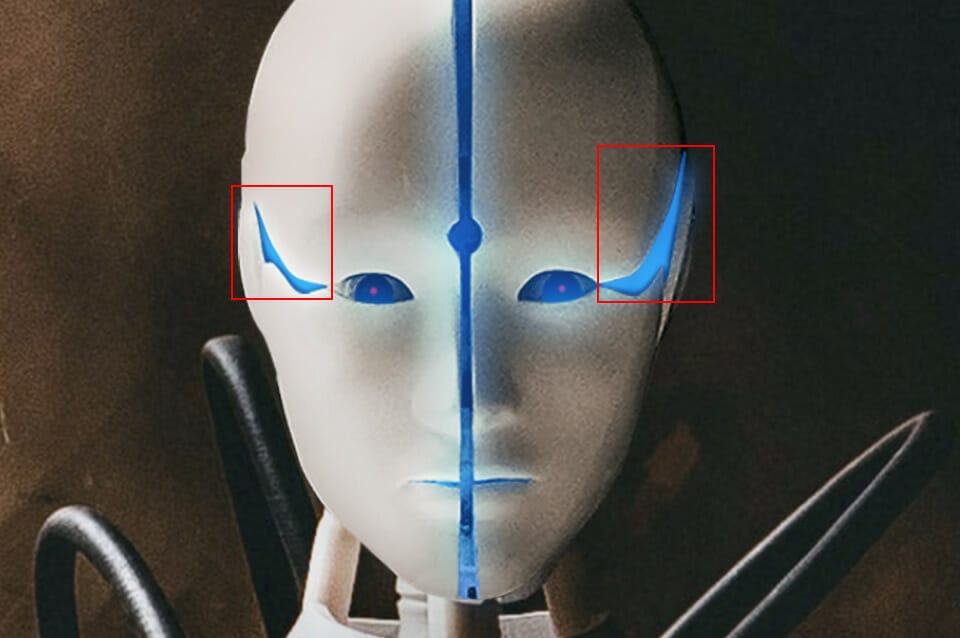

Step 14
Now in this step we will repeat same process as in previous step. Create a Group Ctrl/Cmd + G and on first layer create a color #216be5, on second layer add glow with color #537fcb Linear Dodge (Add) blend mode and on last layer add shadow. Change blend mode to Multiply and with foreground color black paint shadow.


Leave a Reply