Turn any photo into a dot grid artwork with these Photoshop actions. You'll get great results with dots that change size. They get larger in brighter areas and smaller in darker areas. Free download available.
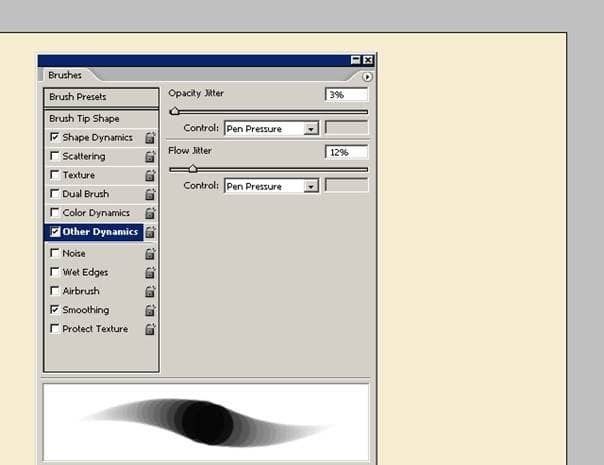
Here is what the brush looks like with the settings shown in the above image. I want my brush to be smooth and soft with pen pressure sensitivity. It’s important to choose the right brush settings in the beginning as it can significantly affect the quality of your painting.
Step 5
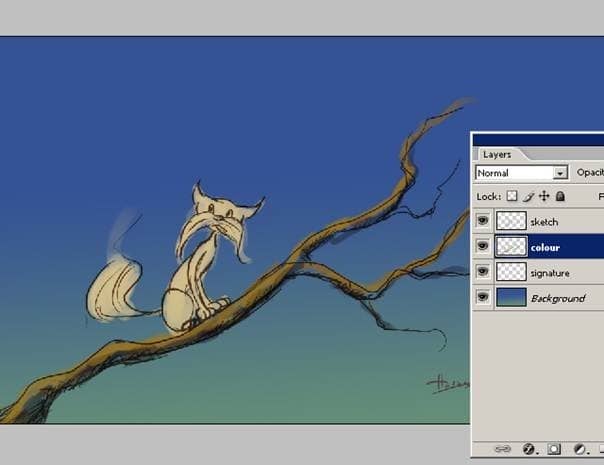
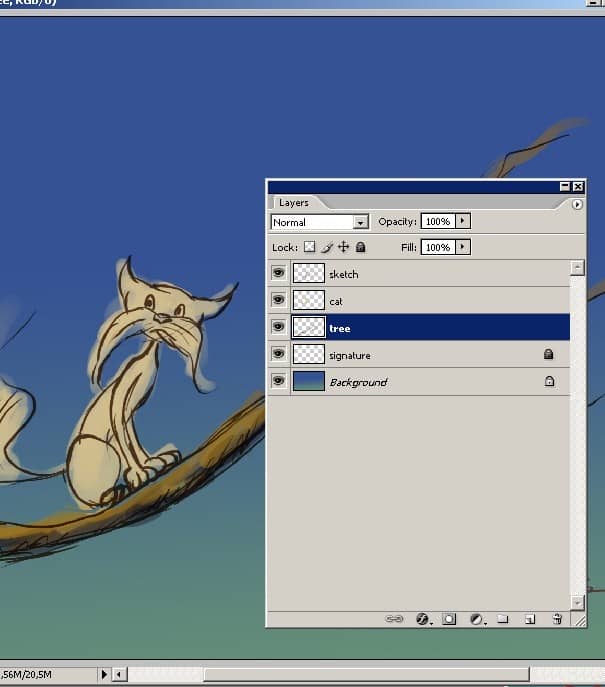
Now we’ll begin painting the image. For the background, start by using the Gradient tool (G). I used a gradient from blue to teal to for the background. Make sure that your layer setup is the same as shown in the image below. Then using the Brush tool (B), begin painting the cat and the branch on their own separate layers. Make sure that your brush has a hardness of 100%. A brush with a soft edge can produce blurry results.
Step 6
Now we have 5 layers. Layers help make it easier to make adjustments and changes. This step is very important. Working carefully like this gives you tremendous control. I have a different layer for the cat and an another layer for the tree color and as you see on the picture all my layers have a sensible name.
Step 7
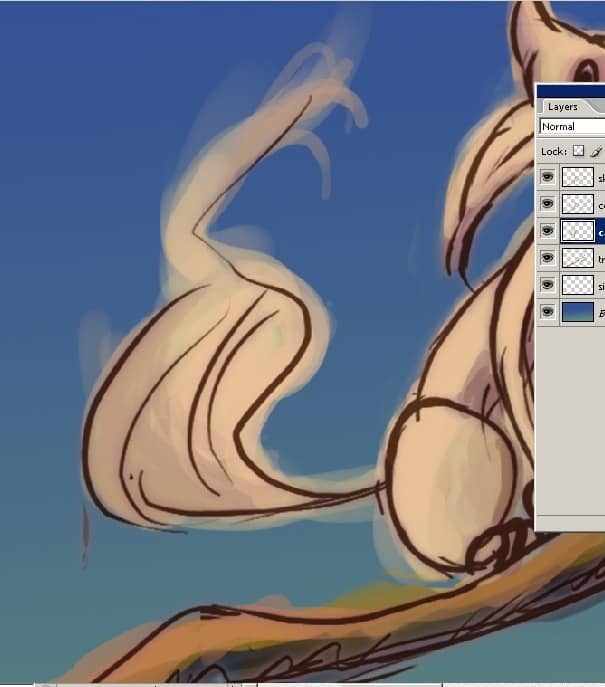
Now that I have decided upon the colors, I can start to add the details. In this step, I started by coloring the body of the cat. Make sure you have the proper layer selected before painting.
Step 8
First, I’m going to use the brush tool to paint the base color. After that I’ll use use the burn tool to burn the edges. Finally, I’ll select the dodge tool to dodge the highlights.
Step 9
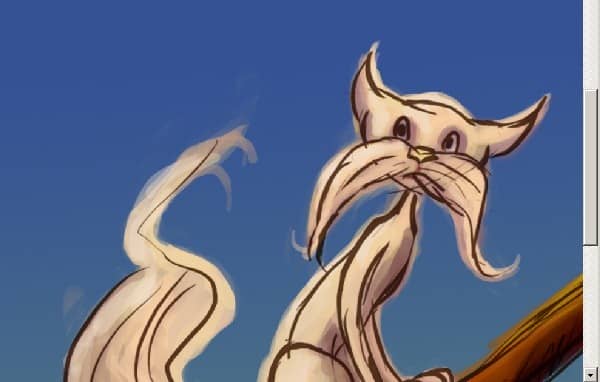
For the cat, I worked out the general look that I’m aiming for. I’ll add more colors to the cat with the Brush tool and roughly begin to define the shape of the cats figure using lighter tones of yellow.
Step 10
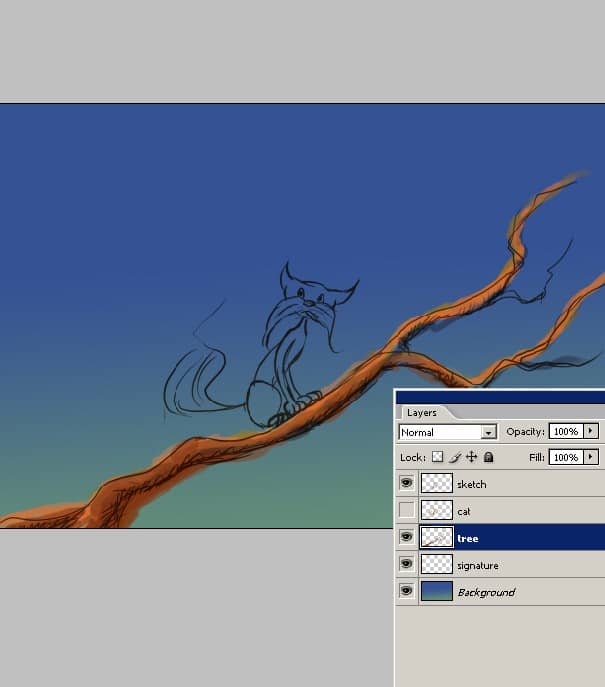
Now we’re going to add some detail for the tree branch. Before I start, I created a new layer called “details tree”. I used a beige color to paint in the details.
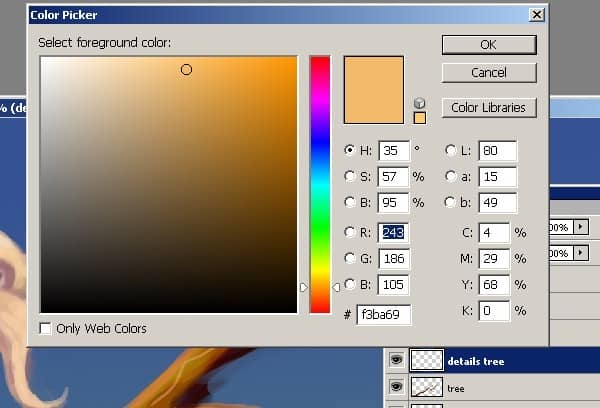
Here’s a close-up of my illustration. I added some thin lines to the tree. Since this is just the beginning of the detailing process, you don’t need to add too much detail.
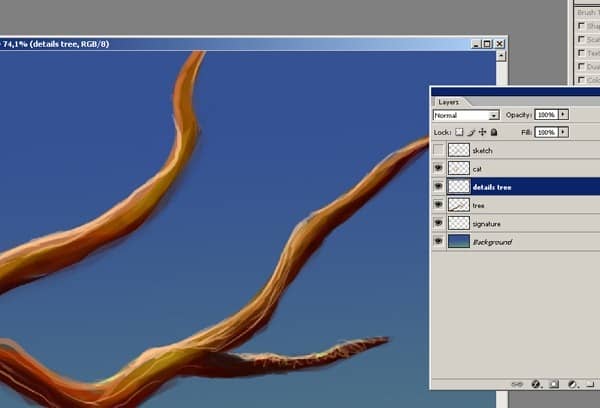
I continue to add more details to the tree using various brush sizes and color. Once there is enough details, I begin to smooth it using a brush with a soft edge. I also use the Dodge and Burn tools to shade the branch.
