In this tutorial, Hatice will show you how to paint a winter bird scene. This tutorial will go over some basics of painting as and show you a technique for painting snow.
Preview of Final Results
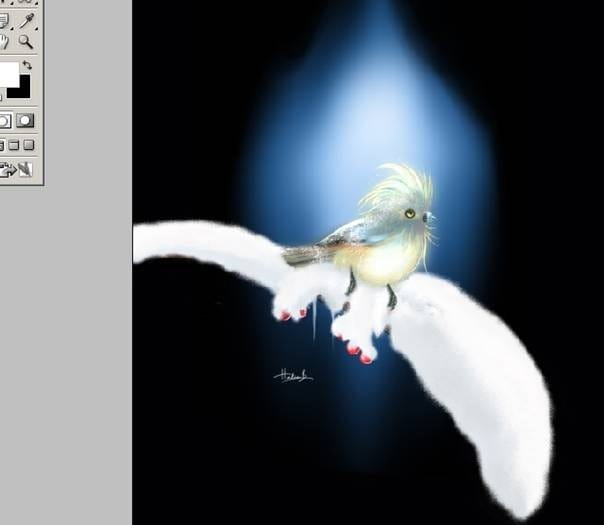
“Soundless Daydream” Painting Photoshop Tutorial
For this tutorial I will be using Adobe Photoshop . I suggest that after following this tutorial, you find out what works best for you. The concept is about a little cartoon bird character who is annoyed by snowing. The first step, which is the most important step, is composing the concept and making the best sketch to start painting. For the sketch work Photoshop File size is 640×855. Resolution can be 72 for now.
Step 1
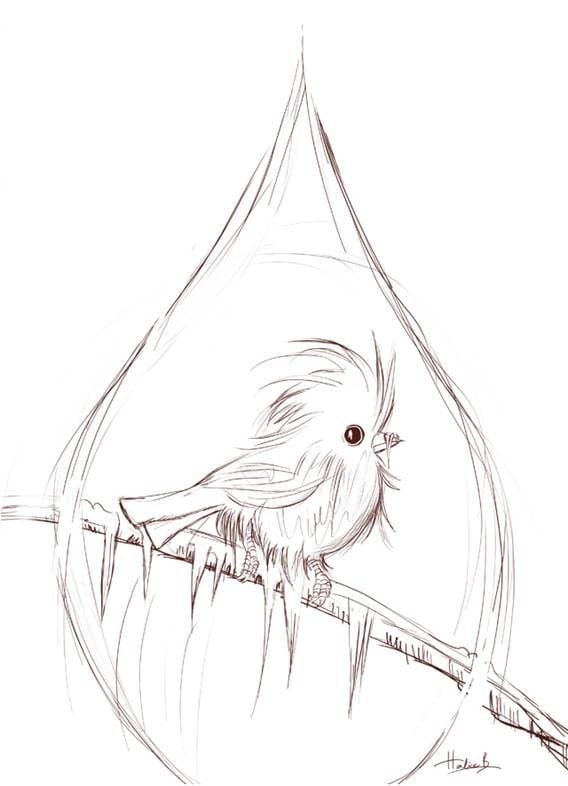
I always start off with a sketch for my concept work. So, I began by thinking about the figure of the “bird”
Step 2: Choosing a brush
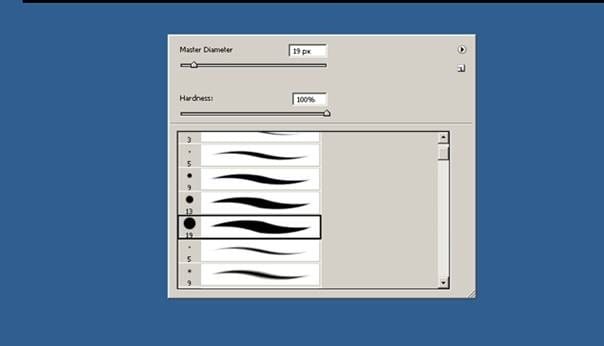
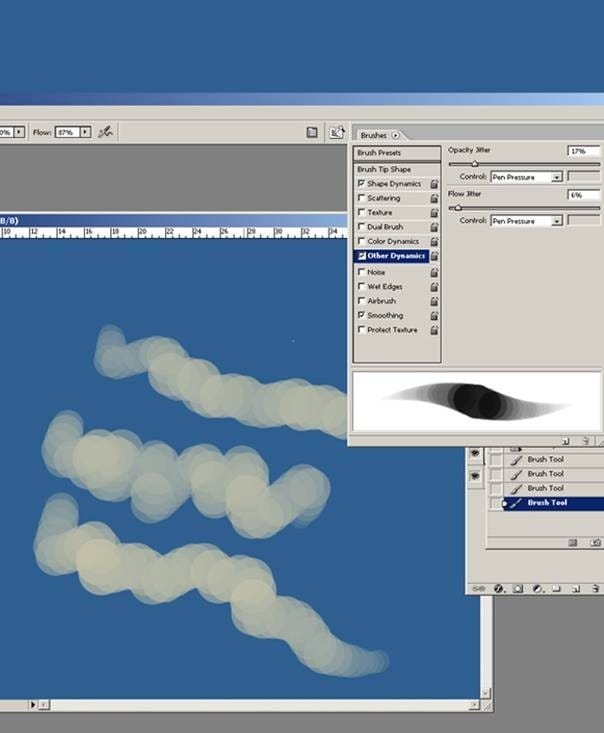
Chose a simple standard brush.
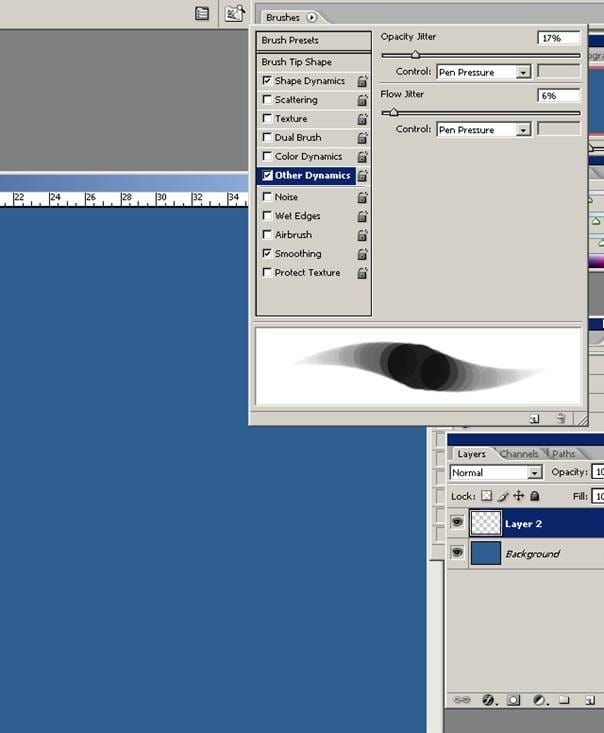
After that from brush panel choose “Other Dynamics” with the numbers as shown on the picture.
Now try your brush.
Step 3: Color Scheme
Here are my color selection. You must go to the Color palette and actually select the individual colors that you want to. Background will be a cold blue. And others for the bird’s color.

Step 4: Coloring
And now we are going to begin adding colors and some details. Now change the file size as 3000×4000 . Resolution must be 300.
You will be more comfortable with the big file size when working for more details I have two layers . A blue color has been added into the background area on the new layer. The reason for painting on a new layer because of you need to make corrections later in the painting. It is much easier to fix errors if the main elements of your painting are separate entities.
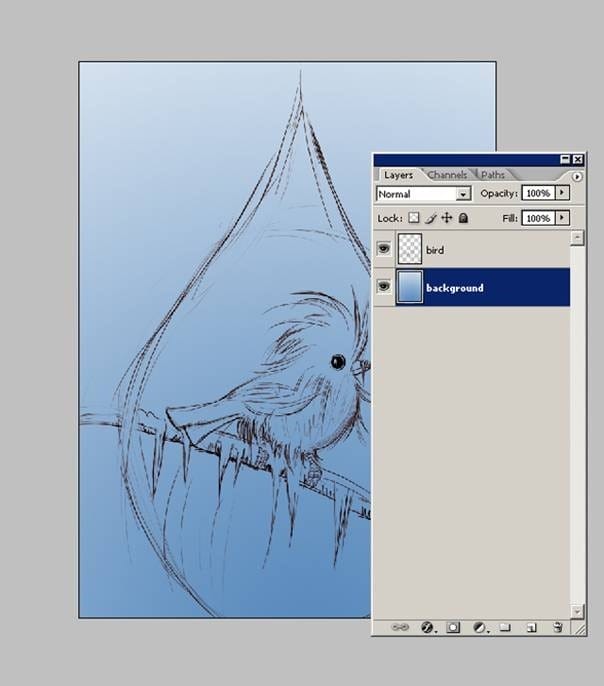
Create another new layer and begin adding the bird colors. And also I have created another layer for the background blue area.
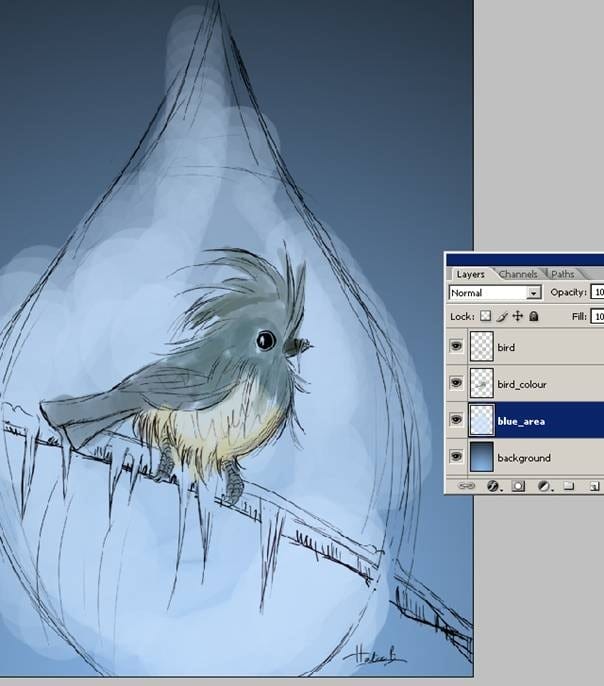
Here I work out the general look that I’m aiming for. I’m now adding colors for the bird with my brush.
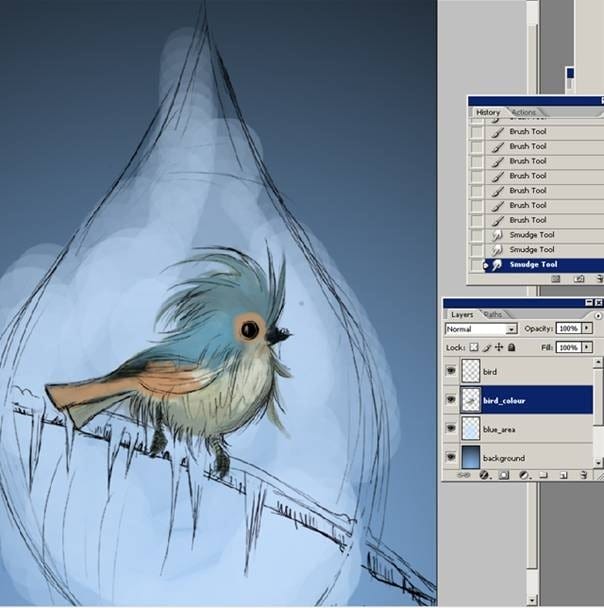
And also I do add some strokes with the smudge tool.
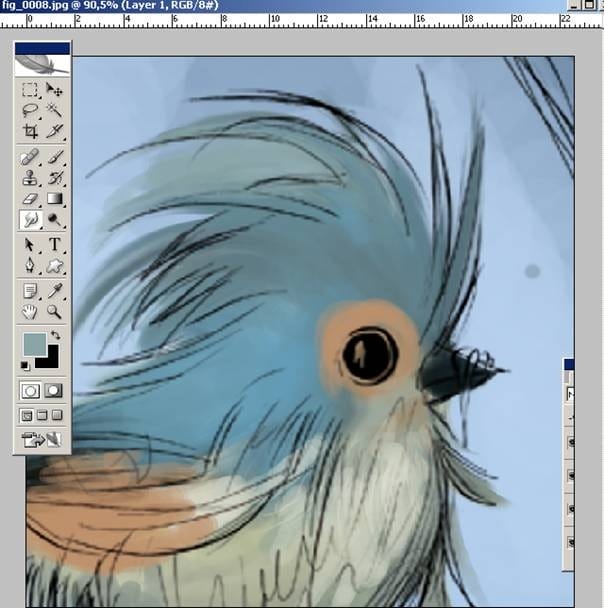
Step 5: Details
Using the same brush and a smudge tool, continue to paint the rest of the body and also add some light colors. As you can see in below image.
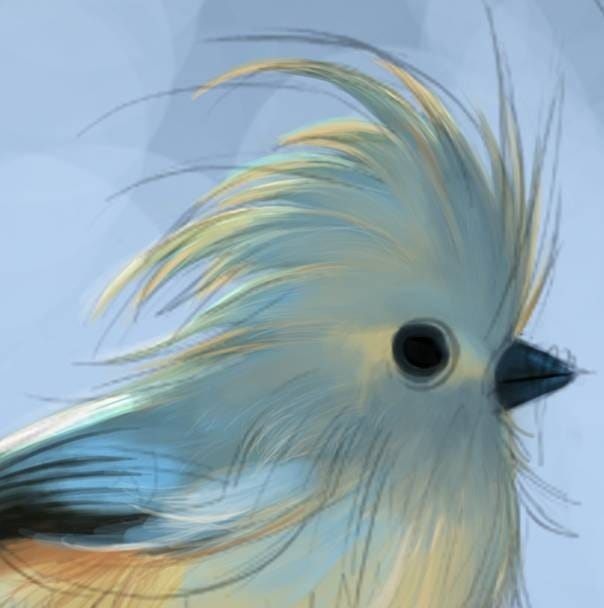
And I try a new background with the Gradient Tool. For the Gradient Tool Shortcut key is the G.
One response to ““Soundless Daydream” Photoshop Painting”
-
very nice


Leave a Reply