Download Lightroom presets and LUTs, absolutely free. Use the presets to add creativity and style to your photos.
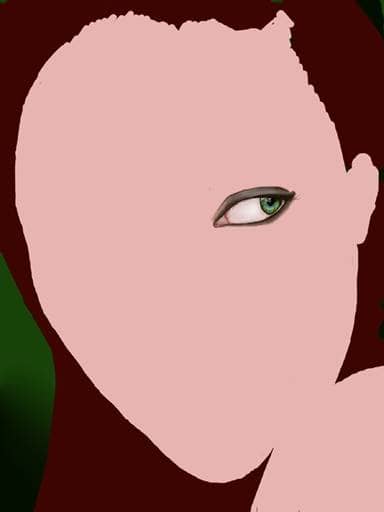
*color # 1E2207, brush 7 pixels, 75% opacity, hard edge
Step 17
Use the dodge tool* to bring out the highlights in the eye again. Sweep the brush over the bottom middle of the iris once. This will give the eye a glassy effect.
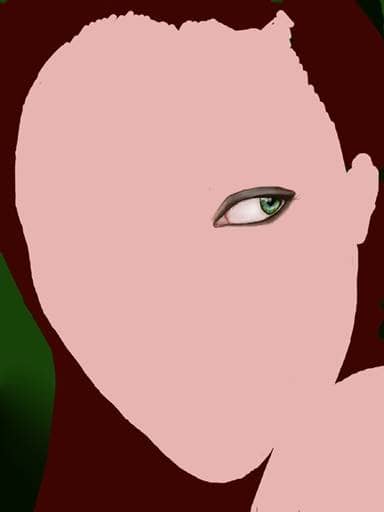
*35 pixels, 11% opacity, soft round brush, highlights mode (by setting the bush to highlight mode, it will catch the lights and bring them out rather than lightening the areas we wish to stay dark).
Step 18
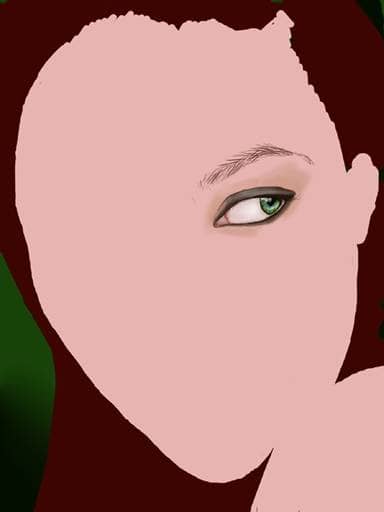
Make a new layer and title it “eyebrows”. Just like the title says, this is where you will be drawing the eyebrows. But this is important-all shading of the eyelid and brow bone (right below the eyebrows) should be done on the “eyes” layer.
Using a 64 pixel brush in normal mode (45% opacity) shade the area around the eye. A good color I recommend using is # CD9987. Next take a size 6, 80% opaque hard-edged brush (#552819) and indicate the eyebrows. I would suggest using a technique much like the one used for the eyelashes in this case.
Step 19
Fill in the eyebrows with a transparent brush* using the same color (or even a little darker) using long strokes in the center of the eyebrow, and shorter, softer strokes on the top and bottom. This will take a lot of layering to get the desired look. Then take the same brush and color #EEE1C8, and use it to highlight the brow bone. Sweep the light right under the middle of the brow bone, almost to the outer corner, and down to the crease in the eye. This will take some layering, but when done right it will both let light into the eye and make it look bigger.
Once you finish this step, you are done with the eye!
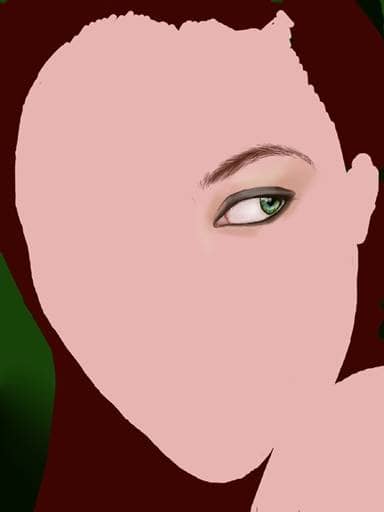
*78 pixel, 21% opacity, soft round brush
Step 20
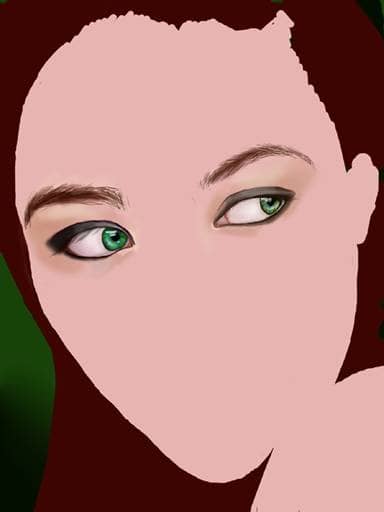
Repeat the same steps as with the other eye and brow to create the second eye. Have also taken a small brush* and added a highlight to the inner corner of the eyes.
*13 pixels, 50% opacity, soft edged brush
Step 21
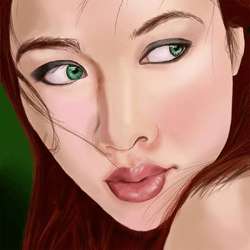
Make a new layer above “skin” but below “eyes” and title it “nose”. This layer will actually contain most of the facial shading and coloring.
Start working on the nose by blocking in the darks. This can be best accomplished by using a 56 pixel hard edged brush at 50% opacity (color #A76662).

7 comments on “Create a Painting from a Portrait Photograph”
gr8 tutorials thanxxx
Please uninstall Photoshop and NEVER use it again.
@Dan Bolivar, Delete your browser, eat a happy pill and go climb a tree. Troll.
Thank you for tutorials.
can i make this without using graphic tablet
Can I use Photoshop 6 to make this...if not, why??
nice tut thanks for sharing