Turn any photo into a dot grid artwork with these Photoshop actions. You'll get great results with dots that change size. They get larger in brighter areas and smaller in darker areas. Free download available.
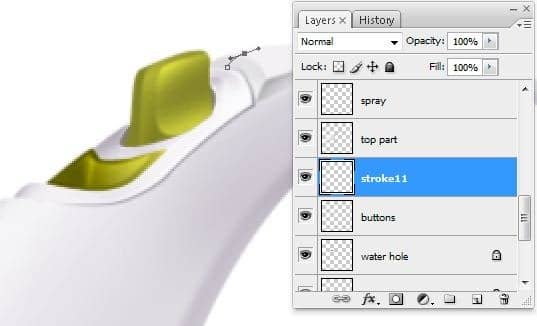
Add a small dark gray stroke with "simulate pressure" option ON (22B)
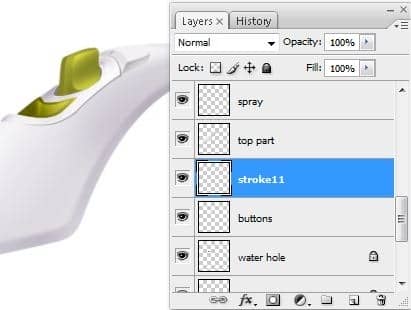
Step 23 – Highlight stroke
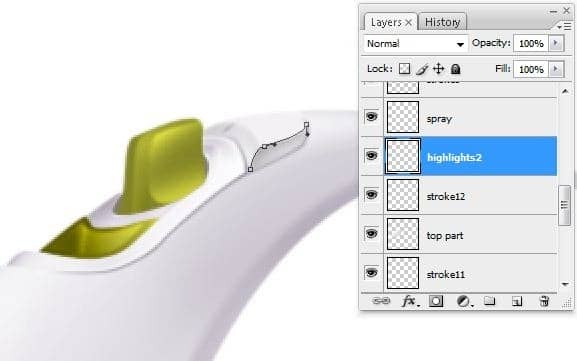
Make a new layer(Ctrl+Shift+N or you can go to Layer->New->Layer or you can press the indicated button in the picture below ). Rename the layer to "highlights2". You can rename a layer by pressing right click on it , then selecting "Layer properties" option and in the "Name" box you can enter what name you prefer then using Pen Tool (P) make a path like in the next picture (23A)
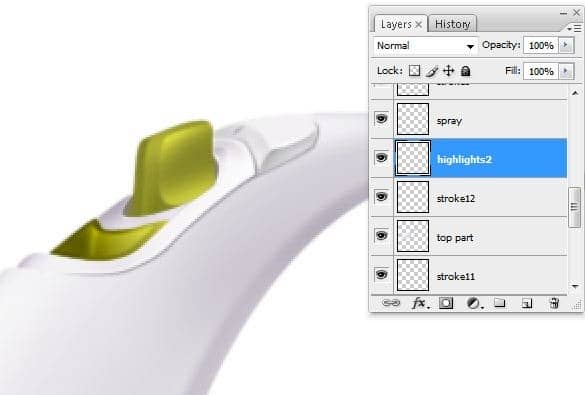
Add a 2 pixels white stroke (Right click on the path->stroke path) (23B)
Step 24 – Biggest Highlight
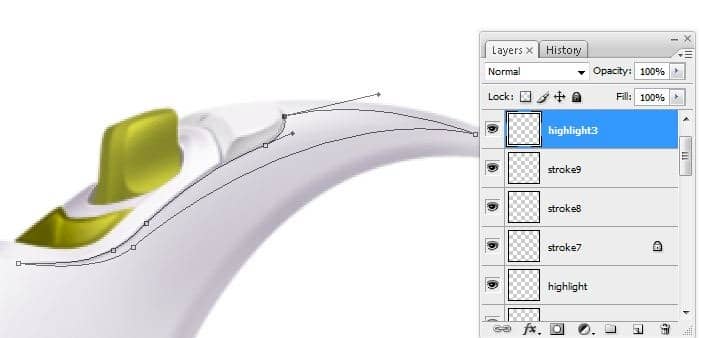
Make a new layer(Ctrl+Shift+N or you can go to Layer->New->Layer or you can press the indicated button in the picture below ). Rename the layer to "highlights3". You can rename a layer by pressing right click on it , then selecting "Layer properties" option and in the "Name" box you can enter what name you prefer then using Pen Tool (P) make a path like in the next picture (24A)
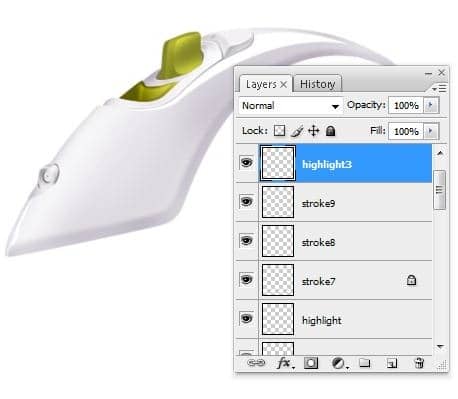
Fill the path created previously with the white color(right click on the path-> fill path) (24B)
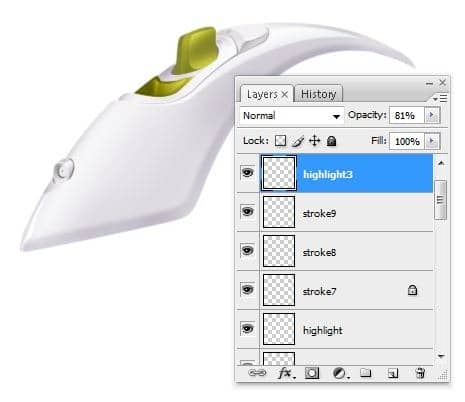
Decrease the opacity of the "highlights3" layer to ~80% to give more realism (24C)
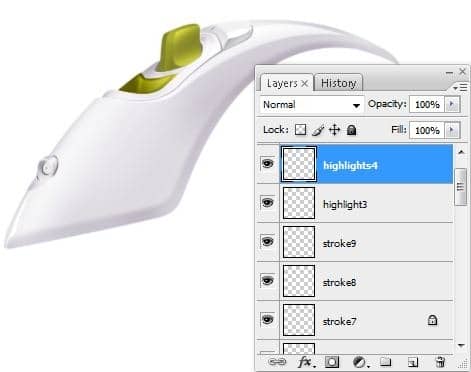
Add one more highlight on the buttons into a new layer called "highlight4" (24D)
Step 25 – Green part of the steam iron
Make a new layer(Ctrl+Shift+N or you can go to Layer->New->Layer or you can press the indicated button in the picture below ). Rename the layer to "green part". You can rename a layer by pressing right click on it , then selecting "Layer properties" option and in the "Name" box you can enter what name you prefer then using Pen Tool (P) make a very big path like in the next picture (25A)
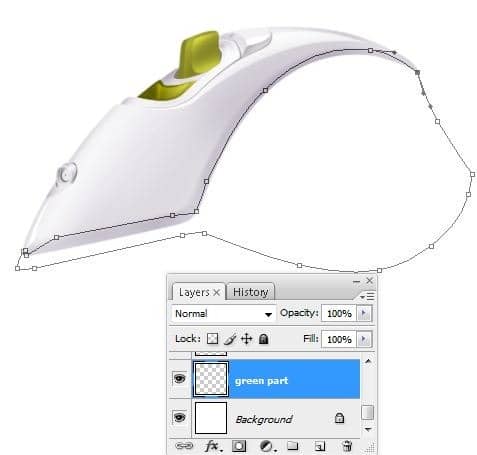
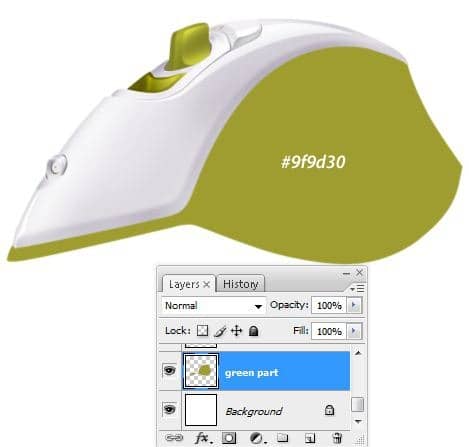
Fill the path created previously(right click on the path->fill path) with a green color , I used # 9f9d30 (25B)
Step 26 – Highlights on the green part
Into the "green part" layer make next selection using Pen Tool (P) (Make a path then press right click on it and choose "make selection" option) (26A)
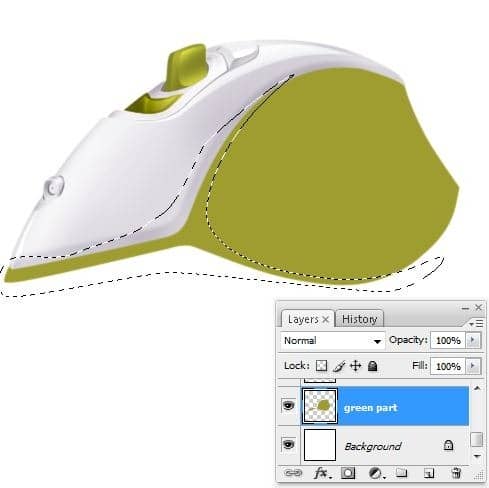
With Dodge Tool (O) add some highlights on the selection created previously (26B)
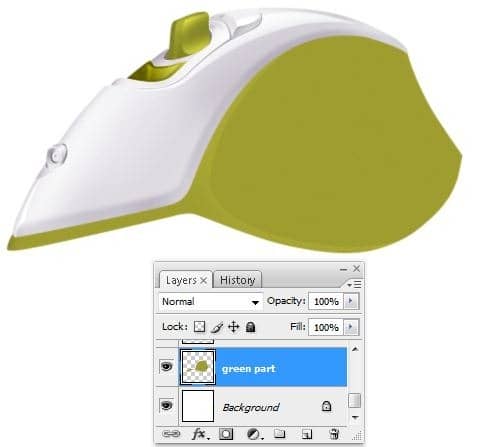
Add more shadows/highlights in the left part of our "green part" layer (26C)
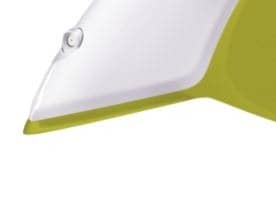
Step 27 – title
Make a new layer(Ctrl+Shift+N or you can go to Layer->New->Layer or you can press the indicated button in the picture below ). Rename the layer to "yellow stroke1". You can rename a layer by pressing right click on it , then selecting "Layer properties" option and in the "Name" box you can enter what name you prefer then using Pen Tool (P) make a path like in the next picture (27A)


One comment on “Draw a Realistic Steam Iron in Photoshop”
hohoho , I like this ,I want to join you