Make your artwork look like they're from an alternate universe. These Cyberpunk presets work with Photoshop (via the Camera Raw filter) and Lightroom. Download all 788 presets for 90% off.
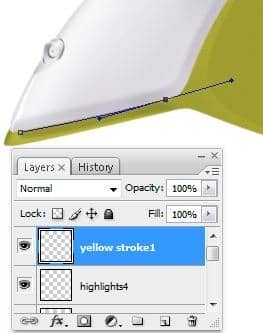
Add a 2 pixels yellow stroke like in the picture below (27B)
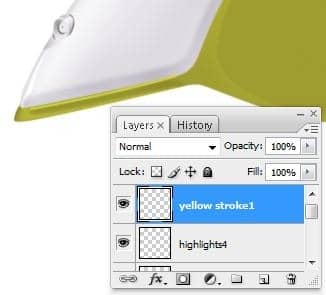
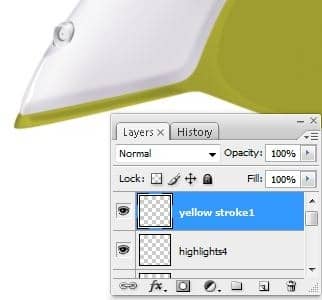
Pick up Eraser Tool (E key) and erase a little the stroke created previously to make it look more real (27C)
Step 28 – Highlights using strokes
Make a new layer(Ctrl+Shift+N or you can go to Layer->New->Layer or you can press the indicated button in the picture below ). Rename the layer to "yellow stroke2". You can rename a layer by pressing right click on it , then selecting "Layer properties" option and in the "Name" box you can enter what name you prefer then using Pen Tool (P) make a path like in the next picture (28A)
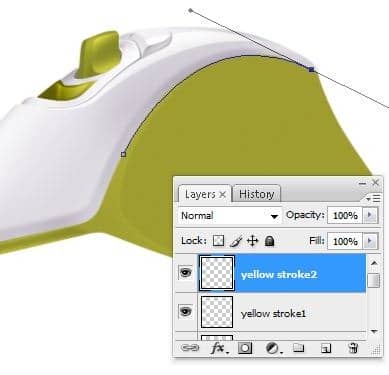
Again , add a 2 pixels yellow stroke (this time with the "simulate pressure" ON (28B)
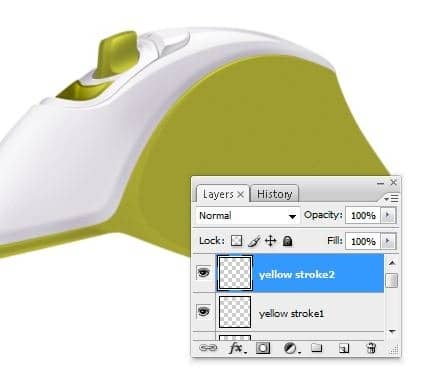
And decrease the opacity of the stroke to ~ 60% for more realism (28C)
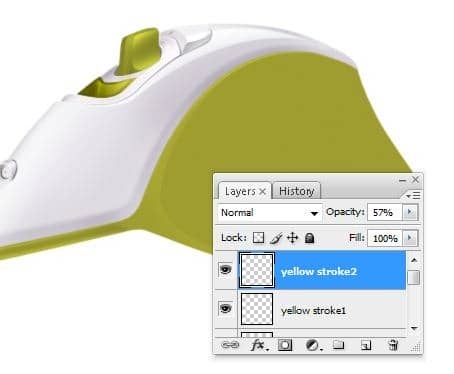
Add more yellow strokes like at the steps 28B&28C (28D)
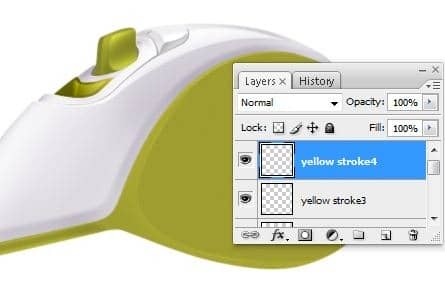
Step 29
Erase a part of our "green part' layer using Eraser Tool (E key) like I did in the next picture (29A)
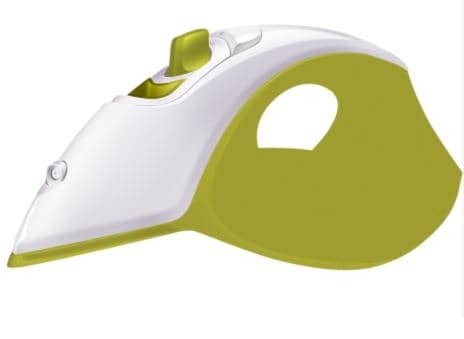
Make next selection using Lasso Tool(L) (29B)
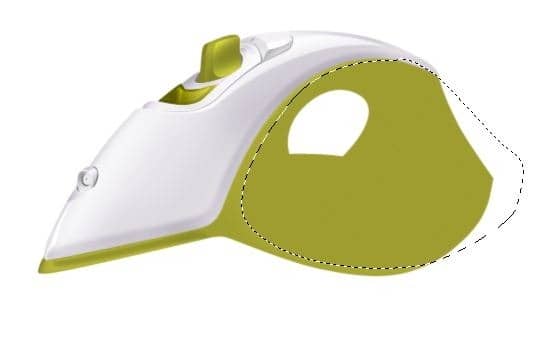
Add some shadows/highlights using Burn Tool/Dodge Tool (O key) (29C)
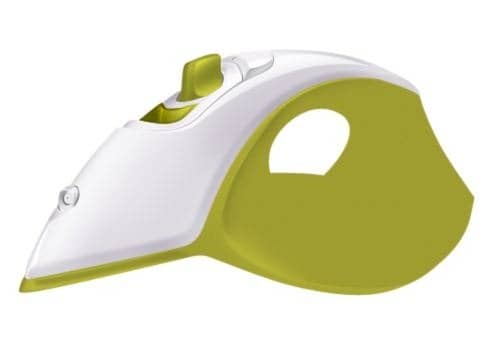
Step 30 – Effects and more
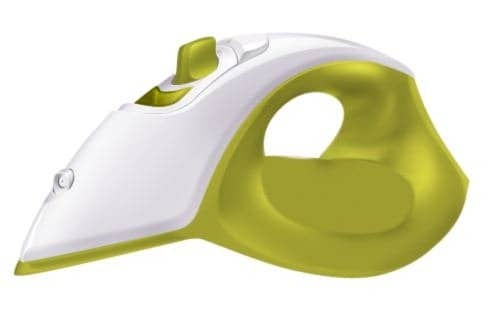
Using same highlighting/shadowing technique like in the previously steps make same thing like I did in the next picture (30A)
make a new layer(Ctrl+Shift+N or you can go to Layer->New->Layer or you can press the indicated button in the picture below ) and use Lasso Tool (L key) make a selection like in the next picture (30B)
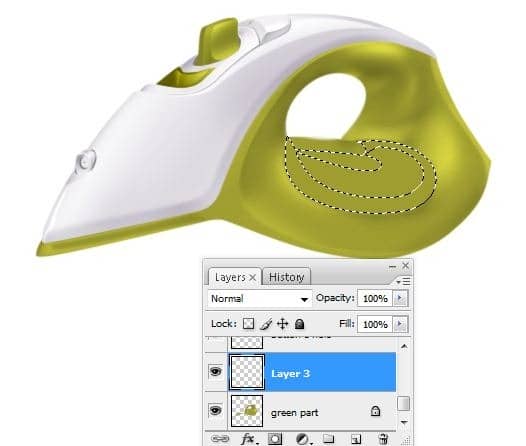
Fill the selection created with a lighten gray color , I used # dad7e0 (30C)
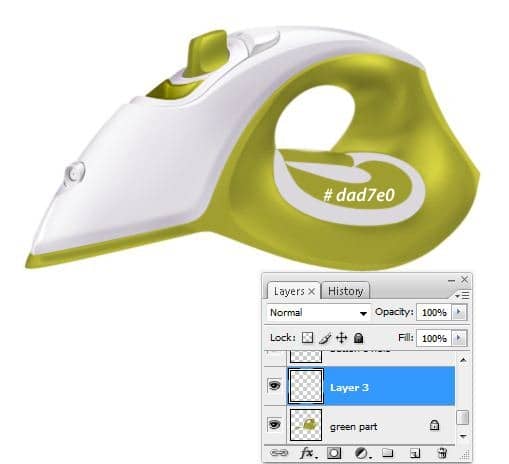
Step 31 – Highlights
Add some highlights on the layer created at the step 30A using Dodge Tool (O) (31A)
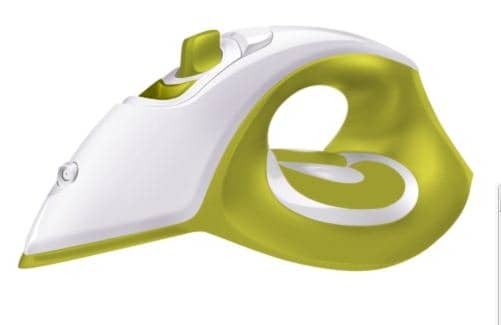
Make next selection using Lasso Tool (L key) or another selection tool (31B)
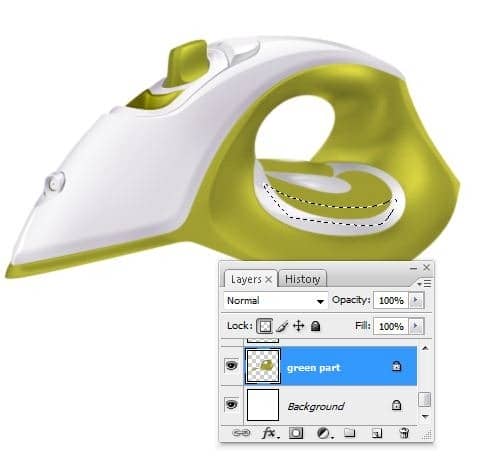
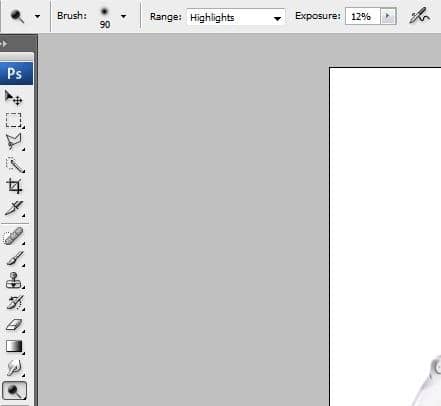
Pick up the Dodge Tool (O) with next settings :
- Master Diameter : 90 pixels
- Range : Highlights
- Exposure : 12 % (31C)
Add some highlights using Dodge Tool (O) with the settings above in the selection created at the step 31B (31D)
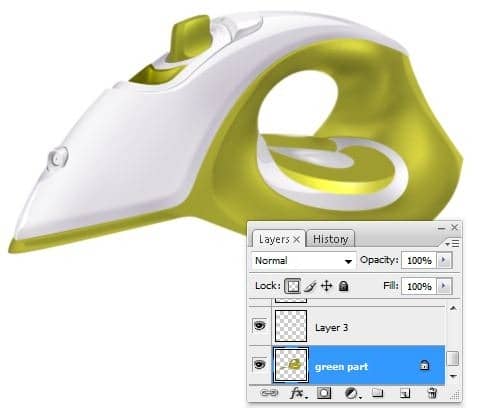
Step 32
Now make another selection like I did in the picture below (32A)
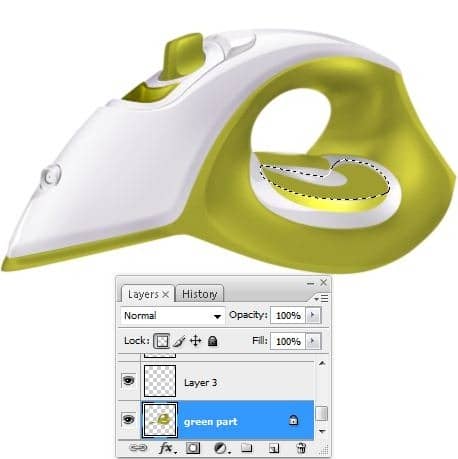
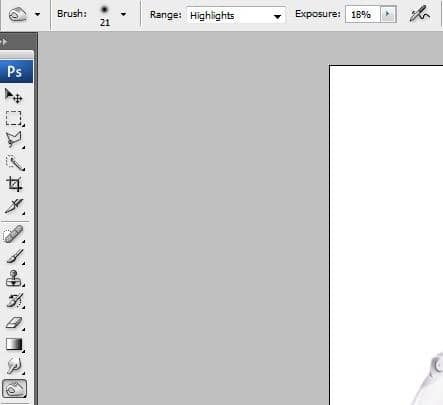
From the Tools Menu , select Burn Tool (O) with next settings :
- Master Diameter : 90 pixels
- Range : Highlights
- Exposure : 12 % (32dB
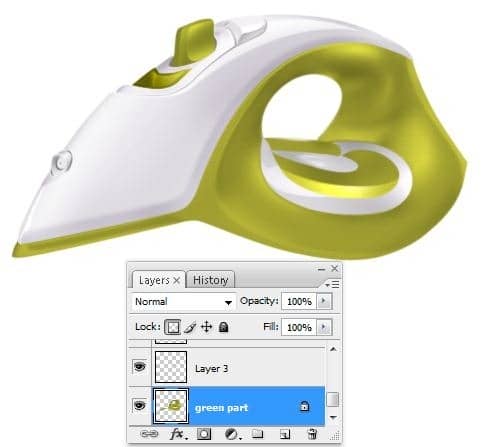
Add some shadows using Burn Tool (O) with the settings above in the selection made at the step 32A (32C)
Step 33 – Strokes
Make a new layer(Ctrl+Shift+N or you can go to Layer->New->Layer or you can press the indicated button in the picture below ). Rename the layer to "stroke13". You can rename a layer by pressing right click on it , then selecting "Layer properties" option and in the "Name" box you can enter what name you prefer then using Pen Tool (P) make a path like in the next picture (33A)


One comment on “Draw a Realistic Steam Iron in Photoshop”
hohoho , I like this ,I want to join you