Download Lightroom presets and LUTs, absolutely free. Use the presets to add creativity and style to your photos.
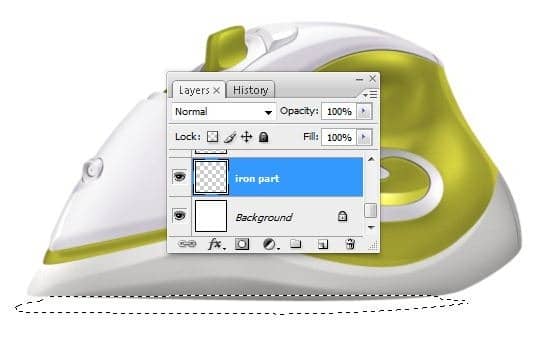
Fill the previously selection with a dark gray color , I used # 6d6a63 (43B)
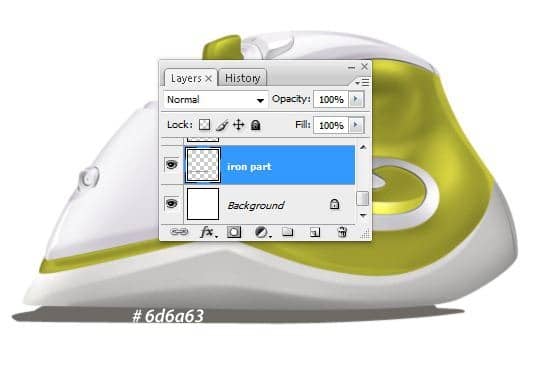
Step 44 – Metal effect using Dodge Tool
On the "iron part" layer , make next path using Pen Tool (P) (44A)
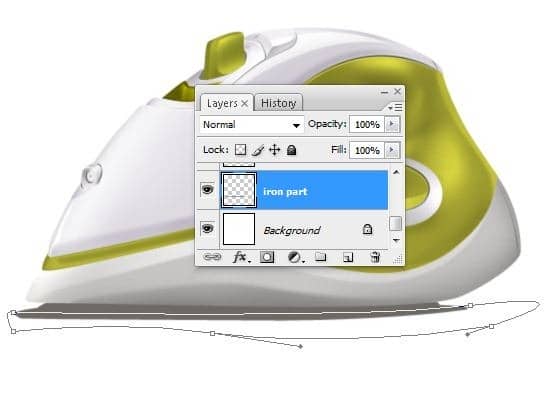
Transform the path into a selection (right click on the path->make selection) like in the next picture (44B)
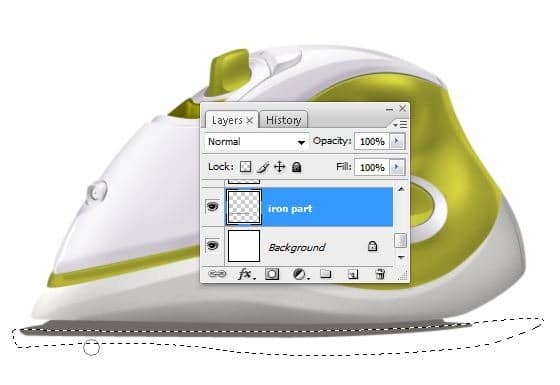
Make next settings for Dodge Tool(O) :
- Master Diameter : 43 pixels
- Range : highlights
- Exposure : 24% (44C)
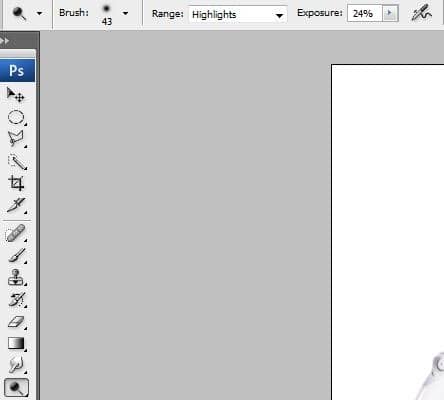
Use Dodge Tool (O) with the settings above to make a metal effect on our "iron part" layer (44D)
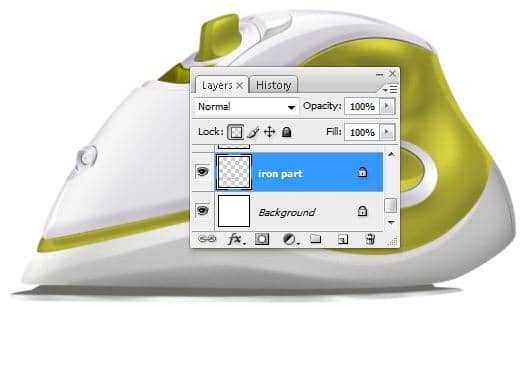
Step 45
Now make another path like in the next image using Pen Tool (P) (45A)
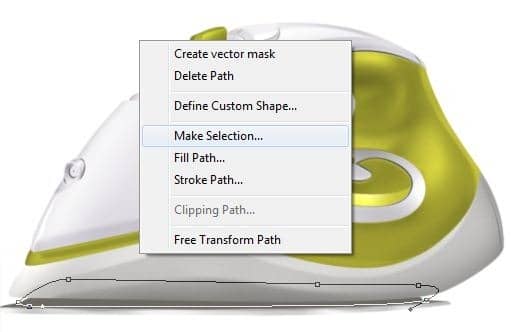
Transform it into a selection , add some highlights using Dodge Tool (O) to make a metal effect and you should obtain something like this (45B)

Step 46 – Text
Type which text you want (I used Myriad Pro Font ) (46A)
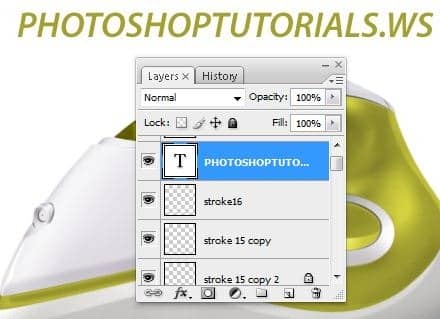
Place it on our Steam Iron using Free Transform function (46B)
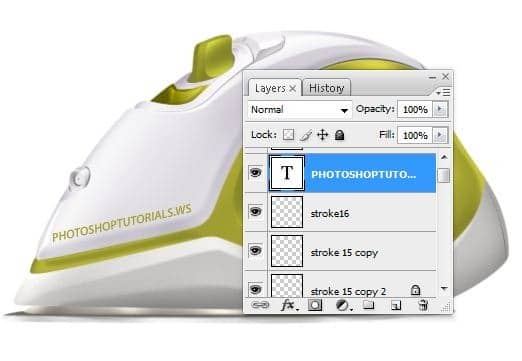
Set the blending mode for the layer on "Color Burn" (46C) And you are done!
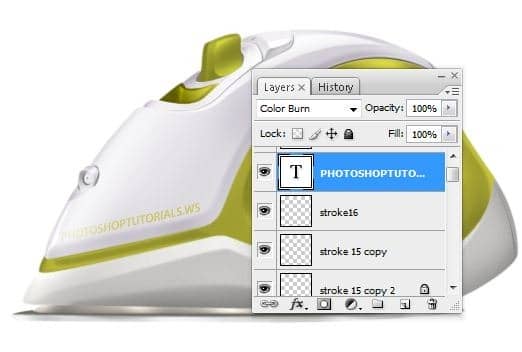
Final Results
![final[1] final[1]](https://cdn.photoshoptutorials.ws/5c3dfdf40e09_F79/final1.jpg?strip=all&lossy=1&quality=70&webp=70&avif=70&w=1920&ssl=1)

 Thank you for following this tutorial! I hope you understood all the steps and I’ll be very happy to see some comments about it! For more information about me and my tutorials please visit my website
One comment on “Draw a Realistic Steam Iron in Photoshop”
hohoho , I like this ,I want to join you