Step 2: Color Palette
The second thing here you to choose color scheme. I want to do something really colorful colors for the environment . I do think my final colors will be warm colors of autumn. Some orange, green , yellow, red, brown…and so on. I decided for background a dark blue color . Other colors are for the character face and his clothing. Open an another file and save your colors. And always keep open that new file when you are painting.

Step 3: Choosing a Brush
For my environment I am going to use only s standard brushes with some different pen pressure settings. Let me show how I arrange my brush. Chose a simple standard brush

After that from brush panel choose “Other Dynamics” and make the setting as seen on the below picture. And After you click on “Other Dynamics” panel you will see the options. “Control” option is Off.You must change it. Click on the little panel.

And choose “Pen Pressure” And also you can see the brush at the bottom of the panel.
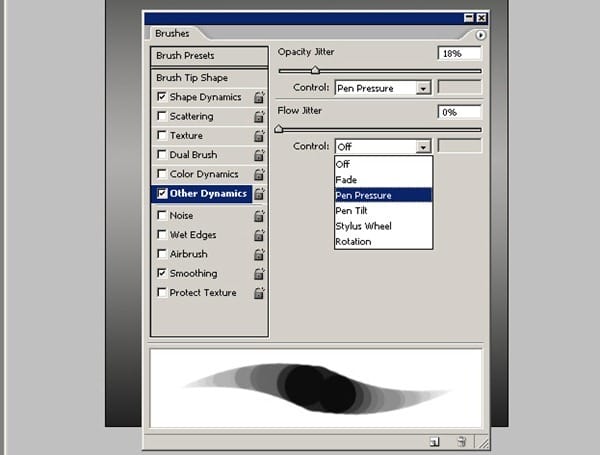
Make the numbers as seen. From the bottom of the panel you must have noticed how different strokes it has now.
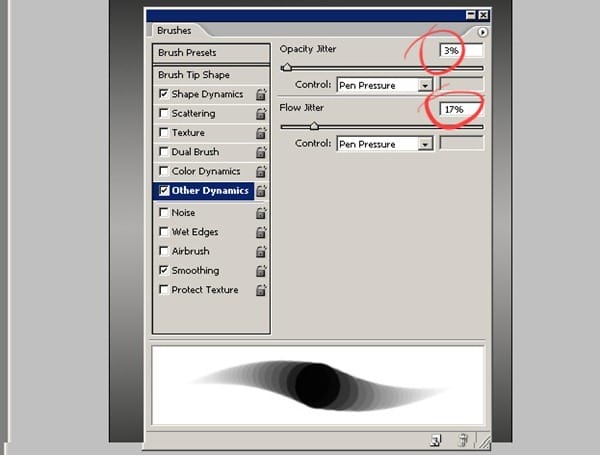
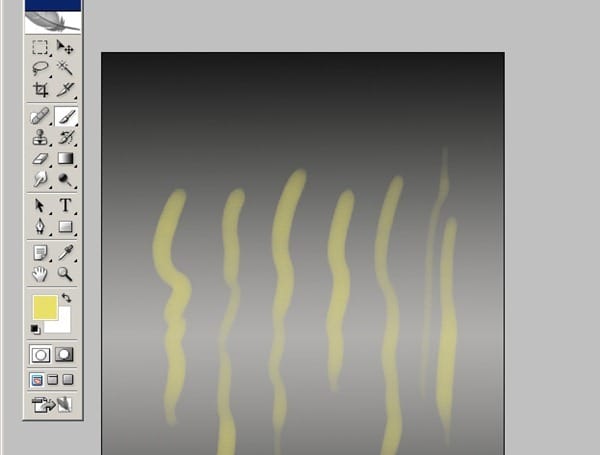
Now try your brush. See how soft it is and make some strokes with your new brush settings and try too see how it is painting. You see the soft strokes of the brush and nothing too fancy about brushes since some of you wondered.
How to Create an Environmental Painting Photoshop Tutorial
Part 2 – Coloring the Sketch
Step 1: Working On The Background
At this point, we can start coloring the sketch work. Don’t focus in on any one area, just start throwing down some shading to bring the volumes out. At this stage I just start coloring and give the basic background colors to the sketch. Select the Gradient Tool and do as you see on the picture.
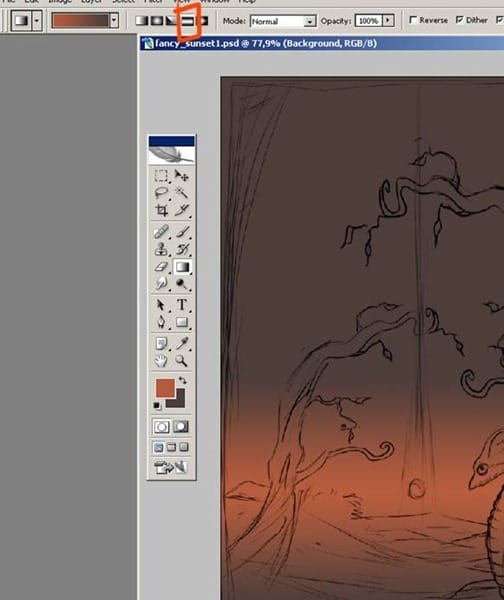
After you filled the background, it must be like this. Red area is for the sun and upper image is going to be more darky and more reddish colors. Also there will be some green colors on the background. But we are going to add those colors later.

Step 2: Coloring
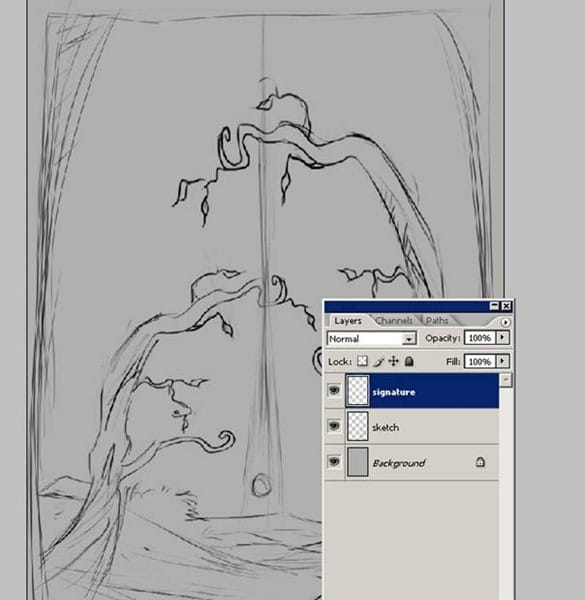
Before continue the painting process let me sow you my layer order. Here are my layers for the image. “tree” layer is for the tree color. And the “back” layer is for the background layer. Others is for the main sketch and the signature. So as you see I have opened a new layer for tree and the background. You can change the name of the layers if you want. For to change please click twice on the layer and write here name of the layer .
2 responses to “How to Create an Environmental Painting in Photoshop”
-
Wonderful tutorial and beautiful work! Very helpful!
-
Thanks! Great and simple tutorial… keep up.


Leave a Reply