
Make the selection, and fill it with color (#bd9f00) by using the brush tool (B) set to 100% hardness.
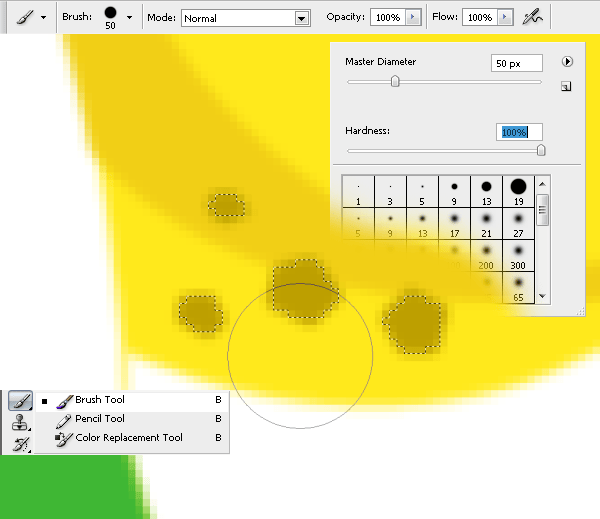
Step 38
Create a new layer (Ctrl+Shift+N), name it “forehead spots”, move it over “left hand spots”, and make some closed paths with the pen tool (P) on the forehead

Make the selection, and fill it with color (#bd9f00) by using the brush tool (B) set to 100% hardness.
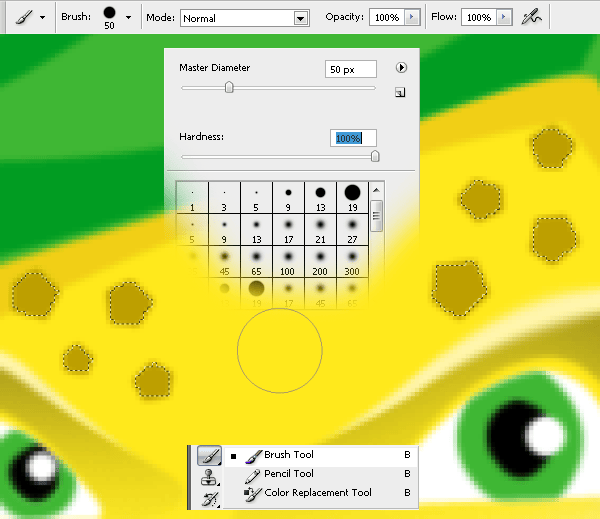
Step 39
Create a new layer (Ctrl+Shift+N) named “nose center reflection” and move it over the “right eyebrow” layer. On the nose, create a new shape using the pen tool (P).

Fill it in with white (#ffffff) by using brush tool (B) set to 100% hardness.
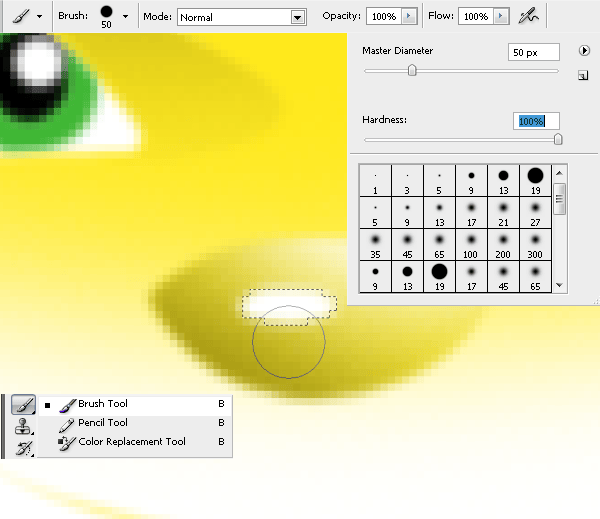
Modify the opacity to 20%.
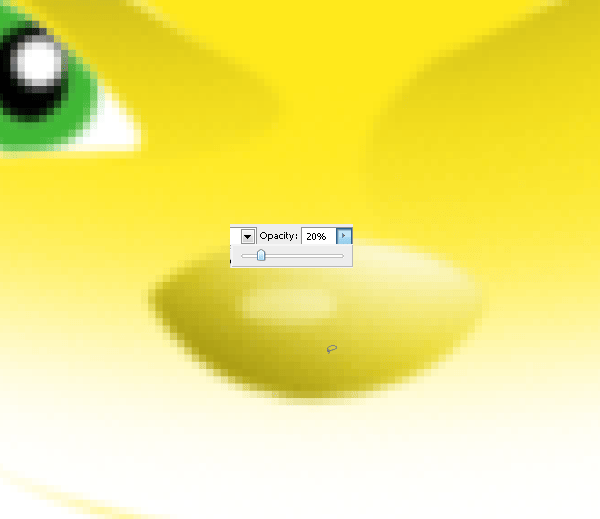
Step 40
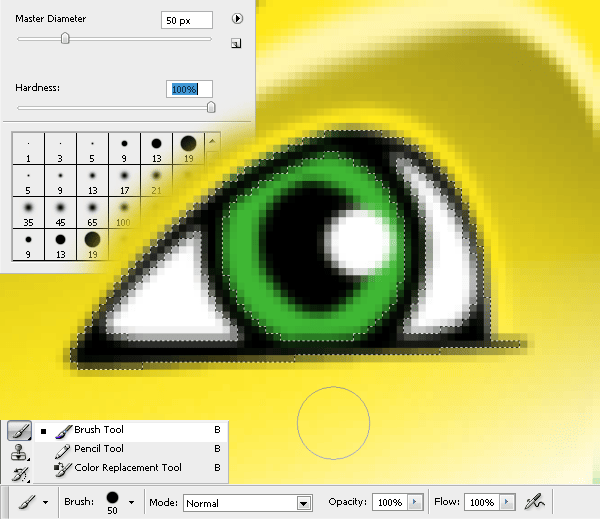
Create a new layer (Ctrl+Shift+N) named “left eye line” and move it over the “nose center reflection” layer. Make the outline shape of the left eye with the pen tool (P) and fill it with black (#000000).

Step 41
Create a new layer (Ctrl+Shift+N) and name it “right eye line”. Move it over the “left eye line” layer. Make the outline shape of the other eye with the pen tool (P) an fill it with black (#000000).


Step 42
Create a new layer (Ctrl+Shift+N) named “mouth” and move it over “right eye line” layer. Make the outline shape of the mouth and nose with the pen tool (P) and fill it with black (#000000).


Step 43
Create a new layer (Ctrl+Shift+N) named “feet lines” and move it over the “mouth” layer. Make a shape on both legs with the pen tool (P) and fill it with black (#000000).


Step 44
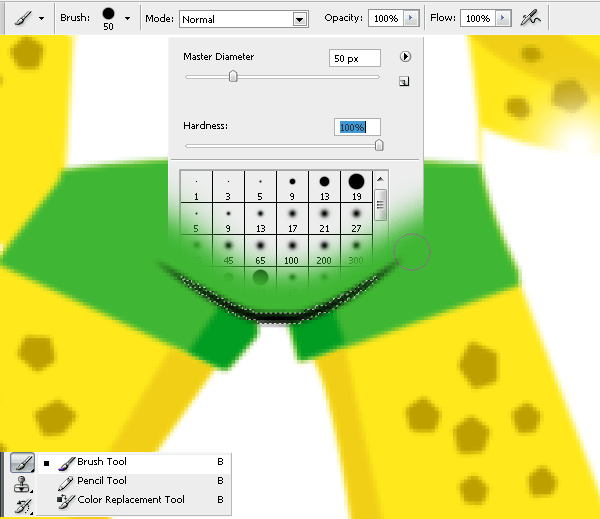
Create a new layer (Ctrl+Shift+N), named “pants line” and move it over “feet lines” layer. Make a shape on the pants with the pen tool (P) and fill it with black (#000000).

Step 45
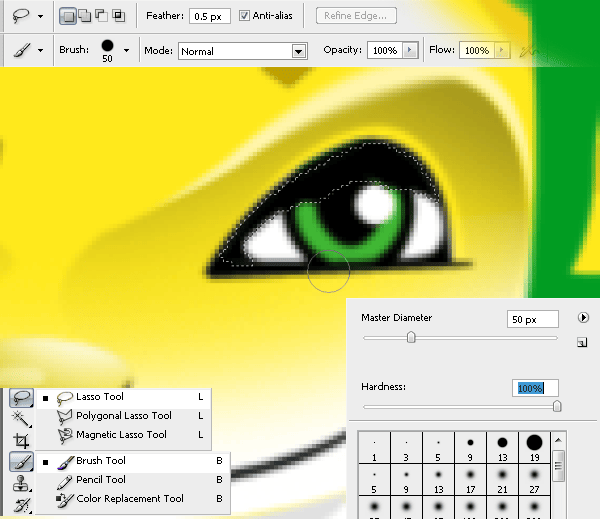
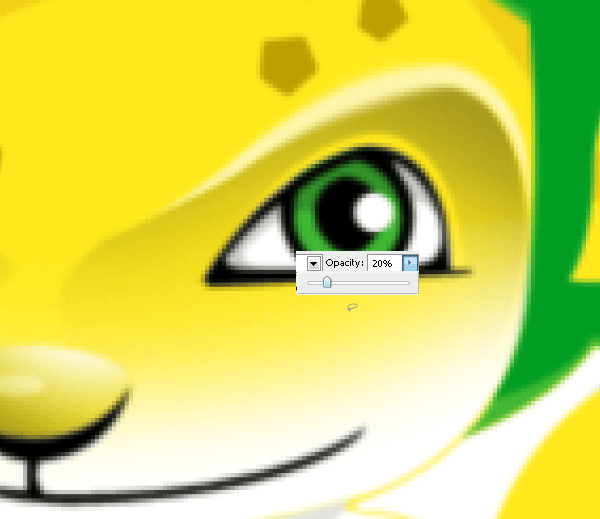
Create a new layer (Ctrl+Shift+N) named “left eye dark zone” and move it over “pants line” layer. Use the lasso tool (L) to make a new selection to define the shape of the dark side of the left eye and fill it with a black brush (#000000). Set the opacity to 20%.
Step 46
Create a new layer (Ctrl+Shift+N) named “right eye dark zone” and move it over “left eye dark zone” layer. Use the pen tool (P ) to make a new selection to define the shape of the dark side of the right eye.
One response to “How to Draw a Lion Mascot in Photoshop”
-
you really didn’t cover the actual illustration shown in the original in your tutorial.

Leave a Reply