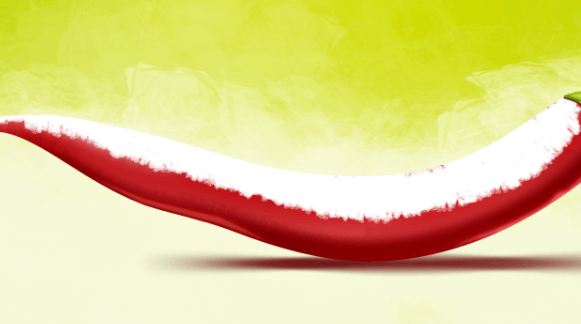
Change this layer opacity to 30% with blending mode of Soft light.
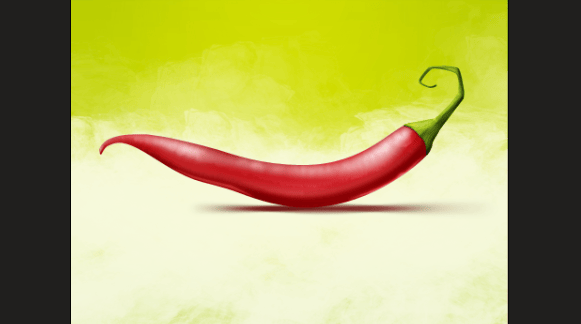
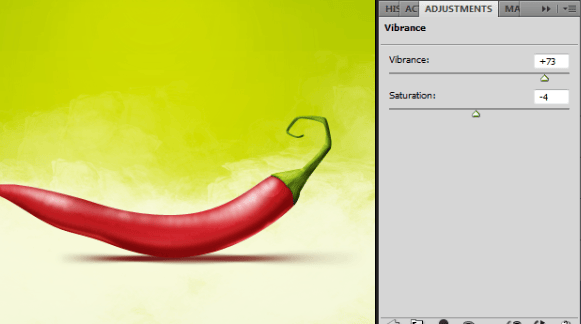
Now we have just to fix colors a bit. All adjustment layers set as clipping masks. Click the icon hovered with arrow and choose Vibrance from the menu.

Then apply the following settings.
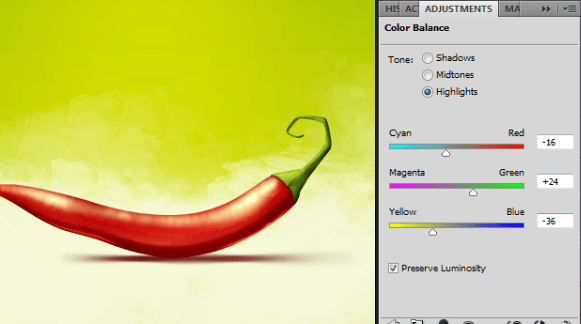
Now from the same menu instead of Vibrance choose Color balance. Here are the settings to choose. But there’s nothing bad in playing with values by yourselves. Just get the desired look.


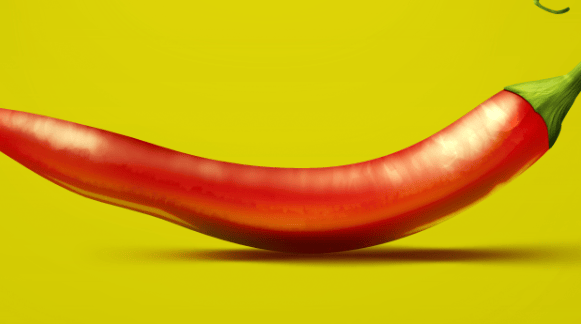
Here’s a final pepper

Step 14 – Final touch
I have prepared another simple brush and erased the lightnings on the pepper even more. If you want to do the same, try to set the brush settings by yourselves. It is not necessary part, for the pepper has already looks good, but it could be also a part of training for you. Don’t get over with it- it should be just a small change, if any.
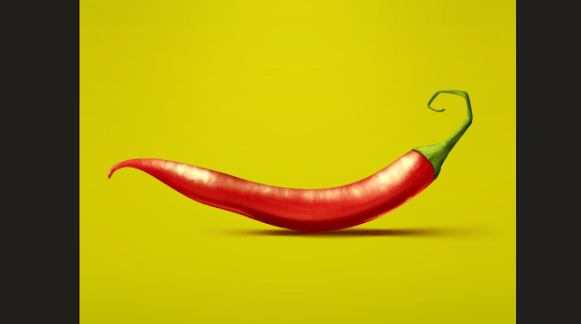
It’s action for harden the surface of pepper. You can actually duplicate the layer with lights, lower down both opacities and use eraser only on the copy.

Get some light green color like #dbd308, grab Brush tool with hard, round tip and paint on bottom sides of pepper. The reason is that I have changed the background to green and we have to apply the change also to the pepper’s reflections.
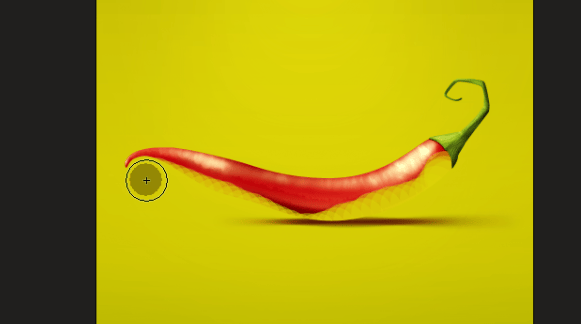
Go to Filter > Blur > Gaussian blur and apply the radius of 16 pixels. Then change the layer’s blending mode to Soft light.
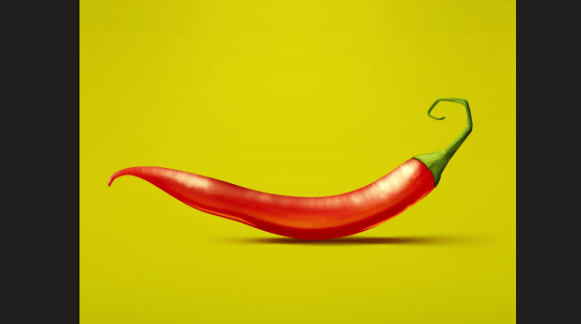
Pick some greener color like #5fb30d. Now with soft brush you can add a bit of green touch on the new layer ofcourse.
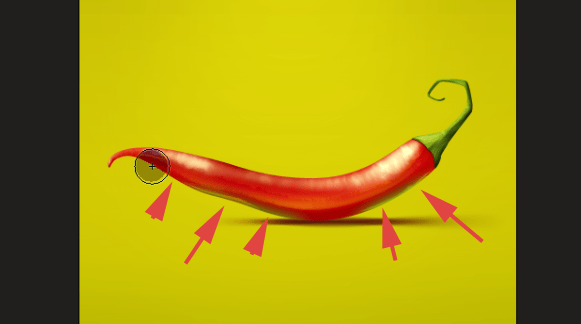
Now change this layer’s opacity to 80% and blending mode to Hard light.
On new layer use the same green color and paint up the connection with main shadow.

Then change this layer’s blending mode to Linear burn with about 50% opacity. Try to get this
Step 15 – Holes
Get the #711c10 color. With Elliptical Marquee tool make small ellipse. Then fill it with color.
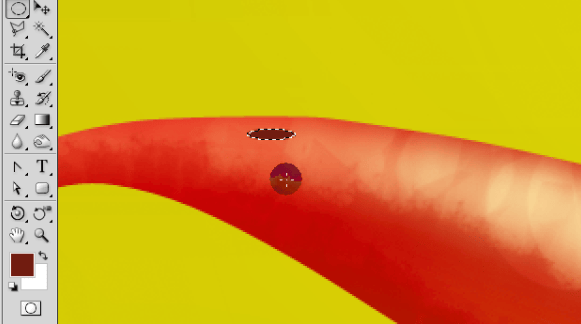
Move the selection two or three pixels down, then go to Select > Inverse and use Burn tool on top of shape.
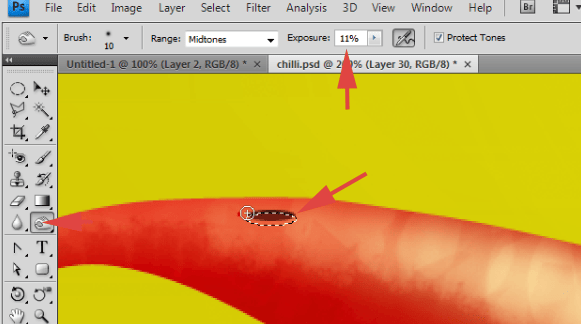
[CTRL] + Click on hole’s layer to get original selection. Go to Select > Modify > Expand and type 2px in dialog box. Then move the selection 1 or 2 pixels down.
2 responses to “How to Draw a Steaming Hot Chili Pepper in Photoshop”
-
cos pieknego:)…
-
thankssssssssssssssssss


Leave a Reply