Step 6 – Styling petiole
We want to have a soft shadow all around the stem. We can use brush tool with hard ending and then blur our doodles, but there is a faster way to make that. Right click on the petiole layer in the layers window and choose Blending options. Go to Inner shadow and type these options.

Now right click on the effects icon and on the bottom of the dialog box you will have an option called ‘Create layer’.

As you can see our shadow is now in clipping mask layer. You can blur it a bit on the bottom with Blur tool.


Also, I’ve changed the blending mode to Soft light.
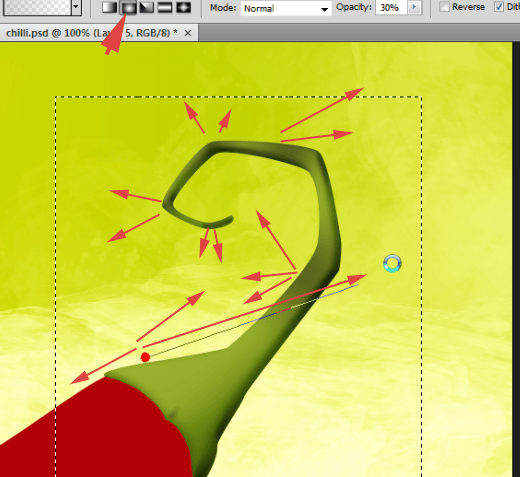
Pick some dark semi-green color like #555d24 and choose Gradient tool (linear with 30% of opacity). Create new clipping mask layer under the shadow layer. To do a clipping mask move the cursor between layers in layer’s window. Hold alt, and when cursor will change, left-click. For now there is simplier way to make clipping mask. Just click on base layer and hit [CTRL] + [SHIFT] + [N] to create new layer. If there is already some clipping layer, newly created will be also clipping mask. Now create few gradients. Arrows indicated their direction. After this action change the layer’s blending mode to Linear light.


Step 7 – petiole shadow tricks
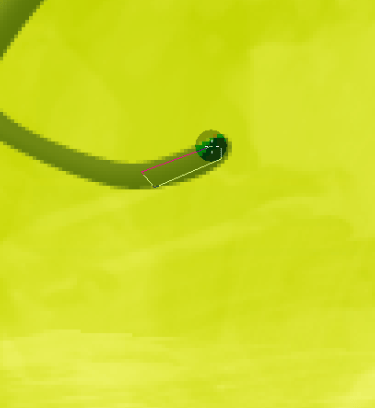
Pick the color of #313615 and grab Polygonal Lasso tool. Create selections on the edges and fill them with gradient.


Repeat this action for other parts of petiole.


It’s a little trick to accent the edges and bends of shape. When you will have all the gradients, go to Filter > Blur > Gaussian blur and use the radius of 1,5 px. Just a small touch. This kind of shadowing will add some dynamics to the artwork. As it is really hard to notice here, it will be helpful for you in other works.
Step 8 – Petiole lights & shadows again
Create another clipping mask layer. We have still chosen dark green color. Now pick Gradient tool and change it’s type to Radial gradient. Then make some gradients here and there. These will indicates light parts of petiole. So don’t get mixed up because of that dark color.

Now change this layer’s blending mode to Linear Dodge (Add), duplicate this layer and set copy’s blending mode to overlay. You can lower down copy’s opacity a bit, to about 75%. Try to achieve something like this:
2 responses to “How to Draw a Steaming Hot Chili Pepper in Photoshop”
-
cos pieknego:)…
-
thankssssssssssssssssss


Leave a Reply