Turn any photo into a dot grid artwork with these Photoshop actions. You'll get great results with dots that change size. They get larger in brighter areas and smaller in darker areas. Free download available.
Step 66
Decrease the opacity of Layer 7 to approximately 10% to enhance the realism.
Step 67
Select Layers 6 & 7 > right click > “Merge Layers”.
Step 68
Duplicate Layer 7: right click on it and click on "Duplicate Layer", or select the layer and press Ctrl+J.
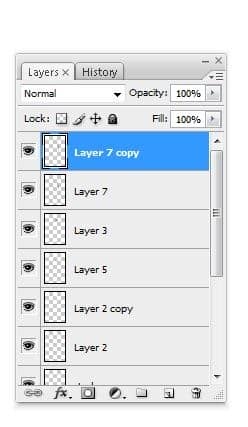
Step 69
Edit > Transform > Flip Horizontal.
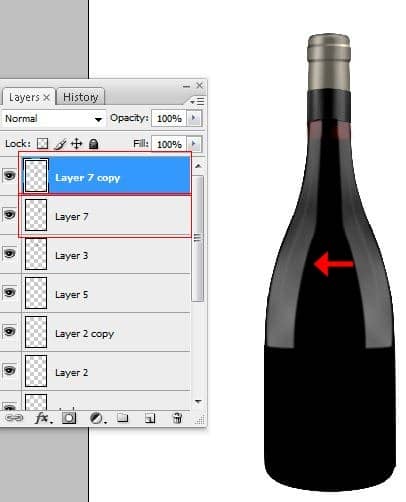
Step 70
Load the selection by holding down the Ctrl key and mouse-clicking on the layer's thumbnail. Make a new layer: press Ctrl+Shift+N, or Layer > New > Layer.
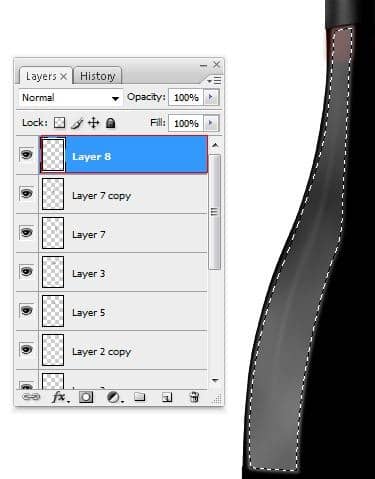
Step 71
Select the Brush Tool (B key) with white color and brush in our selection.
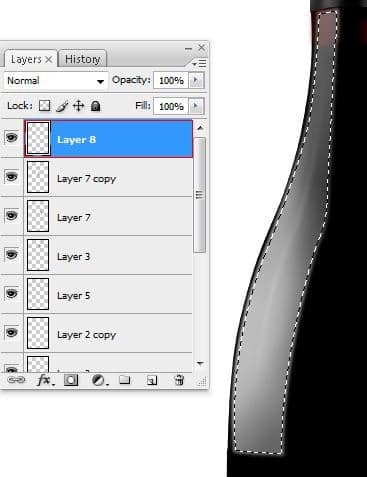
Step 72
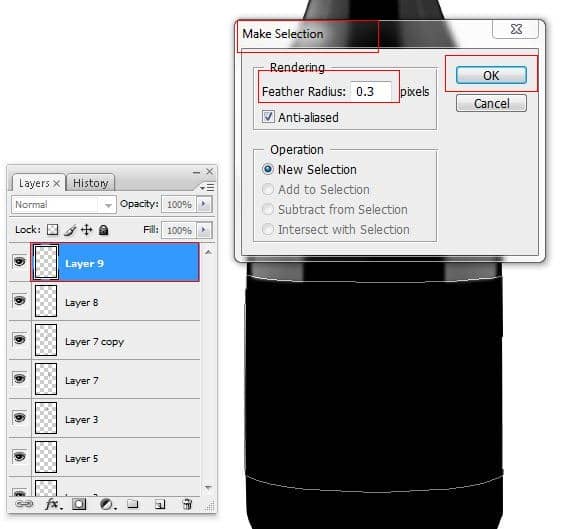
Make a new layer (Ctrl+Shift+N, or Layer > New > Layer). Make the next path with the Pen Tool (P key), right click on it, then click on “Make selection”. Enter these settings:
Step 73
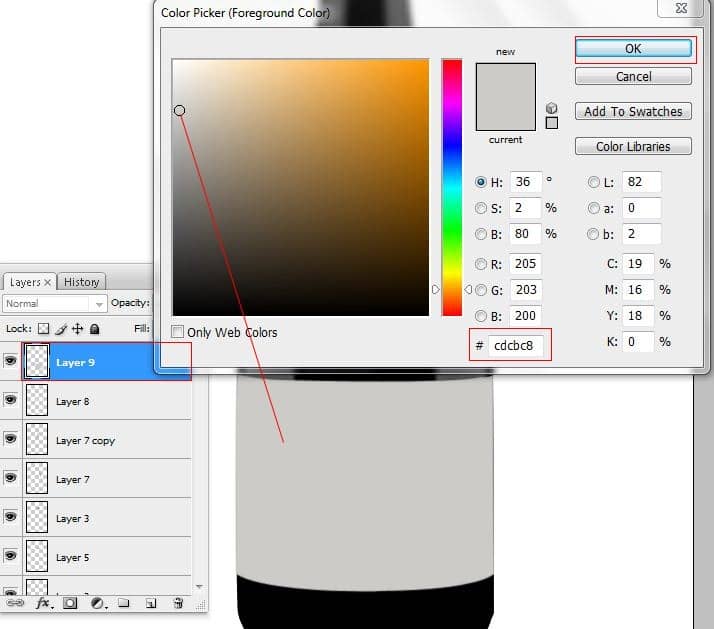
Fill the selection with a lighter gray. I used #cdcbc8.
Step 74
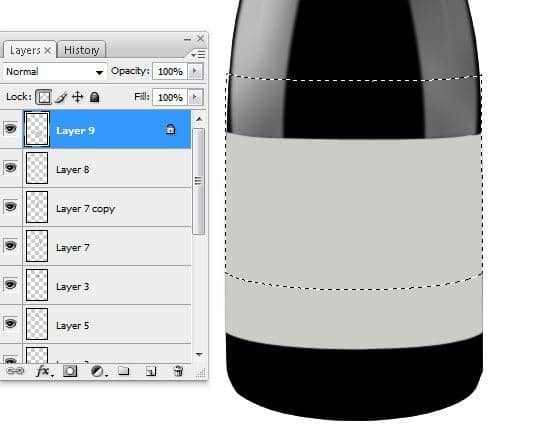
Lock transparent pixels of Layer 9 by pressing on the button indicated below, and make the next selection with the Polygonal Lasso Tool (L key).
Step 75
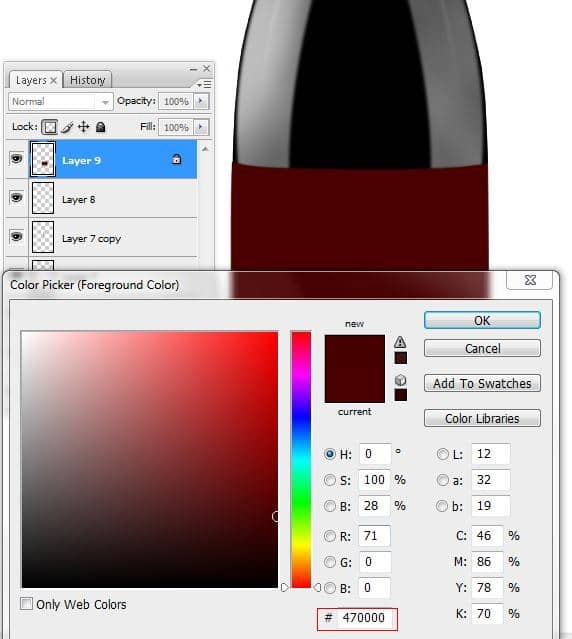
In the colors palette select a dark red color. I used #470000. Fill the selection with this dark red.
Step 76
Filter > Render > Lighting Effects.
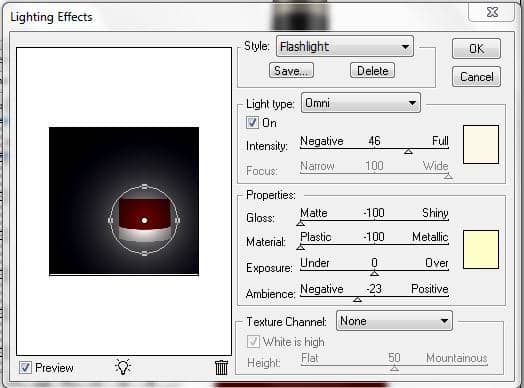
Step 77
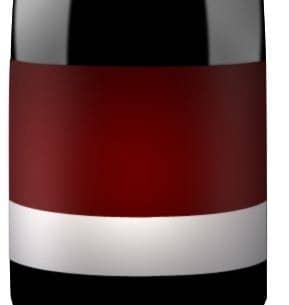
Click on the Dodge Tool (O key), and:
- Brush : 101 pixels
- Range : Shadows
- Exposure : 24%

Step 78
Add some highlights on the left/right edges with the Dodge Tool (O key).
Step 79
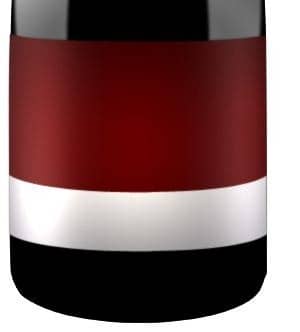
Use these settings for the Dodge Tool:
- Brush : 101px
- Range : Highlights
- Exposure : 24%

Step 80
Add some highlights on the edges, but now with the settings above.
Step 81
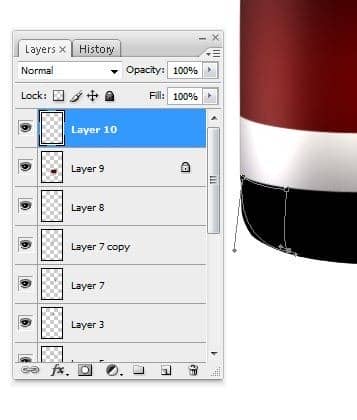
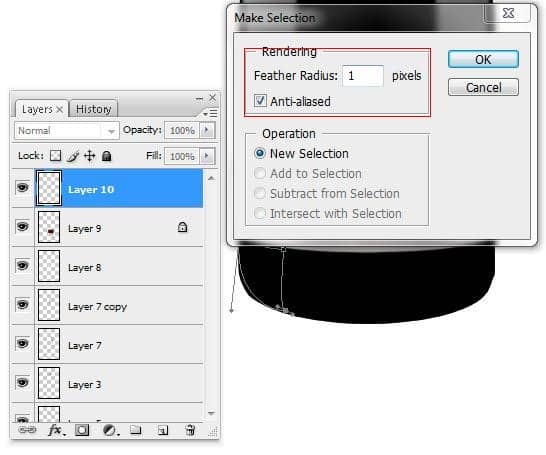
Make a new layer. Use the Pen Tool (P key) to make the next path at the bottom of the bottle.
Step 82
Right click on our path and click on "Make Selection". Use these settings:
Step 83
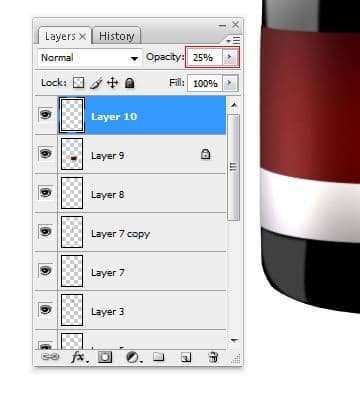
Decrease the opacity of Layer 10 to approximately 25%.
Step 84
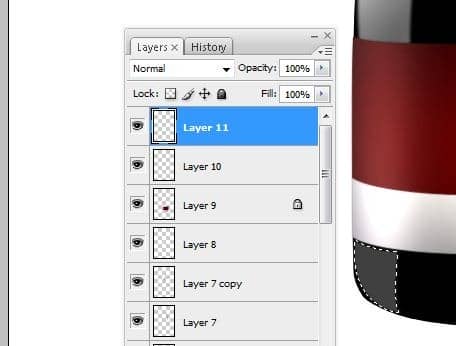
Load the selection by holding down the Ctrl key and mouse-clicking on the thumbnail of Layer 10. Make a new layer (Ctrl+Shift+N, or Layer > New > Layer).
Step 85
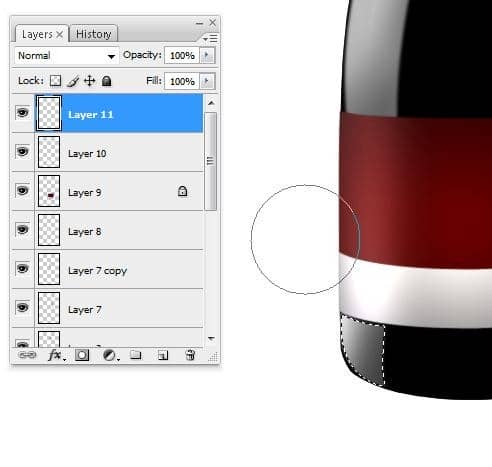
Use the Brush Tool (B key) with white color and brush in our selection.
Step 86
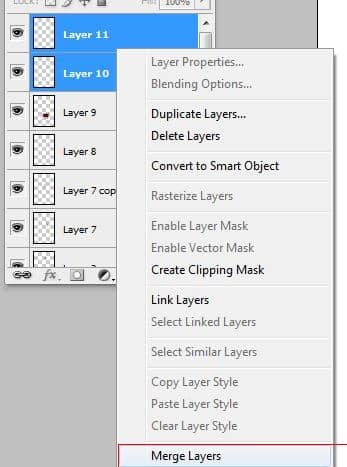
Select Layer 10 & Layer 11. Right click and click on “Merge Layers”.
Step 87
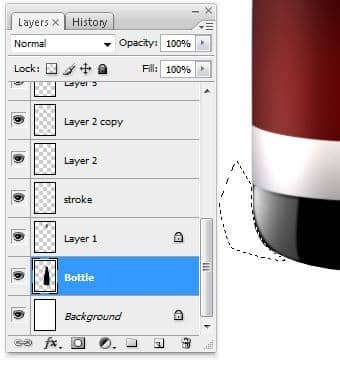
Select the base layer (the layer called “bottle”) and make the corners of the bottle round.
Step 88
Duplicate the Layer created in Step 86: select it > right click on it > click on "duplicate layer" > use the Flip Horizontal technique to place the layer on the right of the bottle.
