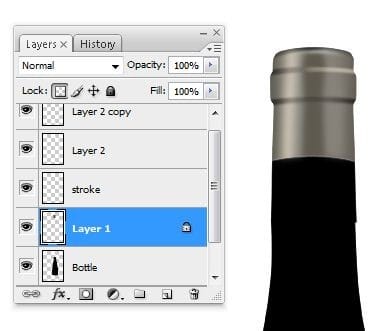
Step 39
Repeat Step 38 to add more highlights to the right.
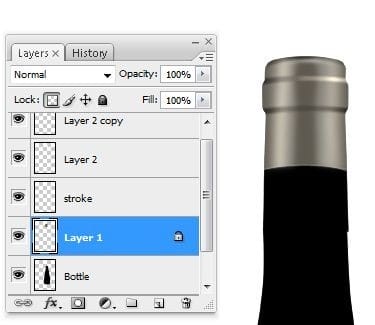
Step 40
Make a new layer: press Ctrl+Shift+N, or go to Layer > New > Layer. Then create the next path with the Pen Tool (P key).
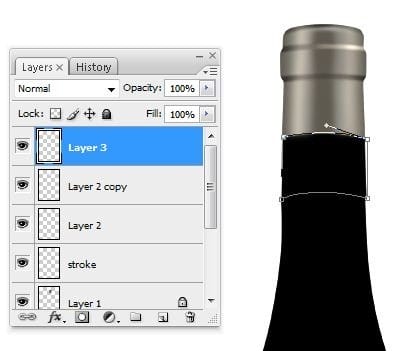
Step 41
In the colors palette, select a dark gray color: #010101. Fill the path that we just created in the previous step.
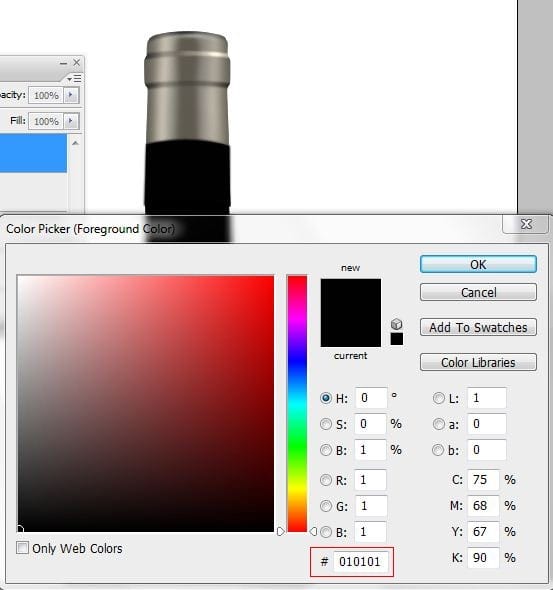
Step 42
Use the Rectangular Marquee Tool (Feather Radius: 20) to make the next selection on the right of the bottle.
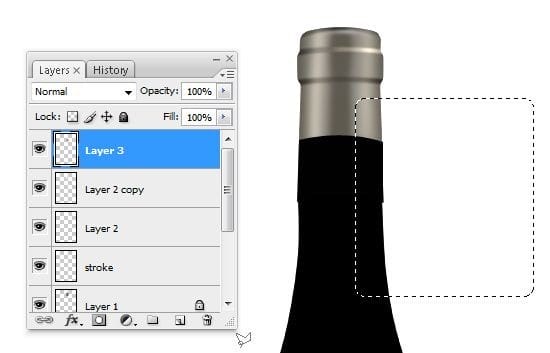
Step 43
In the Tools Menu select the Dodge Tool (O key) and enter the following settings:
- Brush : 76 px
- Range : Shadows
- Exposure : 30%
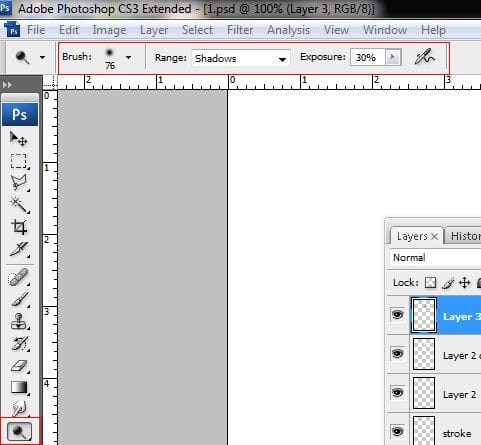
Step 44
Use the Dodge Tool (O key) with the settings above. Add some highlights on the right of Layer 3.
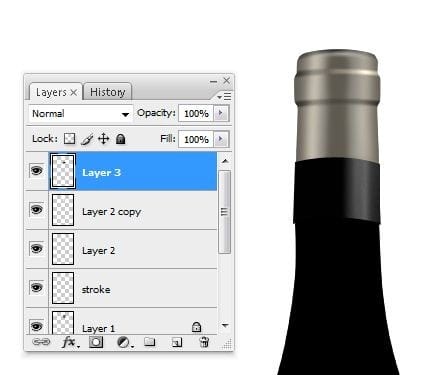
Step 45
Add some Highlights on the left of Layer 3.
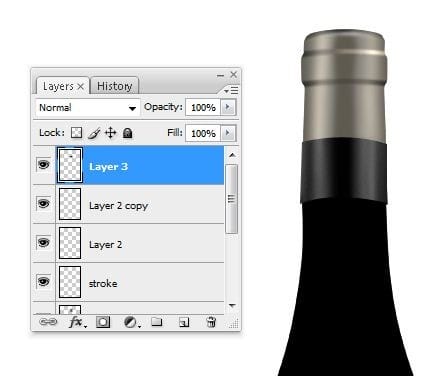
Step 46
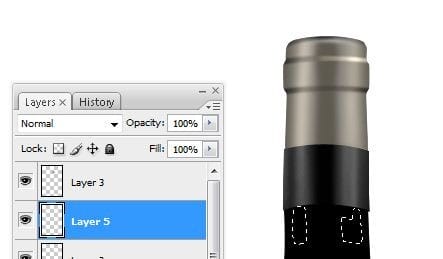
To make a new layer, press Ctrl+Shift+N, or go to Layer > New > Layer. Use the Polygonal Lasso Tool to make the next selection.
Step 47
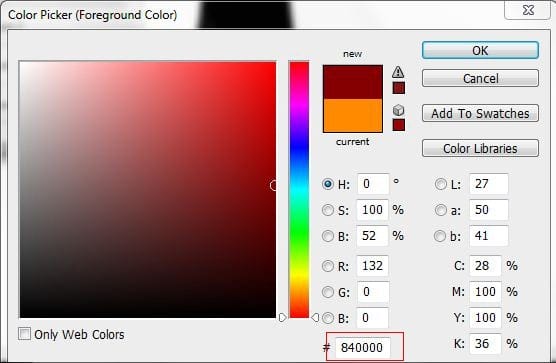
In the colors palette, select a dark red color. I picked for myself #840000, but it’s up to you.
Step 48
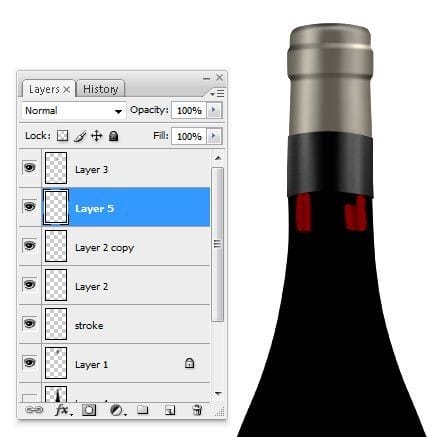
This will be our liquid (the wine): Fill the selection in the new layer with the color you picked in Step 47.
Step 49
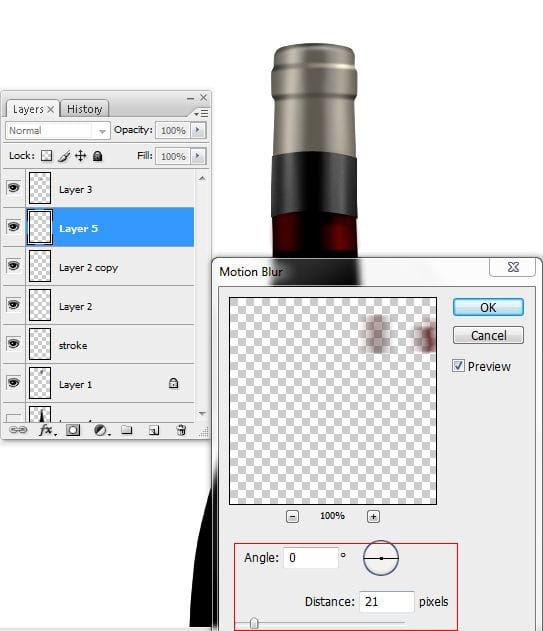
Now it doesn’t look real. Go to Filter > Blur > Motion Blur, and use these settings:
- Angle : 0*
- Distance : 21 pixels
Step 50
Go to Filter > Blur > Gaussian Blur and enter1.5 pixels for Radius. Click OK.
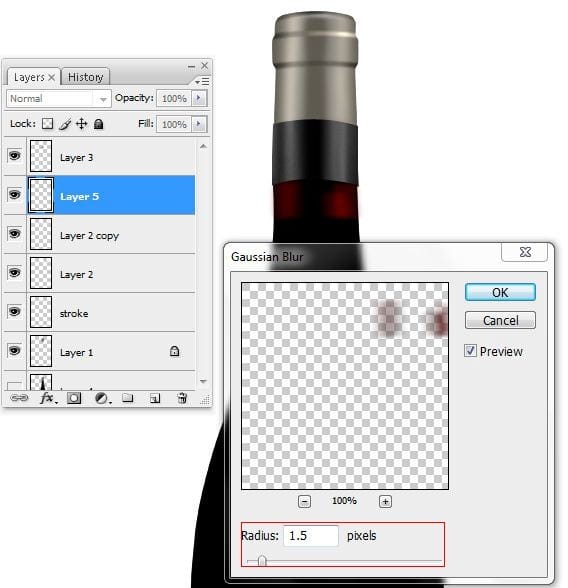
Step 51
Make a new layer (press Ctrl+Shift+N, or go to Layer > New > Layer). Use the Pen Tool (P key) to make a selection as in the following image:
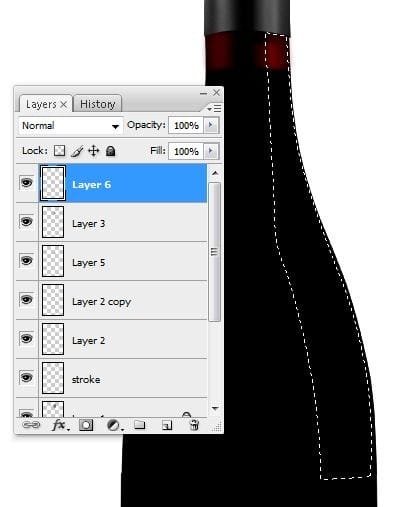
Step 52
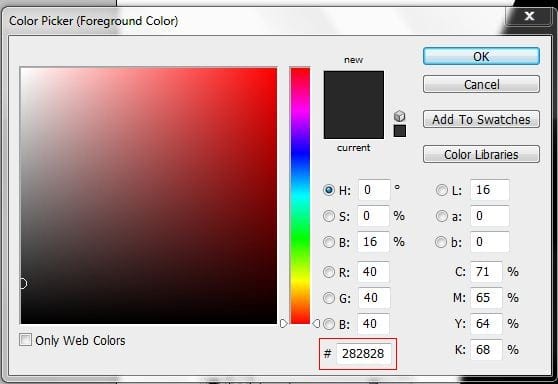
Select a Foreground Color: #282828.
Step 53
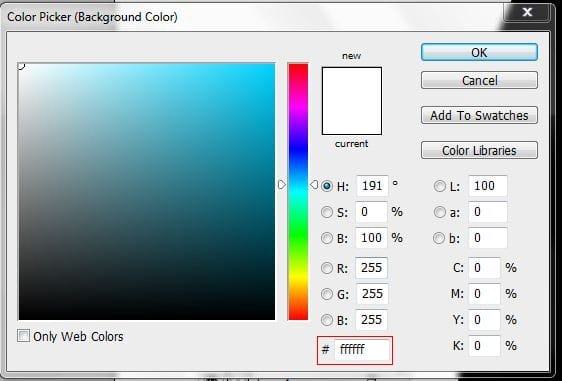
Select a Background Color: #fffffff.
Step 54
Go to Filter > Render > Clouds.
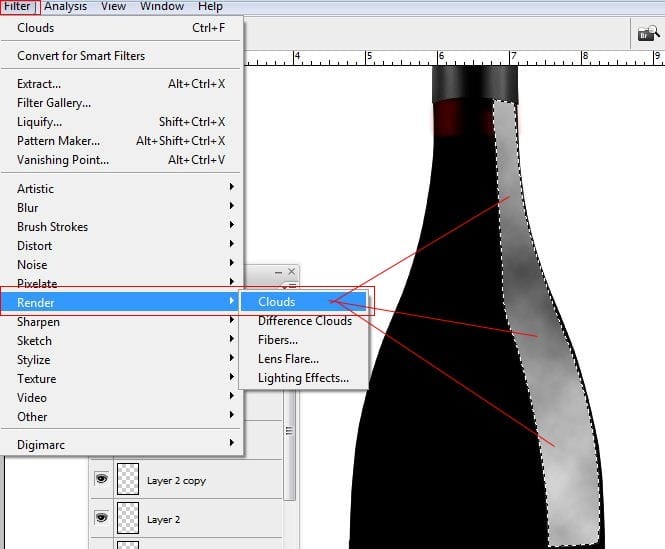
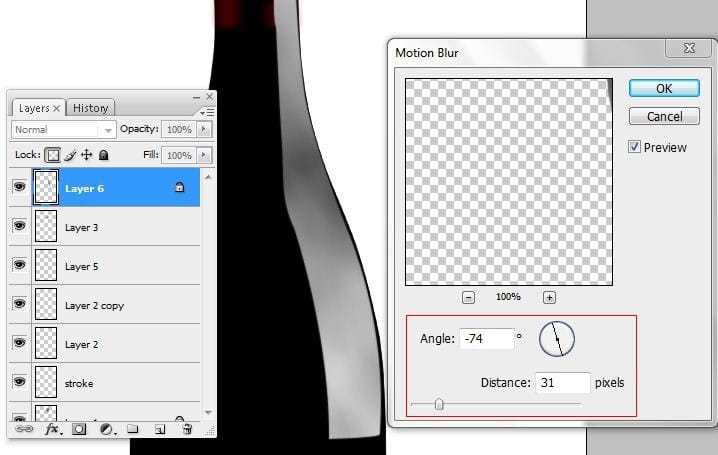
Step 55
Filter > Blur > Motion Blur. Use these numbers.
- Angle : -74*
- Distance : 31 pixels
Step 56
Go to Filter > Blur > Gaussian Blur and use 1.3 pixels for Radius.
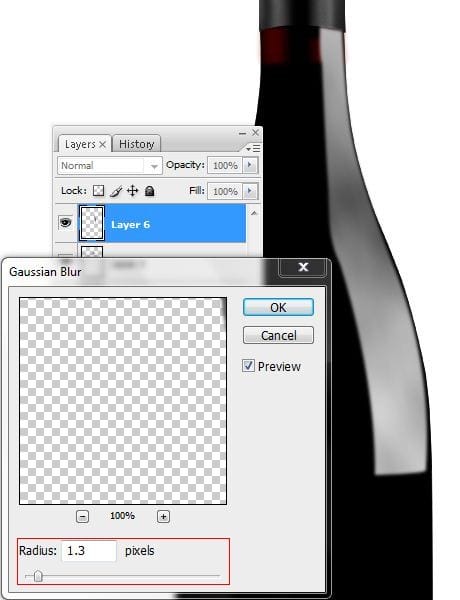
Step 57
Decrease the opacity of Layer 6 to 50%.
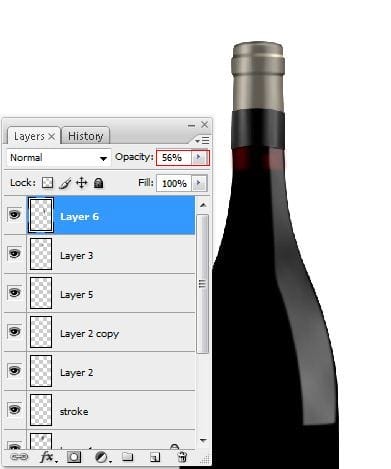
Step 58
Make a new layer (press Ctrl+Shift+N, or go to Layer > New > Layer).
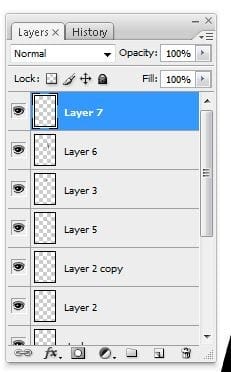
Step 59
Select the Brush Tool (B key):
- Master Diameter : 6px
- Mode : Normal
- Opacity : 100%
- Flow : 100%

Step 60
Make a path with the Pen Tool (P key) as in the picture below.
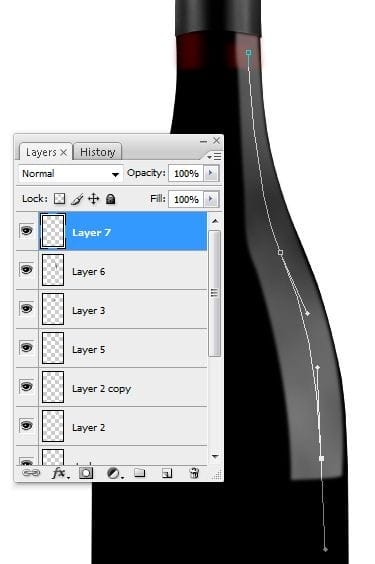
Step 61
Use the Pen Tool (P key). Right click on our path, then check the “Simulate Pressure” box and click OK.
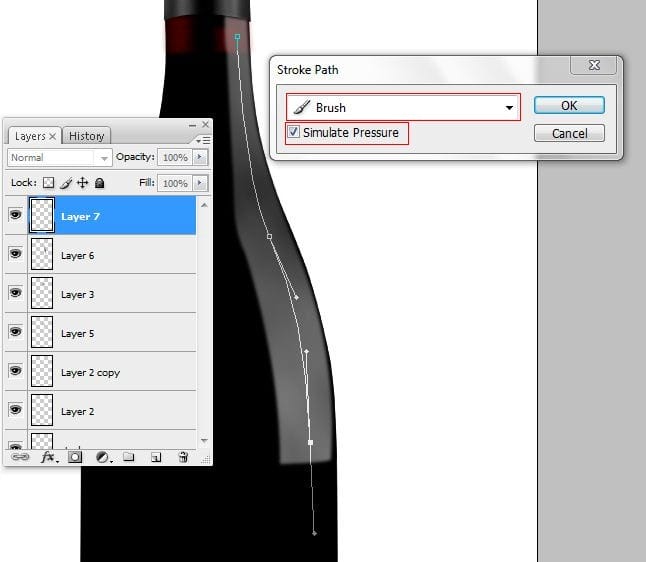
Step 62
You should have something that looks like this.
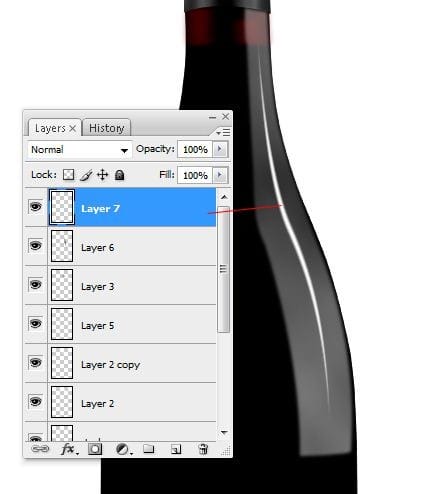
Step 63
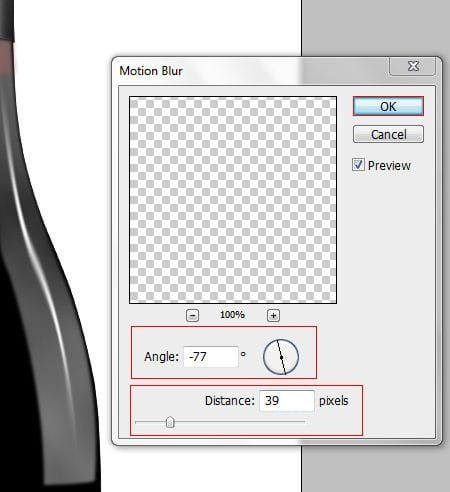
We want to add more realism. Filter > Blur > Motion Blur:
- Angle : -77º
- Distance : 39 pixels
Step 64
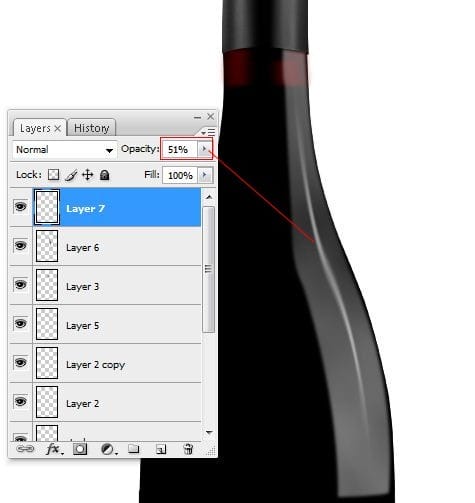
Decrease the opacity of Layer 7 to approximately 50%.
Step 65
Filter > Blur > Gaussian Blur. Radius: 1.3 pixels.


Leave a Reply