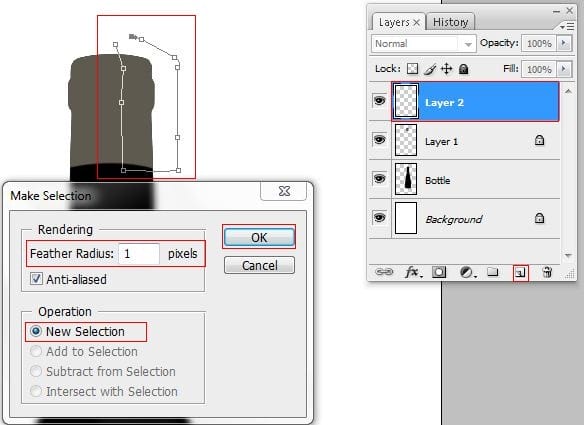
Step 17
Fill the created selection with a White color, and then decrease the layer opacity to 25 %.
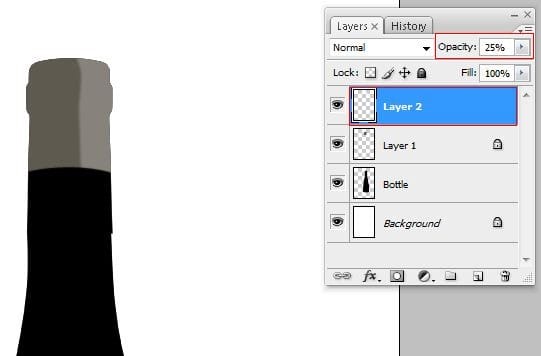
Step 18
Go to Filter > Blur > Gaussian Blur and enter the settings below:
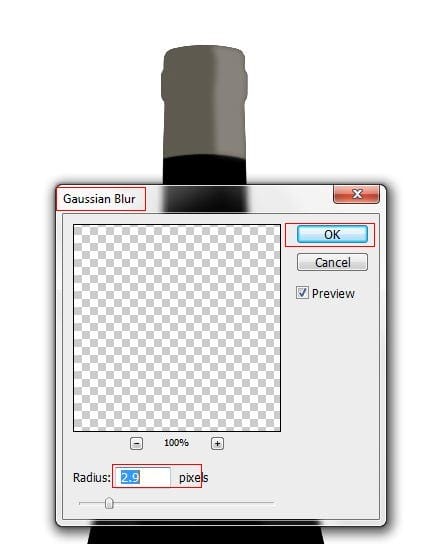
Step 19
Make the next path with the Pen Tool (P key).
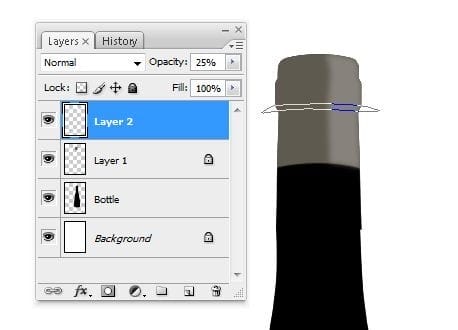
Step 20
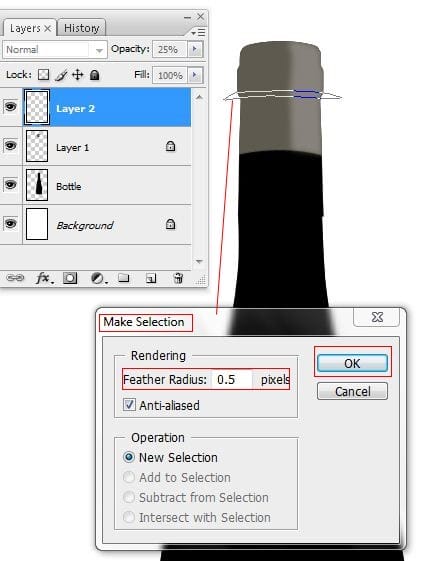
Right click on the path > Enter the settings below, and then click OK.
Step 21
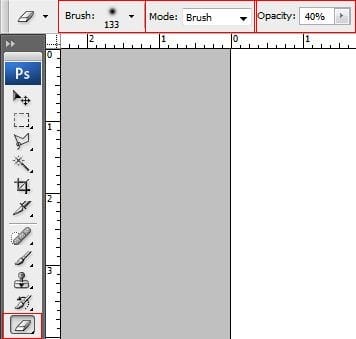
Select the Eraser Tool (E key) and enter these settings:
- Size : 133
- Mode : Brush
- Opacity : 40%
Step 22
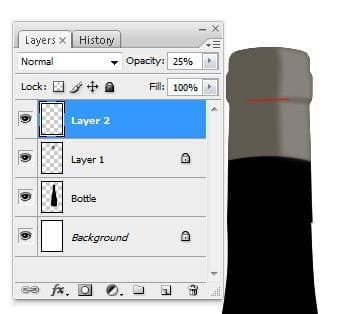
With the Eraser Tool, erase a little of the white color. There should be some shadow.
Step 23
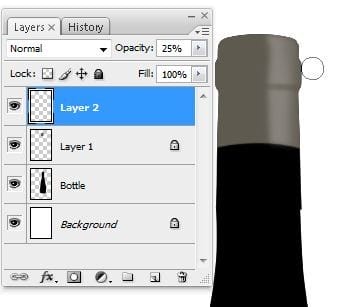
Erase on the right edge of our bottle with a small brush size.
Step 24
Duplicate the layer with the white color: either right click on layer then click on Duplicate Layer, or select the layer and press Ctrl+J.
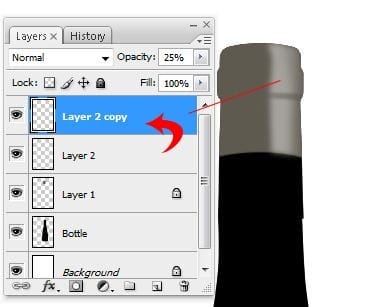
Step 25
With the same technique employed in Step 8, flip the highlight on the left part of the bottle.
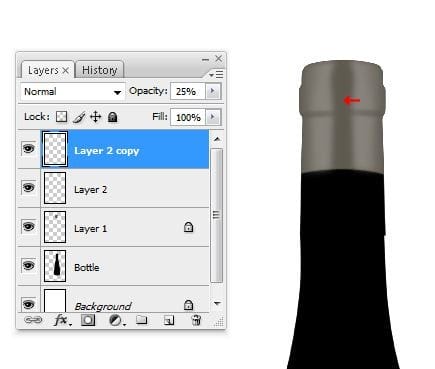
Step 26
Select Layer 1 > use the Pen Tool (P key) to make a path as in the image below > right click on the path > go to “Make selection” and enter the settings:
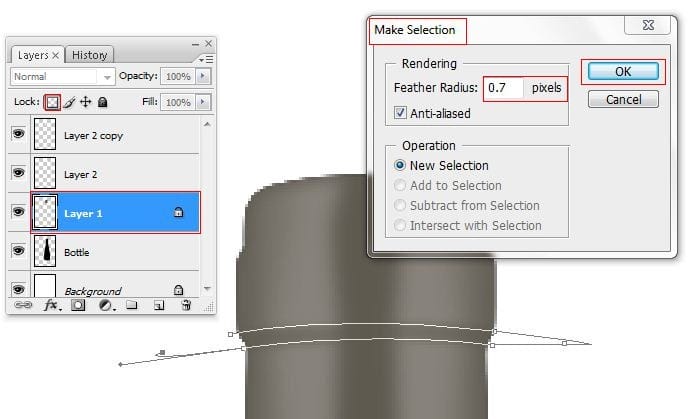
Step 27
Press OK. Use the Burn Tool (O key) to add some shadows in the selection.
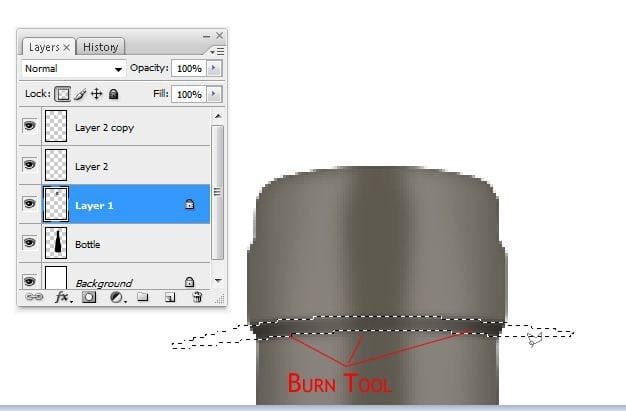
Step 28
Repeat Step 26, but now place the selection slightly higher.
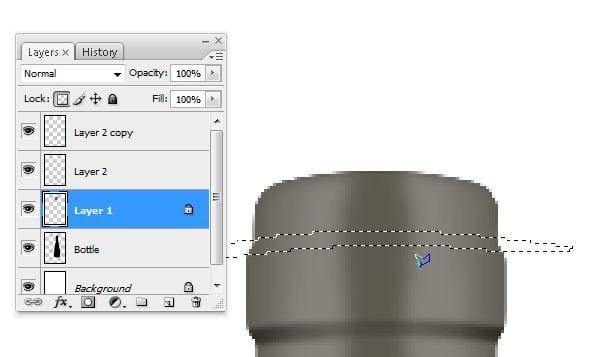
Step 29
Use the Dodge Tool (O key) to add some highlights on the right of the selection, then use the Burn Tool (O key) on the left of the selection for some shadows.
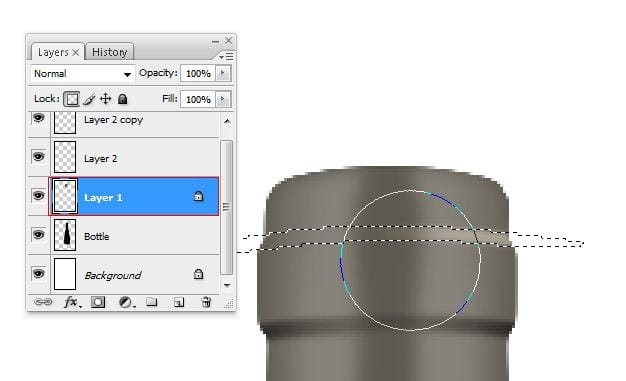
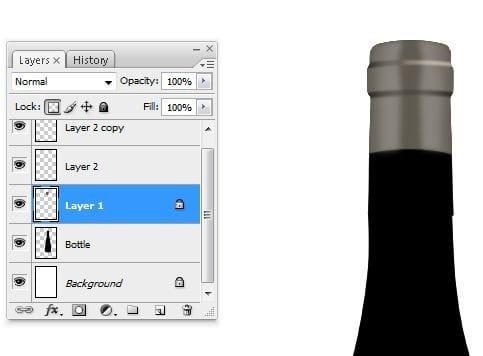
Step 30
This is what it should look like.
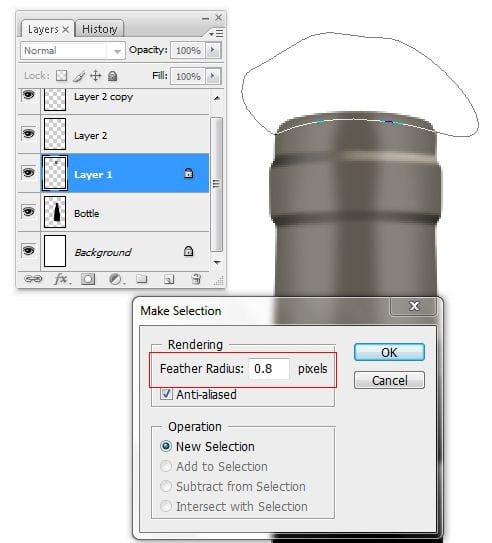
Step 31
At the top of the Bottle make the next path with the Pen Tool (P key). Right click on our path > click on “Make Selection” > enter 0.8 pixels for Feather Radius.
Step 32
Use the Burn Tool to add some shadow on the top of the bottle.
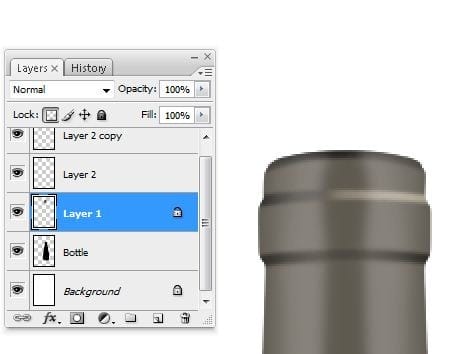
Step 33
Use these settings for the Brush Tool:
- Master Diameter: 3 px
- Hardness: 0 %
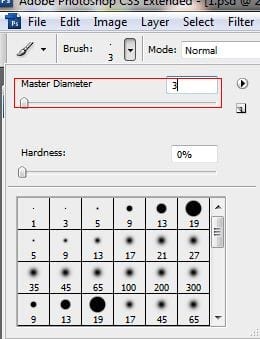
Step 34
Make a new layer: press Ctrl+Shift+N , or go to Layer > New > Layer, and rename the created layer as “stroke”. You can rename a layer by right clicking on it, and click “rename”. Make the next path at the top of the bottle with the Pen Tool.
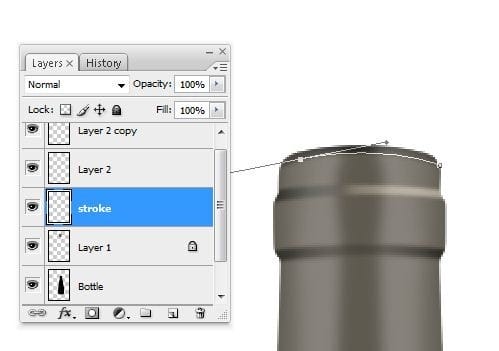
Step 35
Use the Brush settings from Step 33. Right click on the path and select “Stroke Path”.
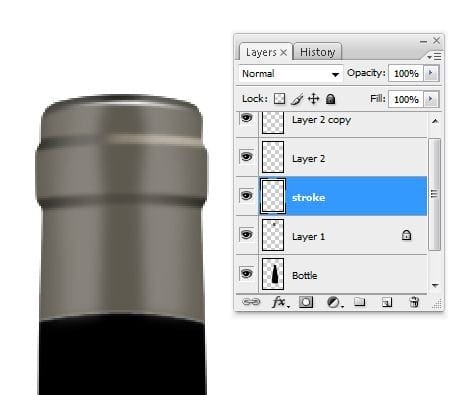
Step 36
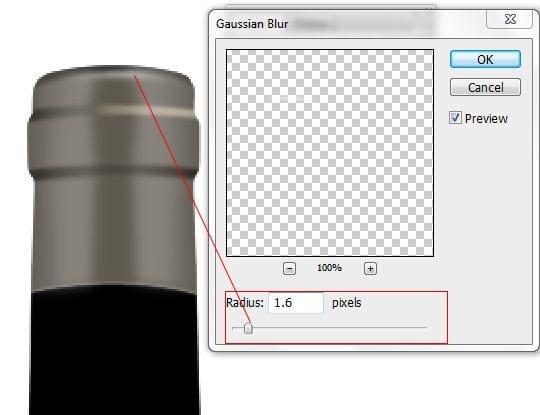
To add more realism to the picture, go to Filter > Blur > Gaussian Blur, use 1.6 pixels for Radius.
Step 37
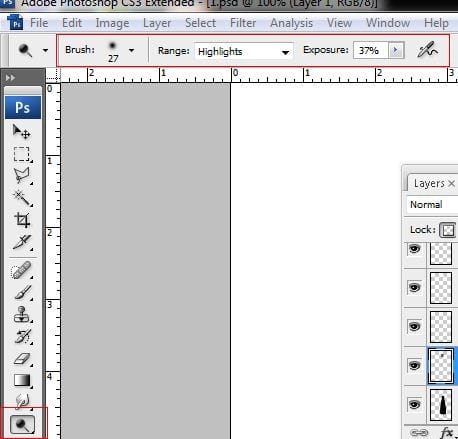
From the tools menu select the Dodge Tool (O key) and reproduce the settings below:
- Brush: 27
- Range: Highlights
- Exposure: 37%
Step 38
To add some more highlights on the left of our bottle, use the Dodge Tool (O key) with the same settings we used in Step 37.


Leave a Reply